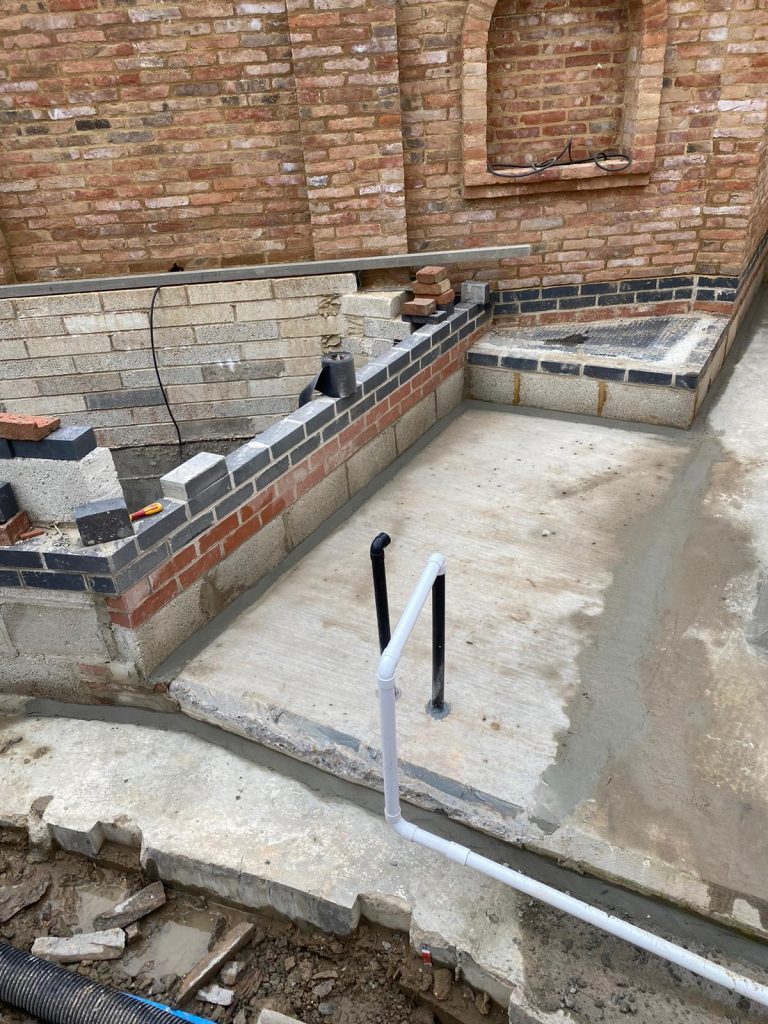
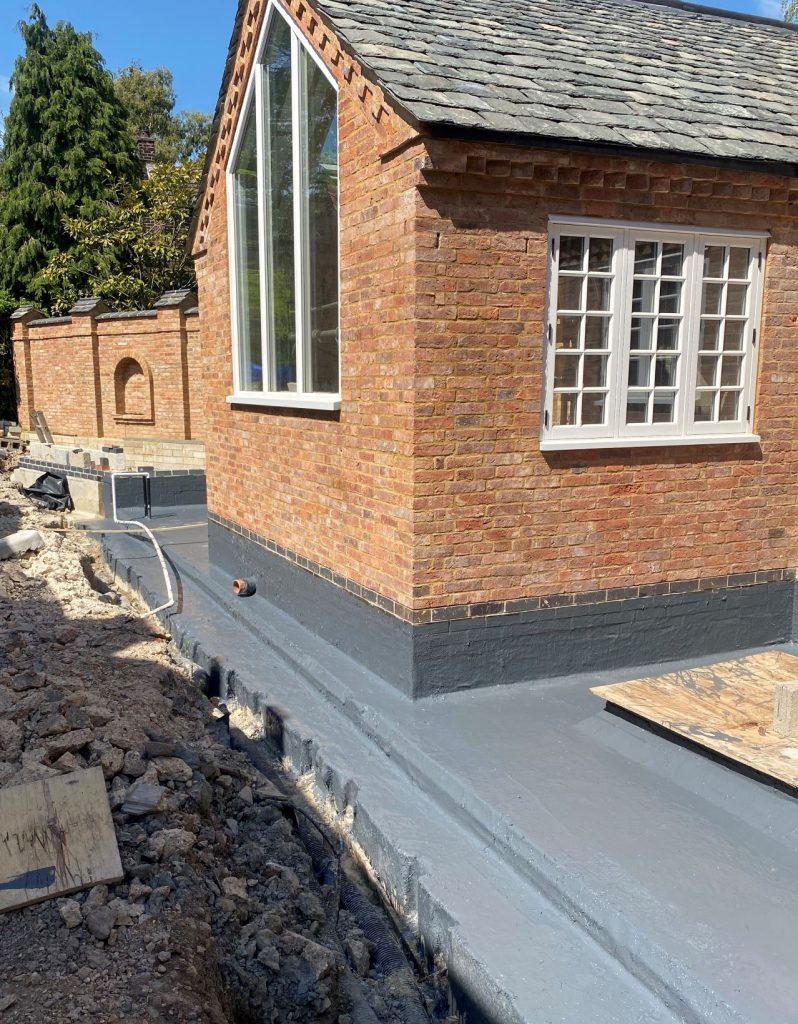
This garden & extension basement created more space for a semi-dethatched cottage in rural Leicestershire. Carried out in stages, the over all aim was to have a new basement to the rear, linked to the old house. On top of this basement a new extension would be built, tripling the house size.
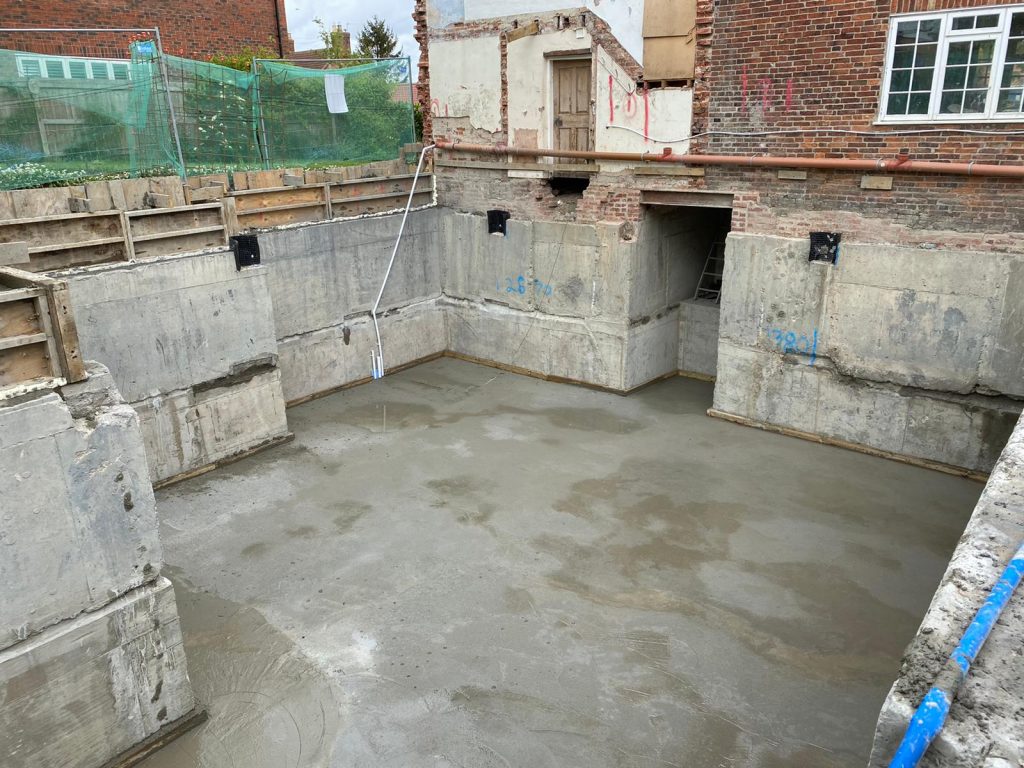
Project Overview
Project Details
| Categories: | |
| Location: | Hickling, Leicestershire |
| Surface Area: | 90 square metres |
| Completed: | 2020 |
| Architect: | Greenwood Architects Ltd. |
Stage 1 - Supporting the house and creating the ring beam walls
Supporting the existing house
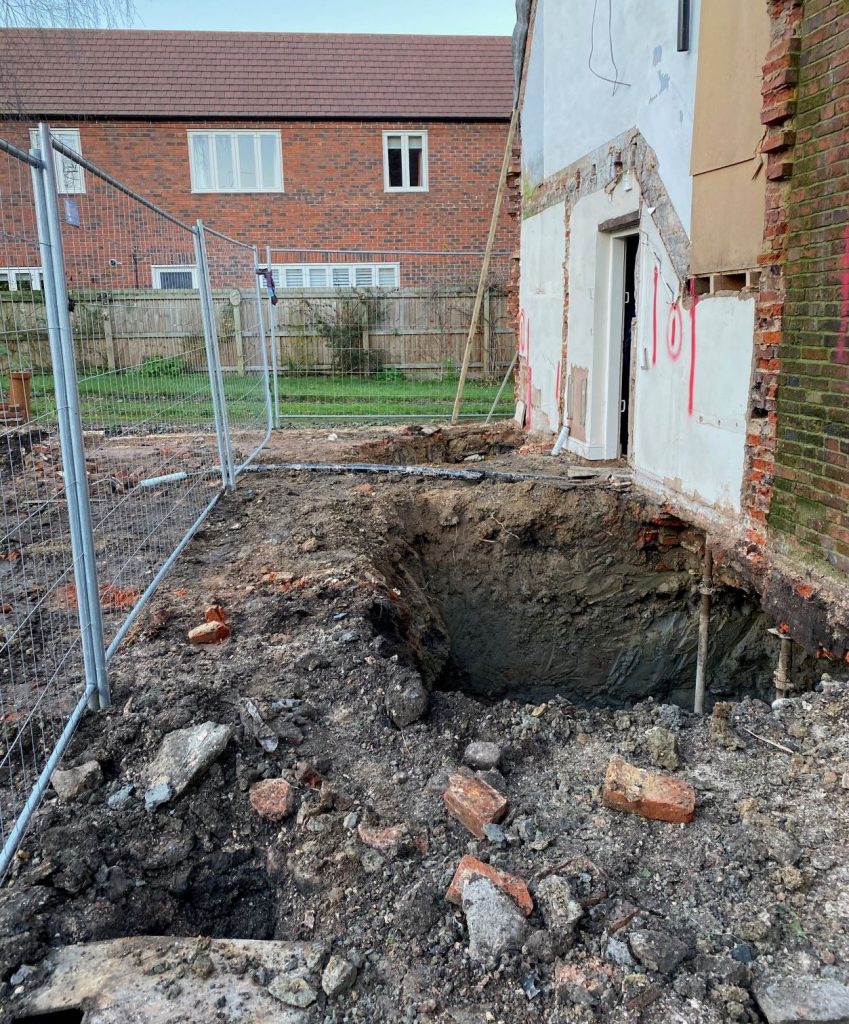
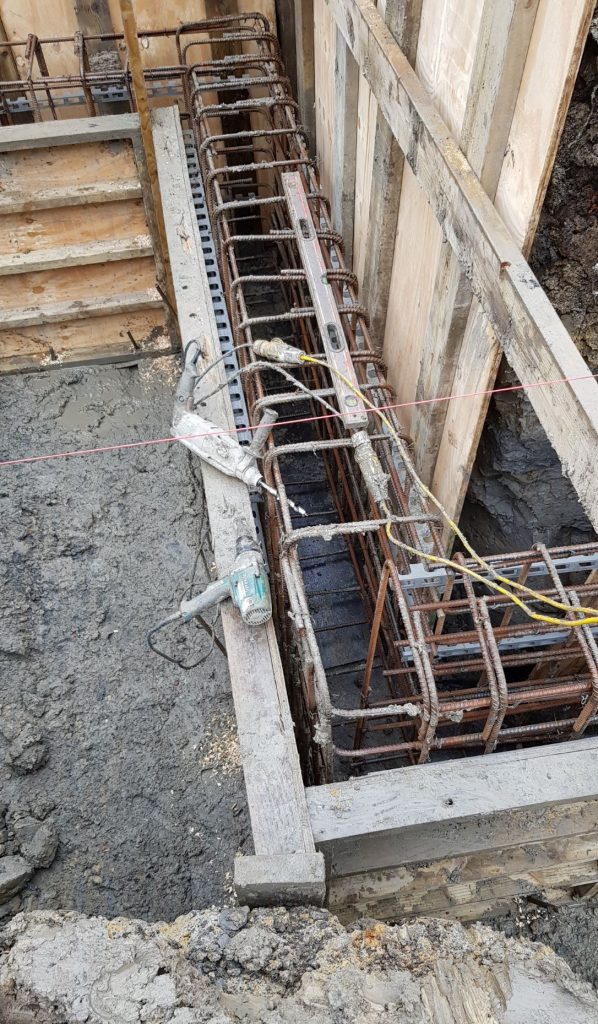
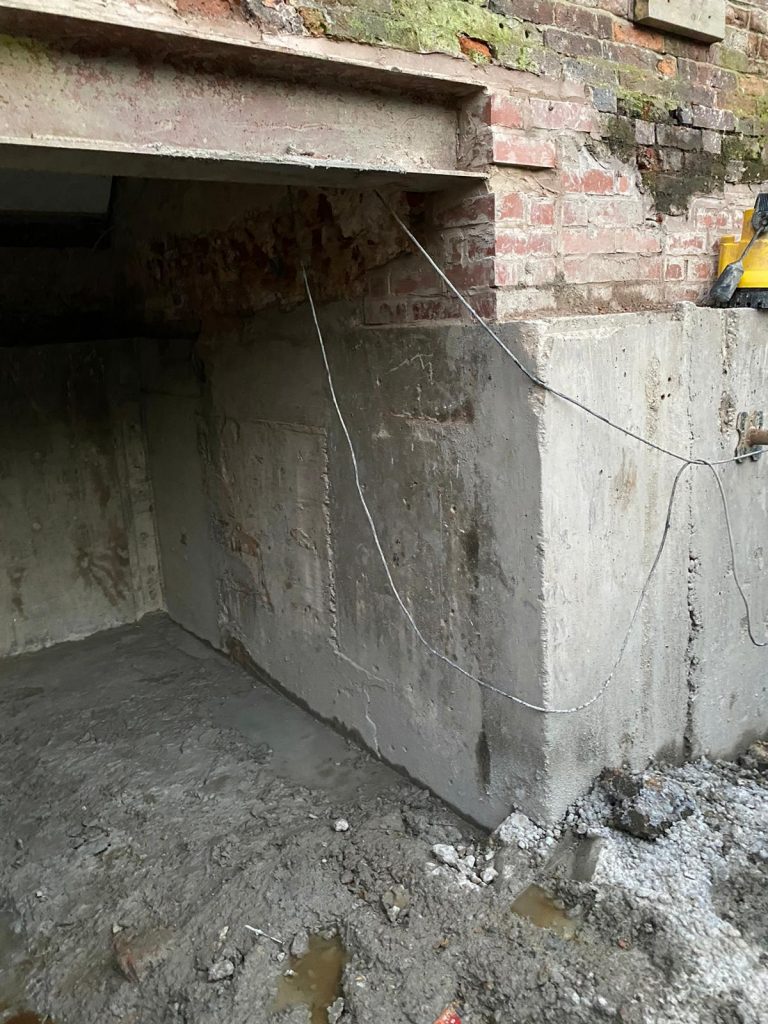
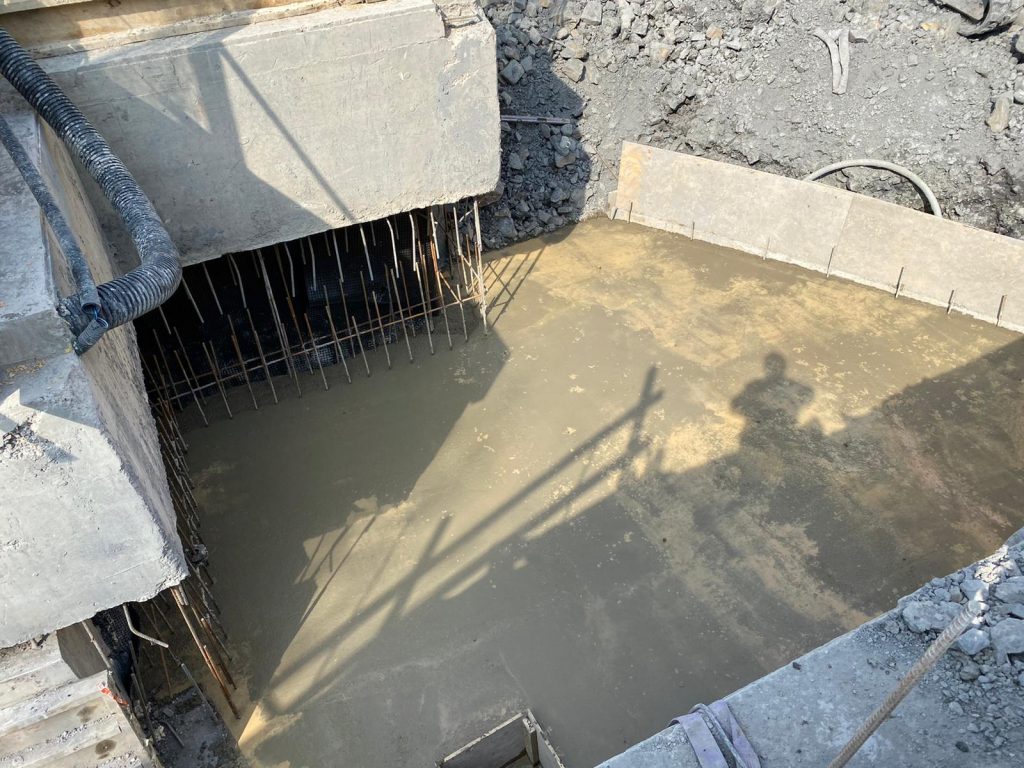
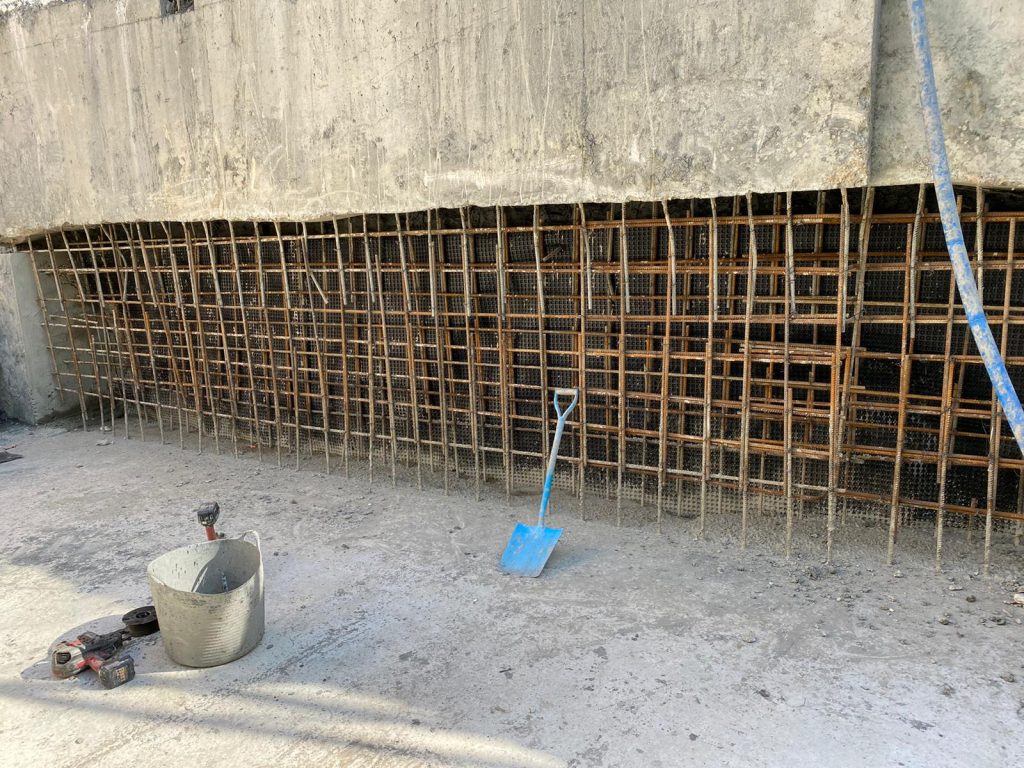
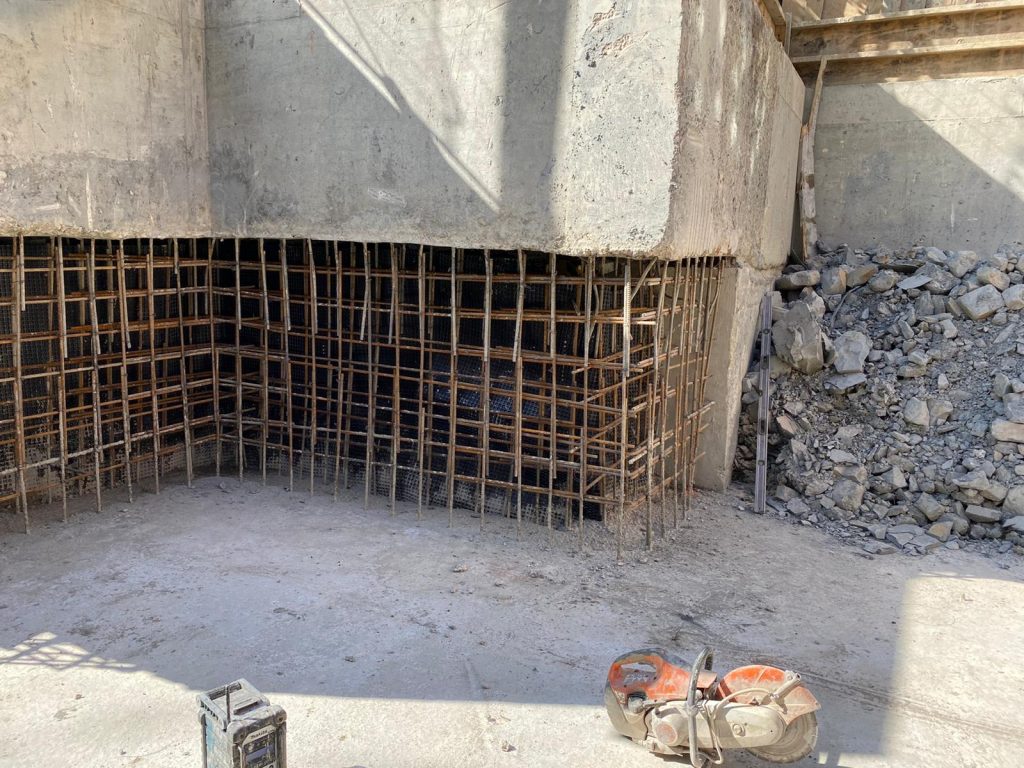
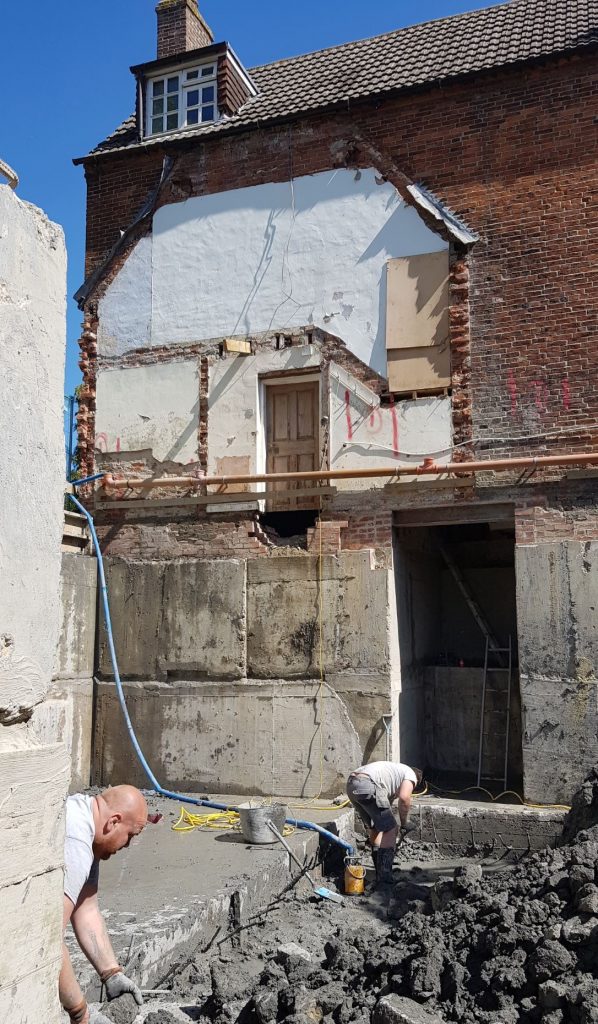
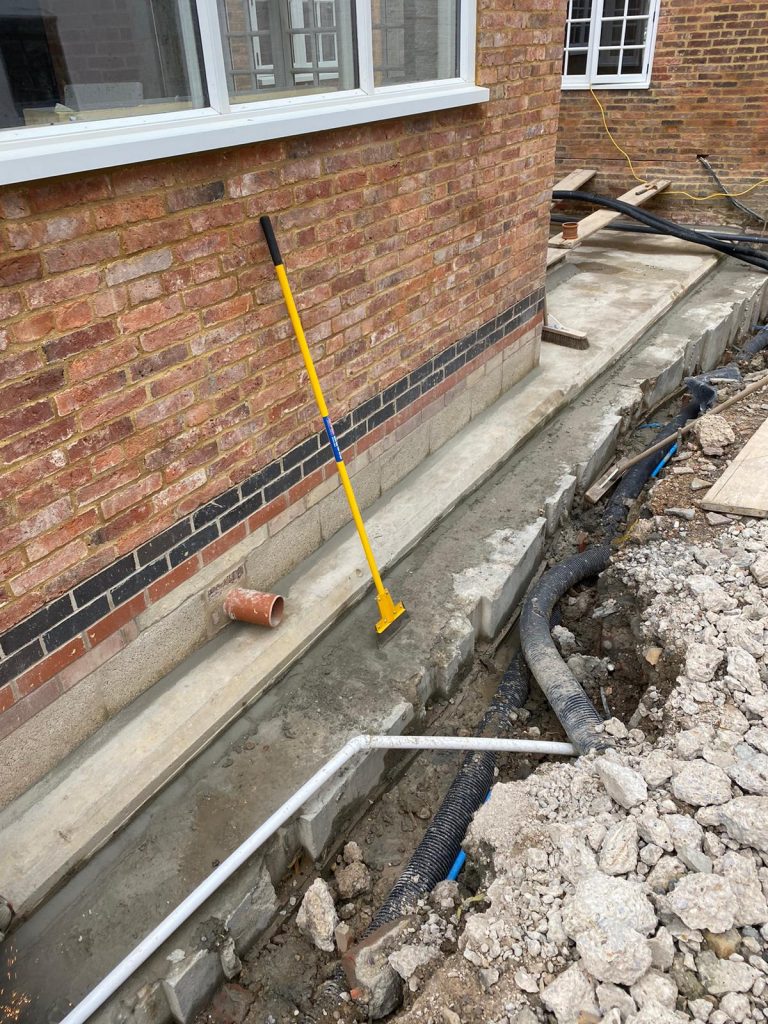
The rear of the house needed to be supported before the main excavation. To prevent it from becoming unstable, 1 metre wide sections were excavated in sequence, reinforced and cast in concrete. Whilst the section was open sacrificial props were used to ensure the building was always supported.
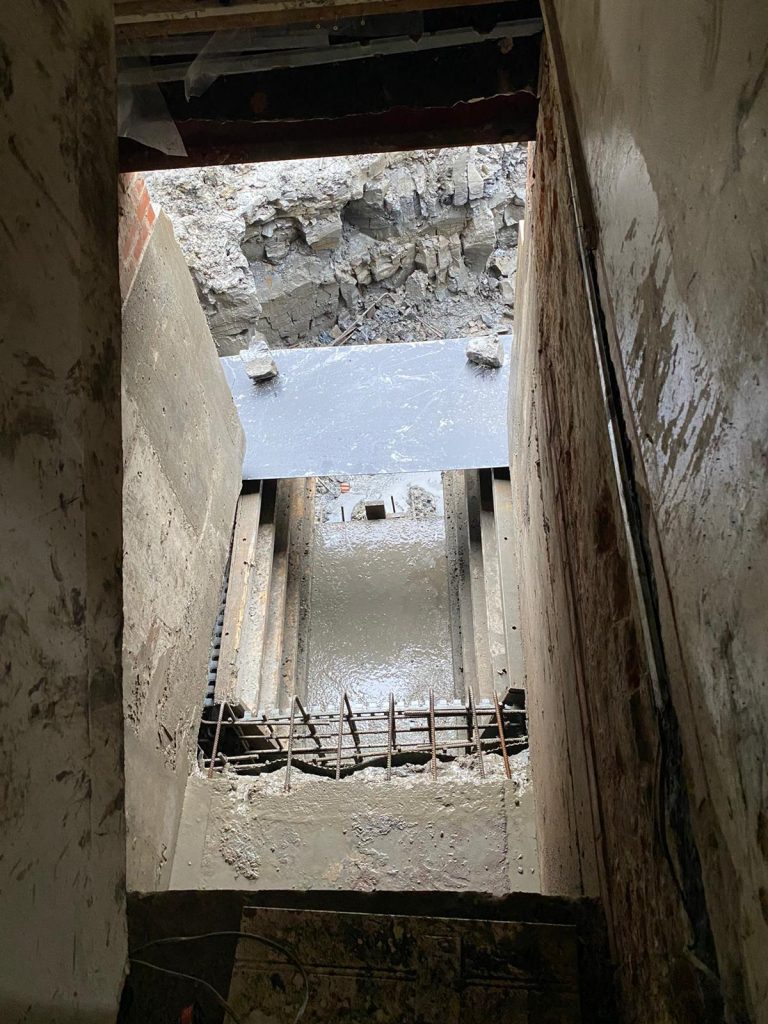
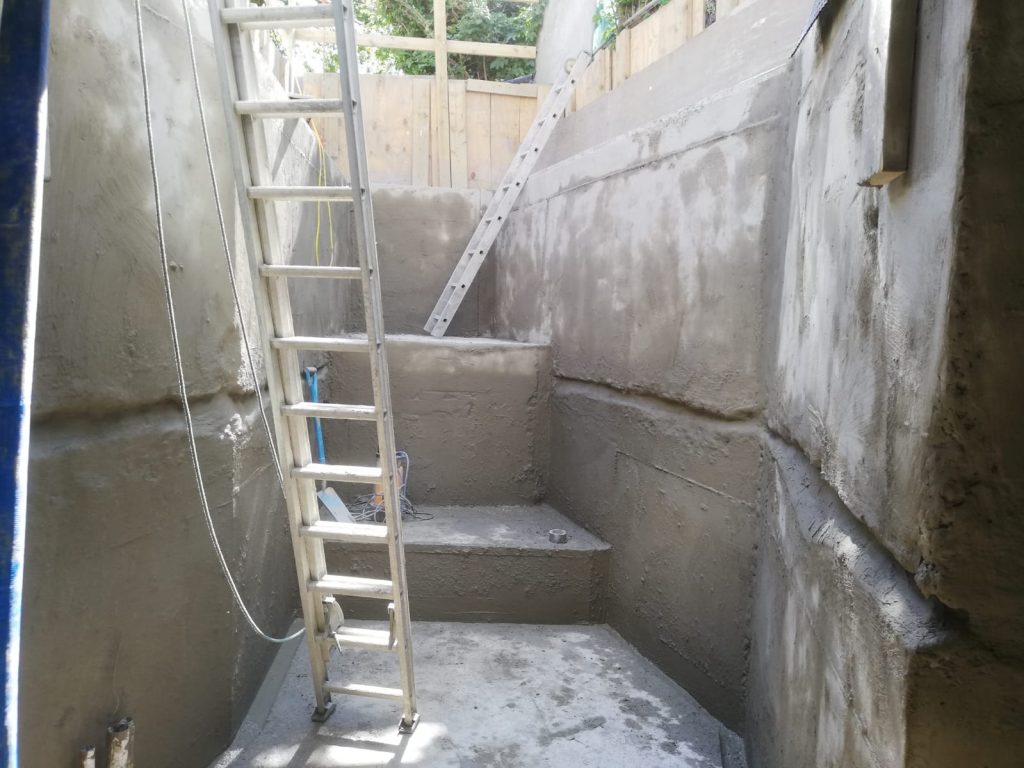
In the centre of the rear elevation a new stair well was excavated under and into the house. This would form the link between the new basement and old house.
Creating the ring beam walls
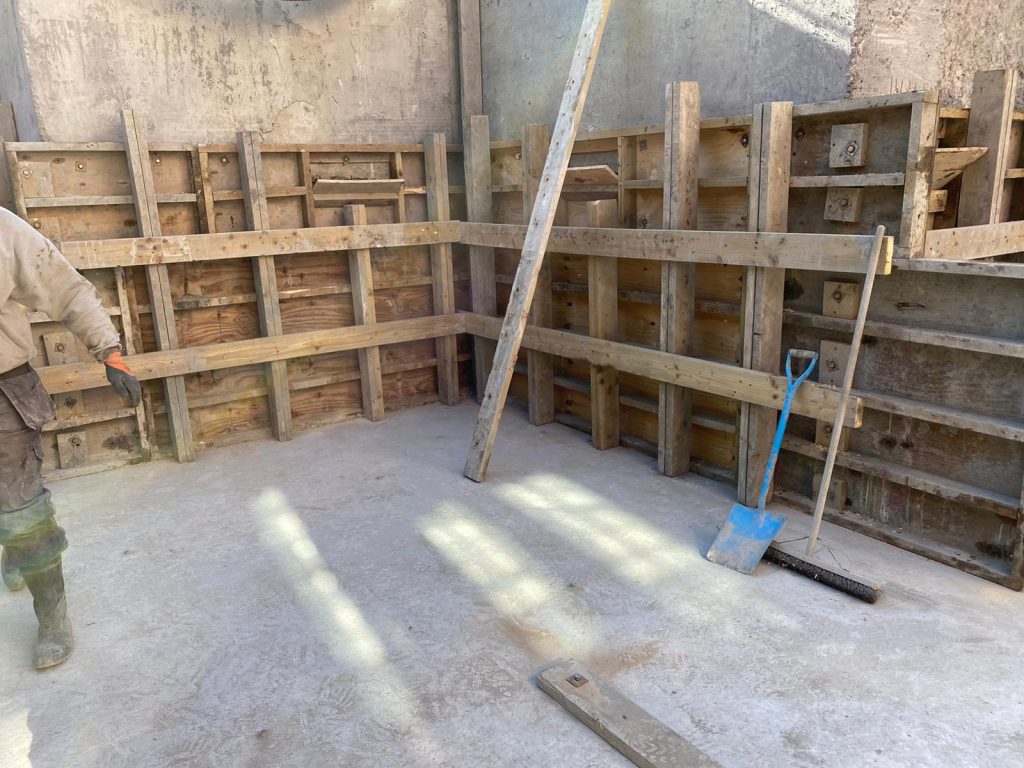
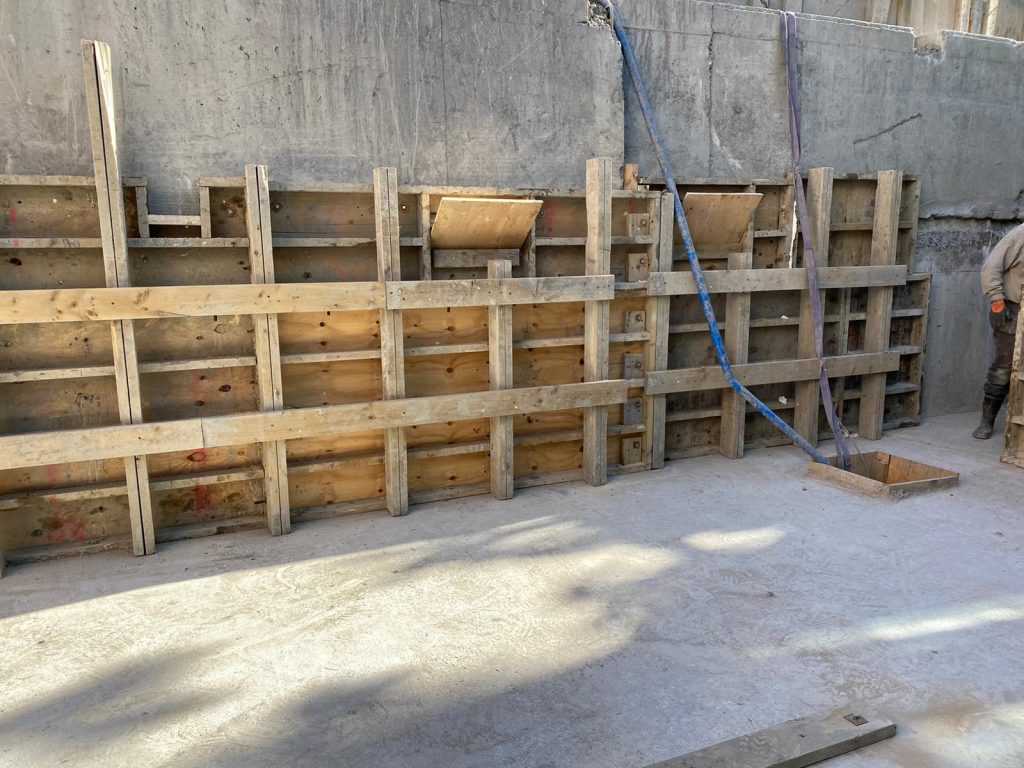
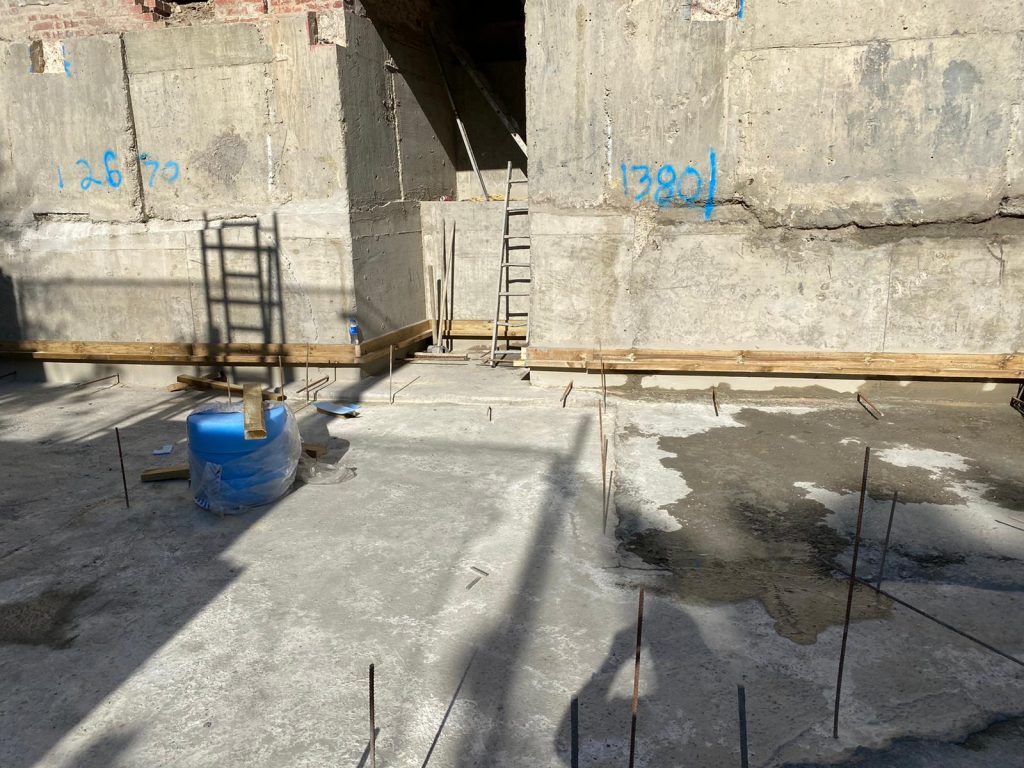
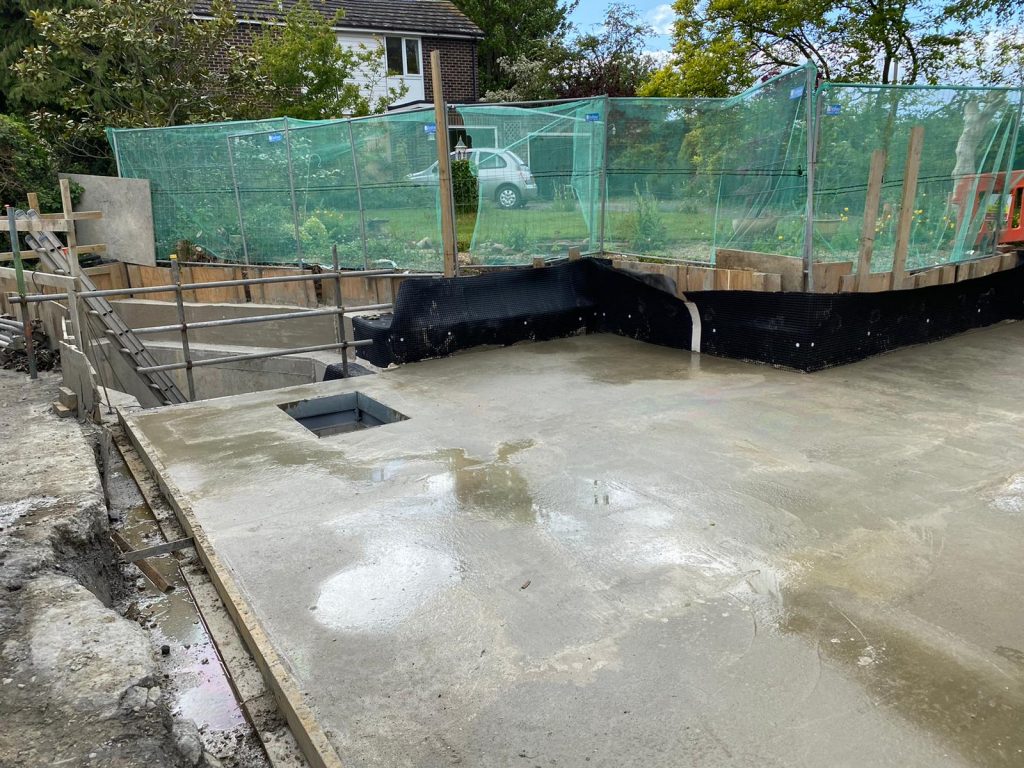
With the house supported, the main walls could begin. Due to the proximity of other houses, this had to be carried out in stages to prevent collapse. The initial excavation to 1.2m was carried out and the perimeter walls supported, reinforced and cast in concrete.
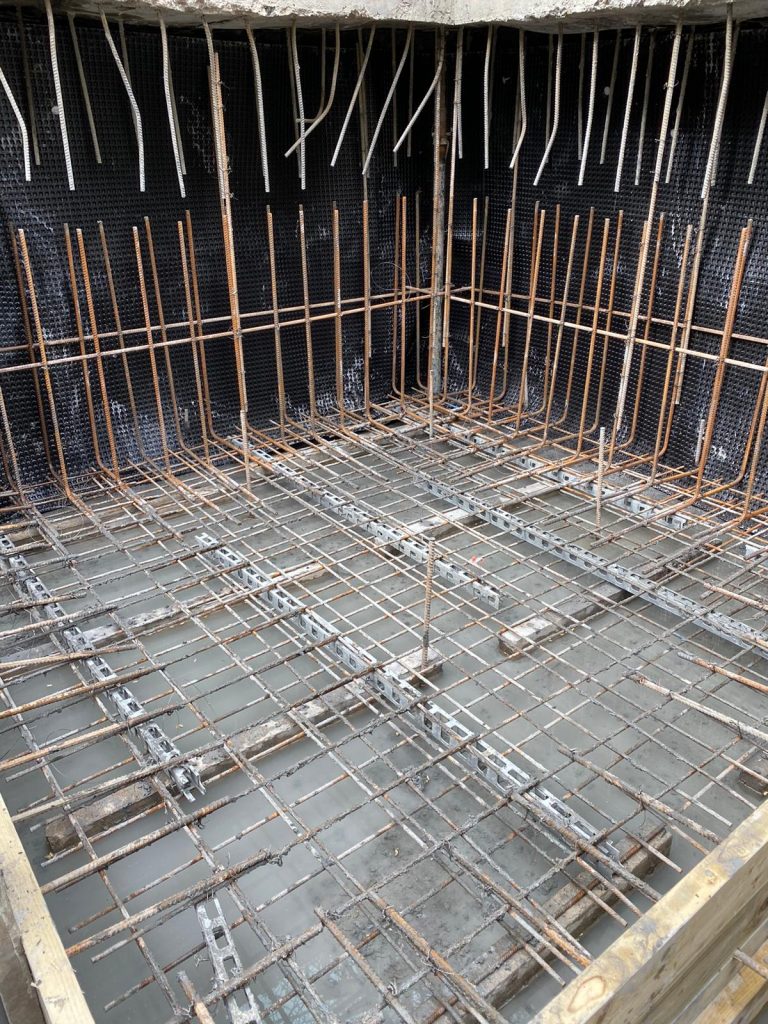
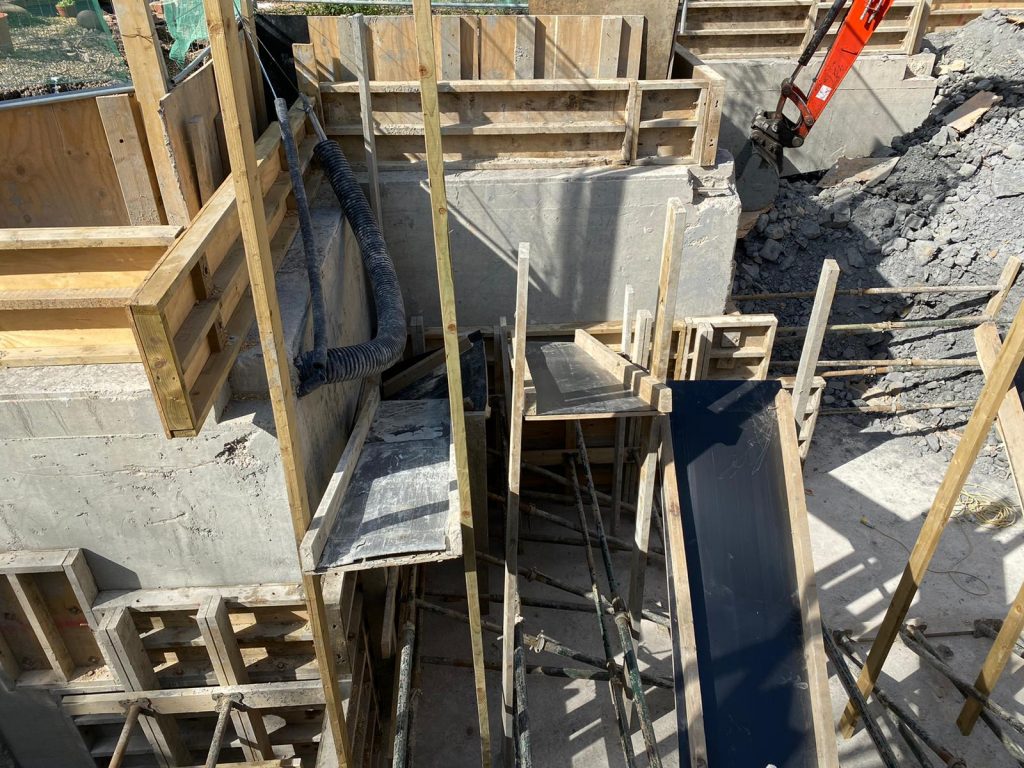
With the top section complete, the excavation was completed to 3m and the ring beam supported from below. A concrete base was cast section by section, with steel tying all components together.
Once the base had been cast, the top ring beam was underpinned by casting concrete, forming one continuous structure.
Structural slab
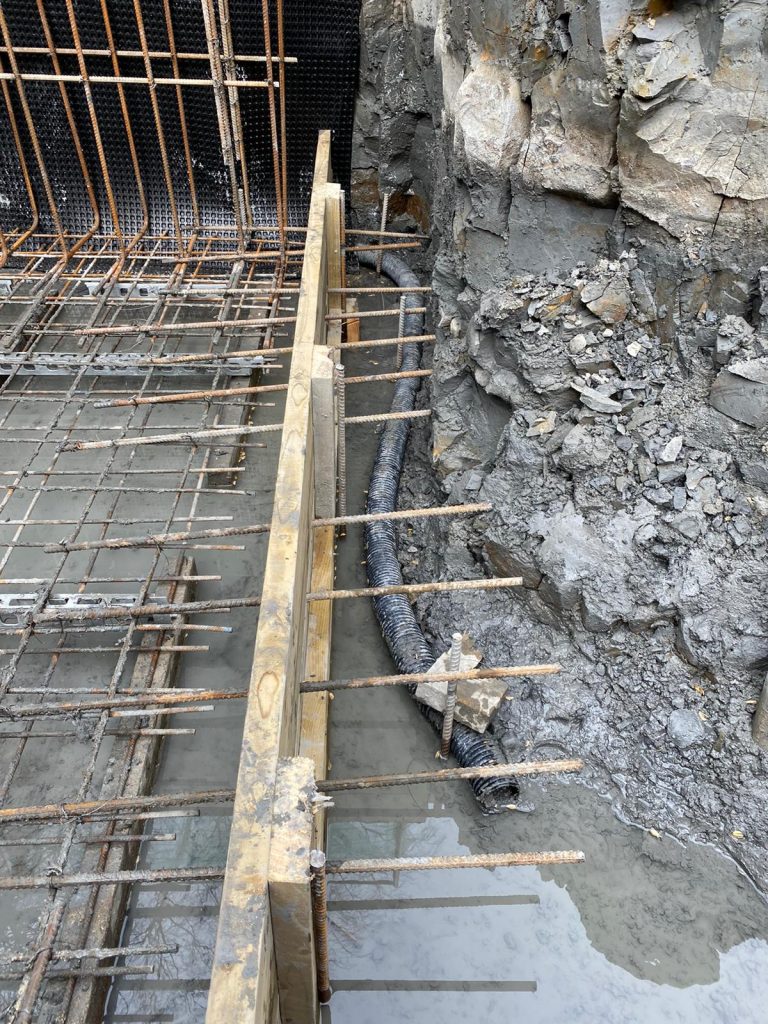
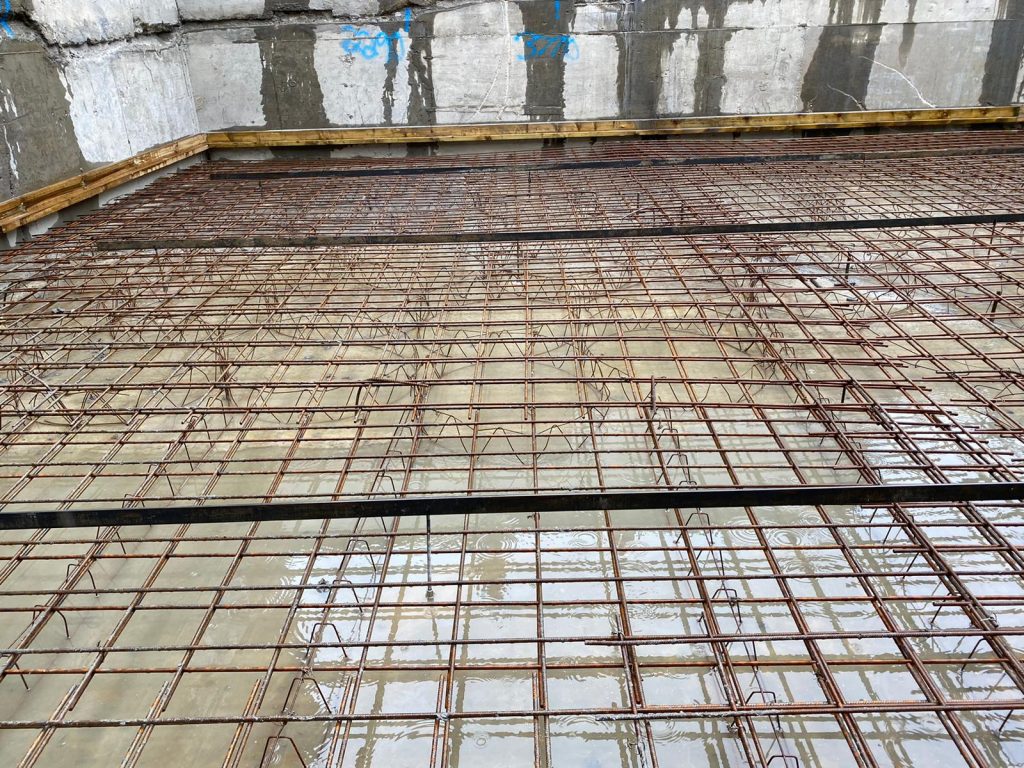
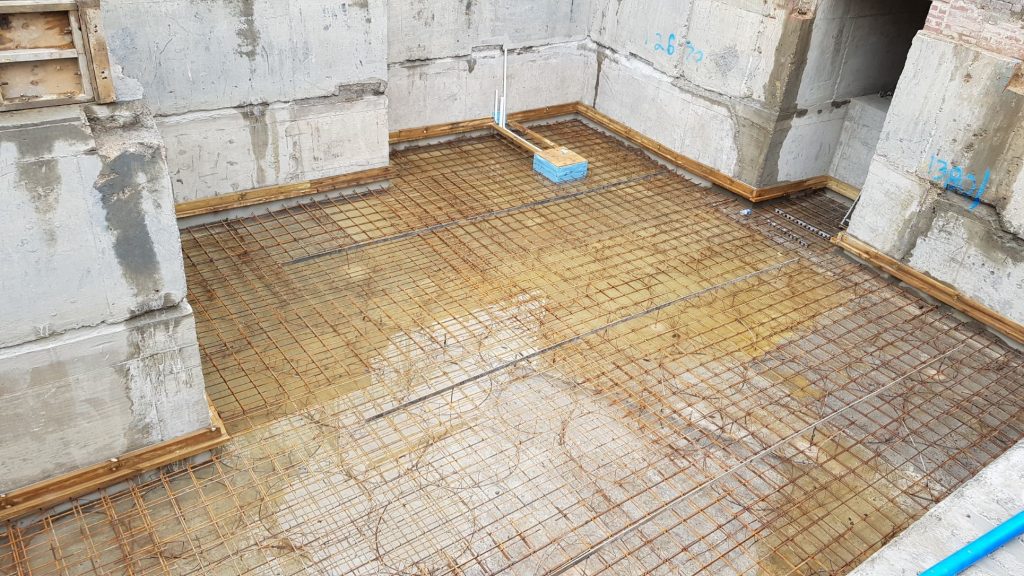
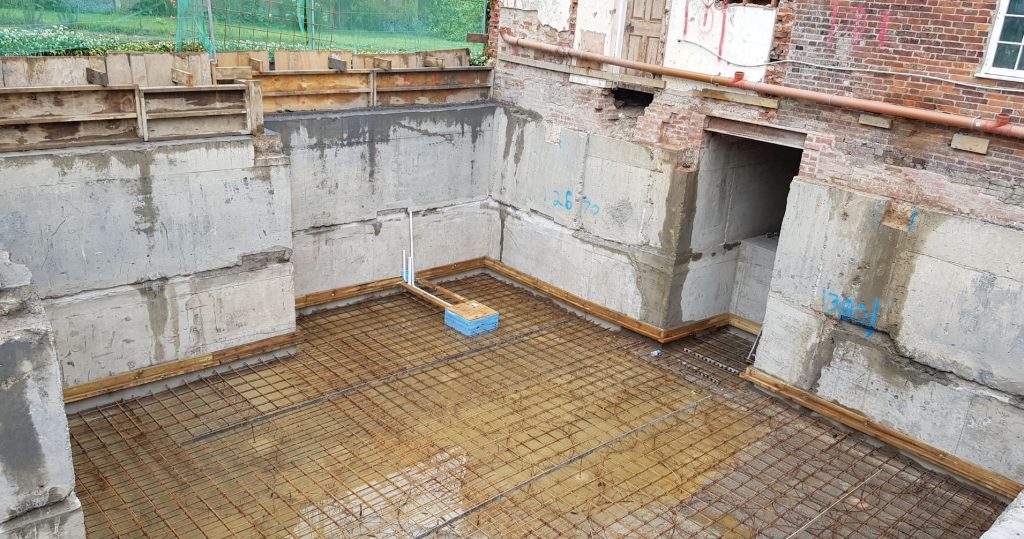
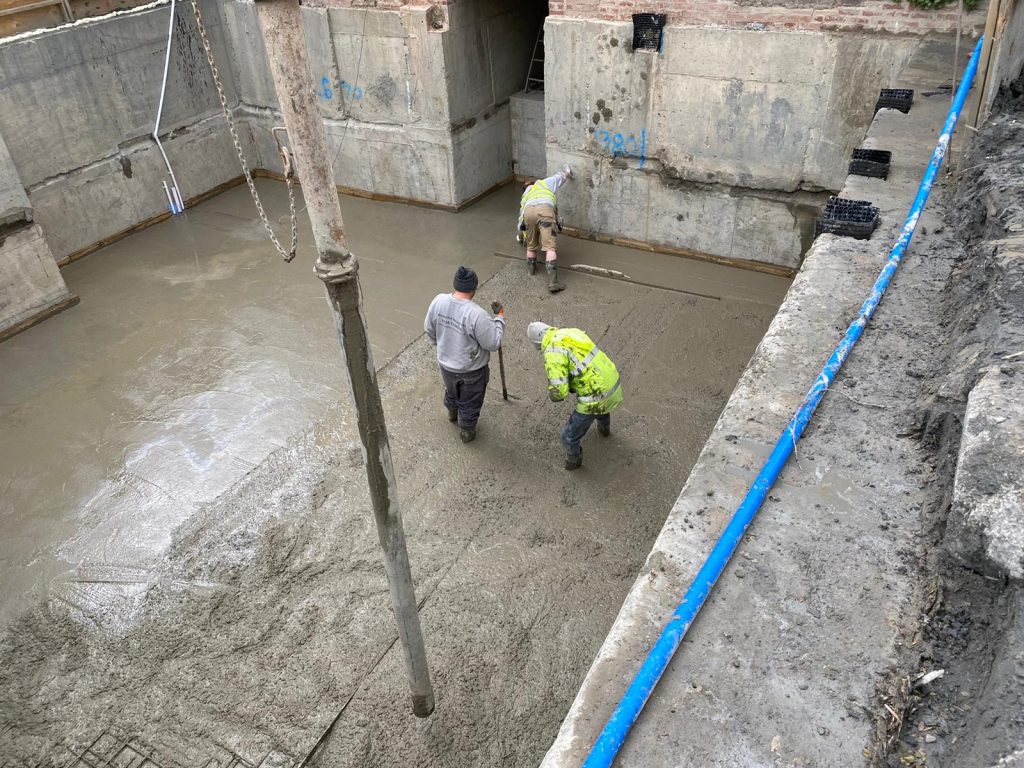
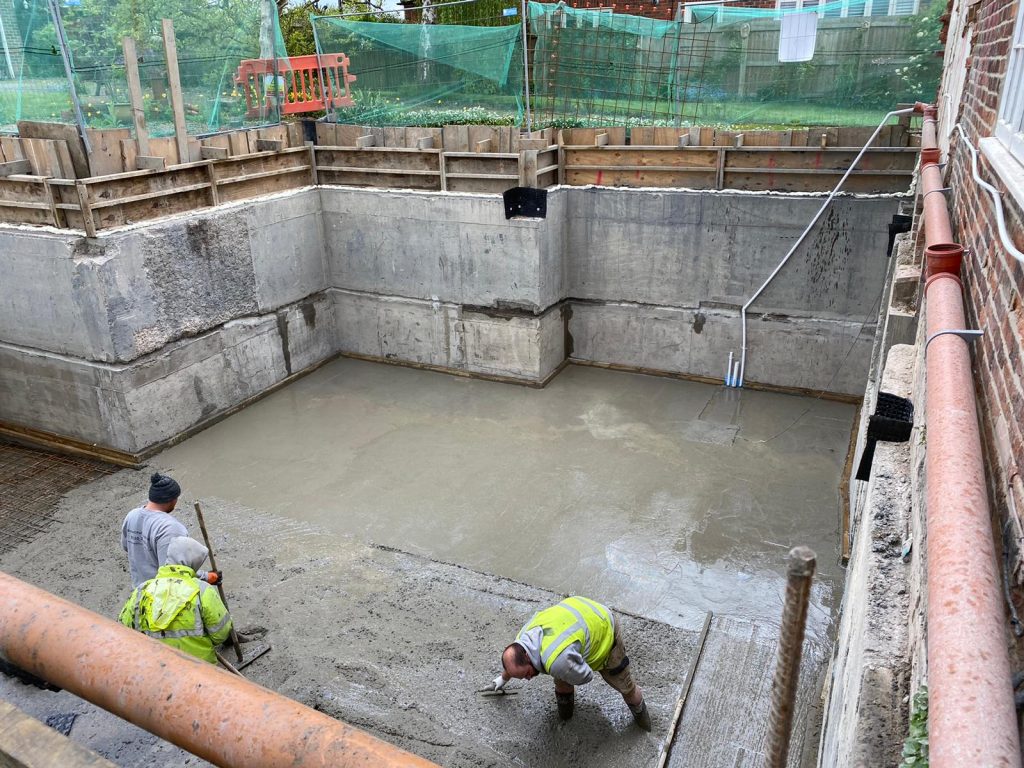
The final step in stage one was to cast a reinforced waterproof concrete slab across the whole floor. This provided watertight integrity and tied all slab sections together.
Waterproofing materials supplied by Triton Systems Ltd. For a basement fully constructed out of waterproof concrete, click here
Deck & waterproofing
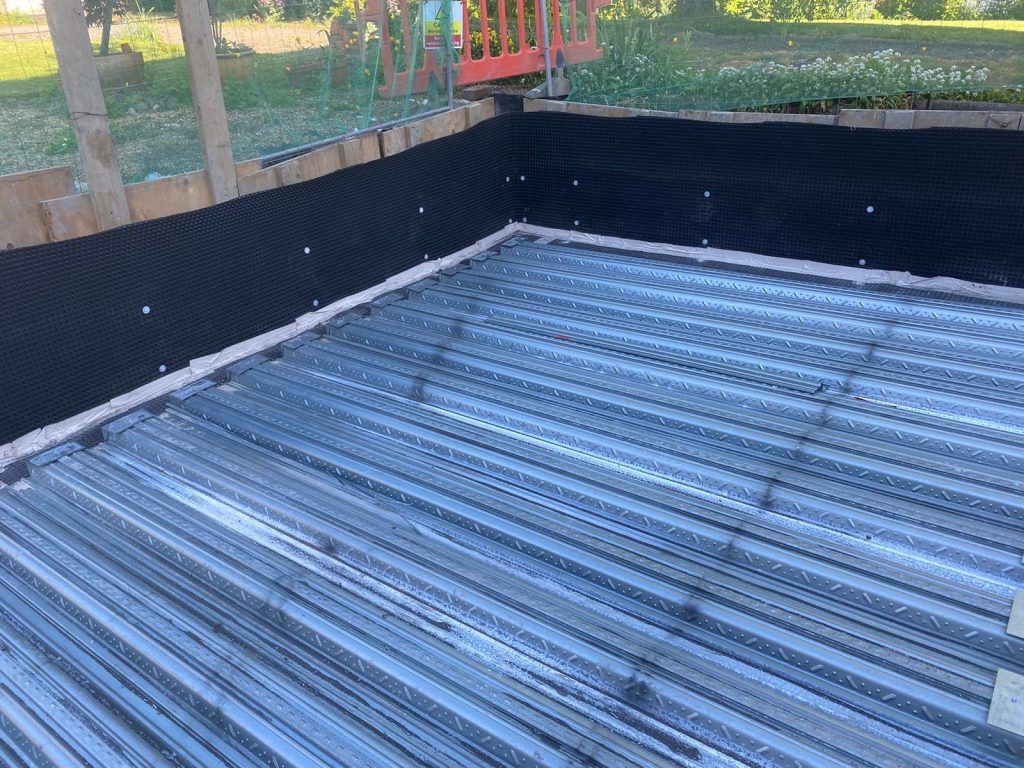
Installing the rib deck to the basement
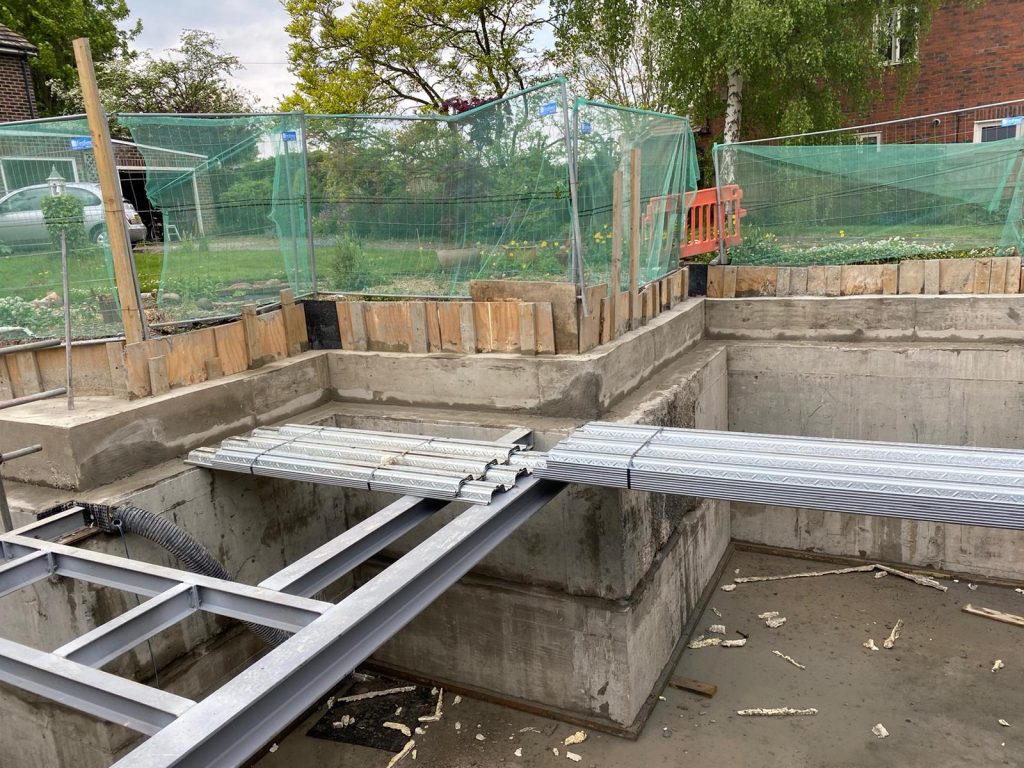
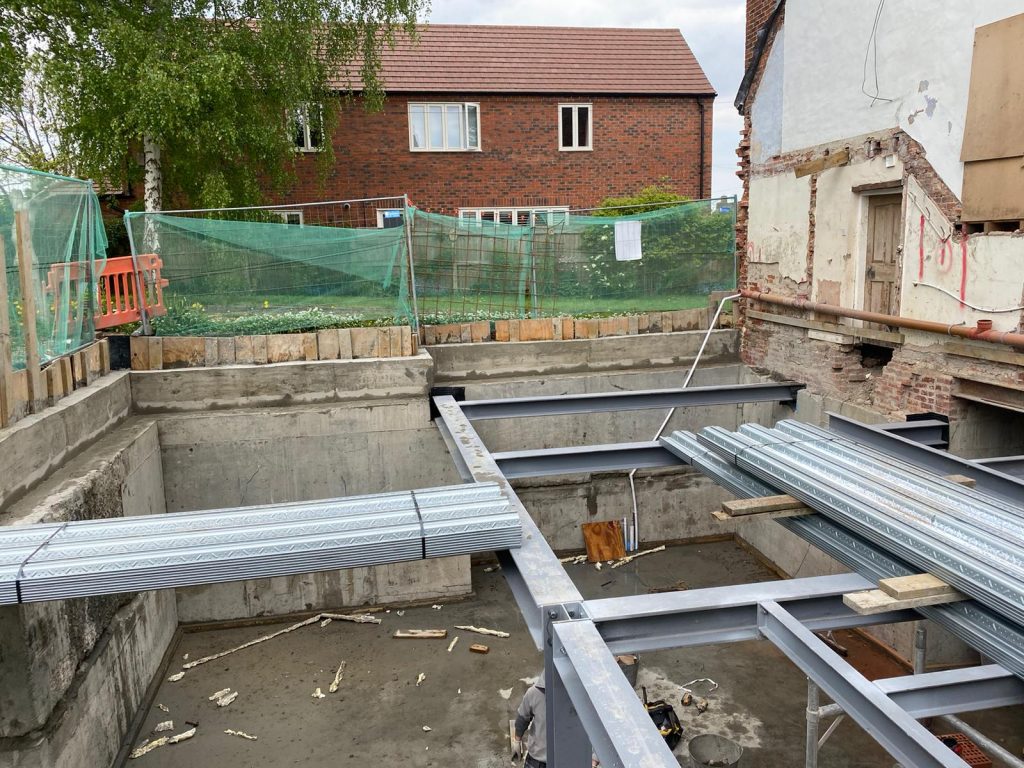
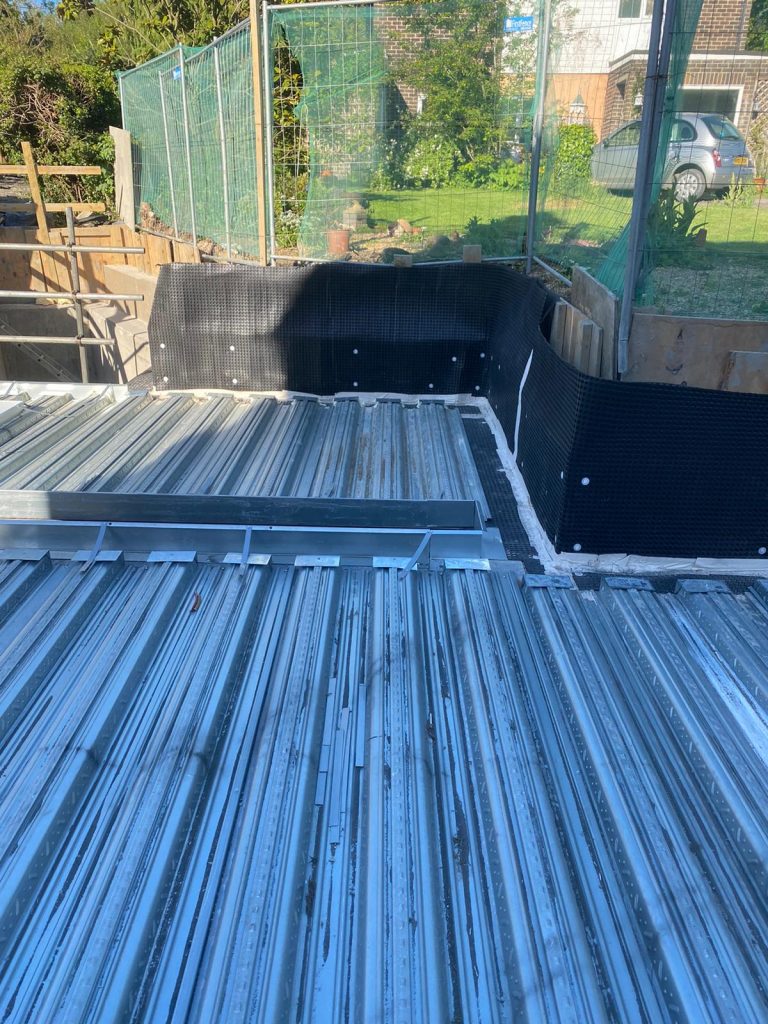
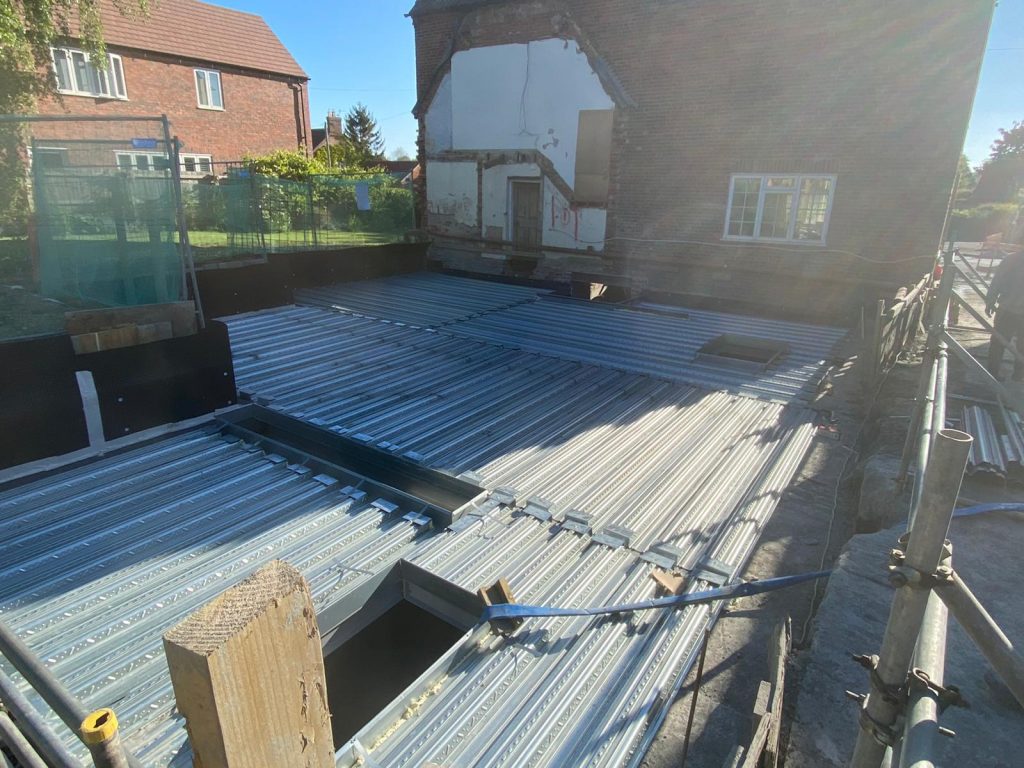
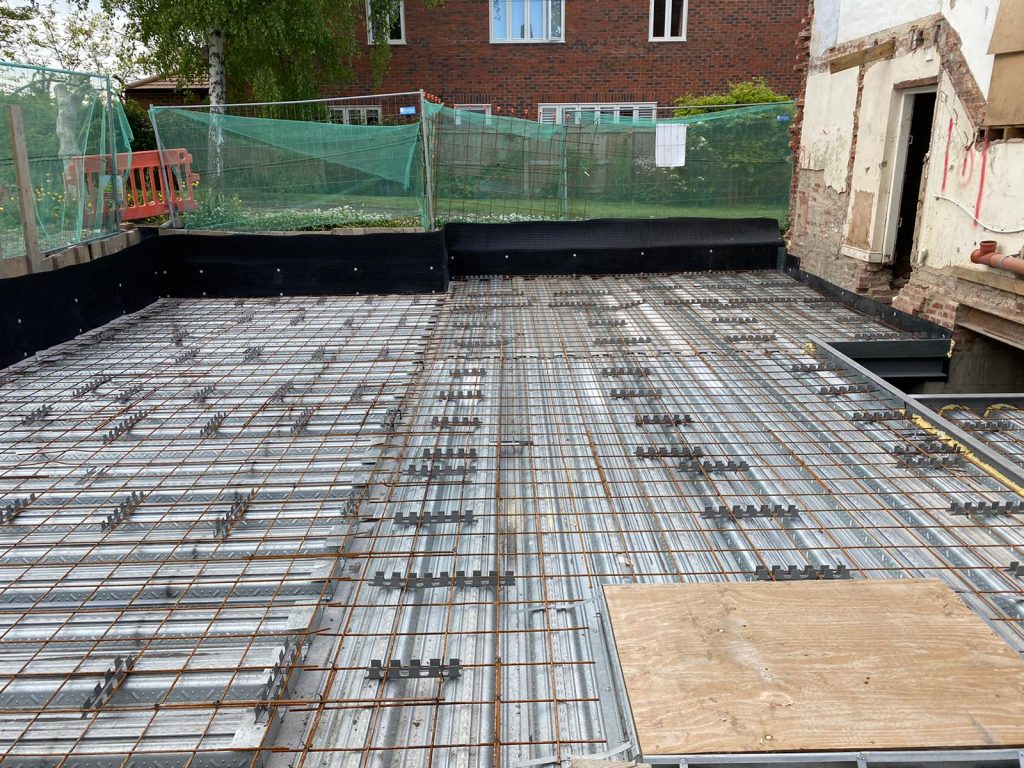
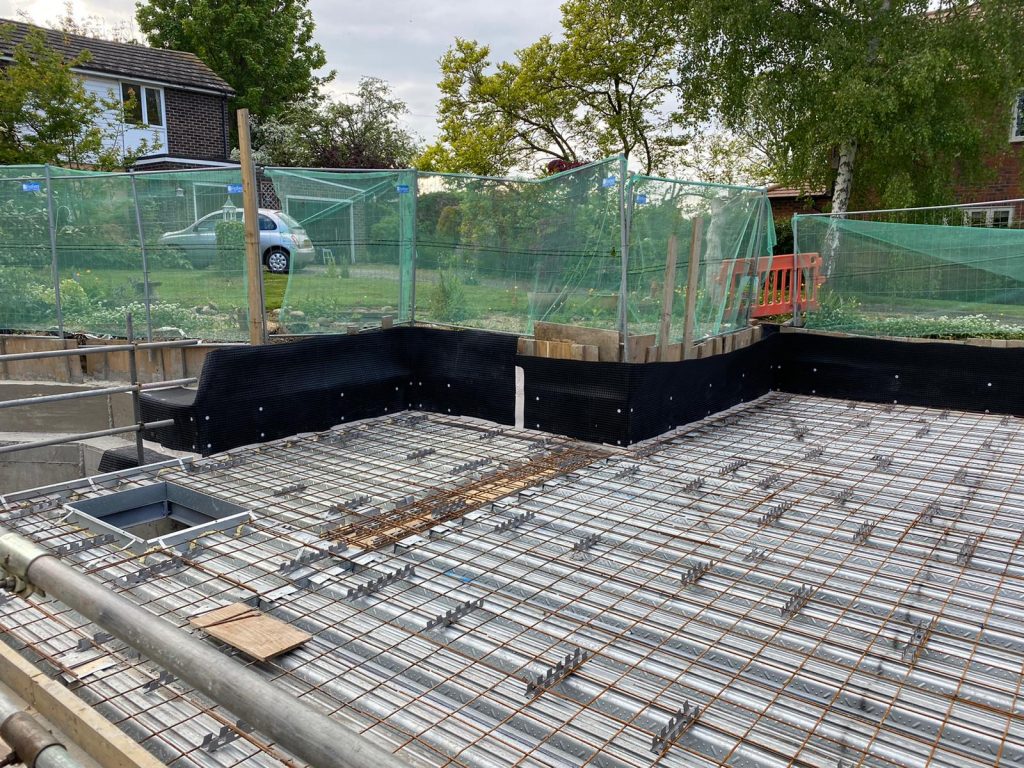
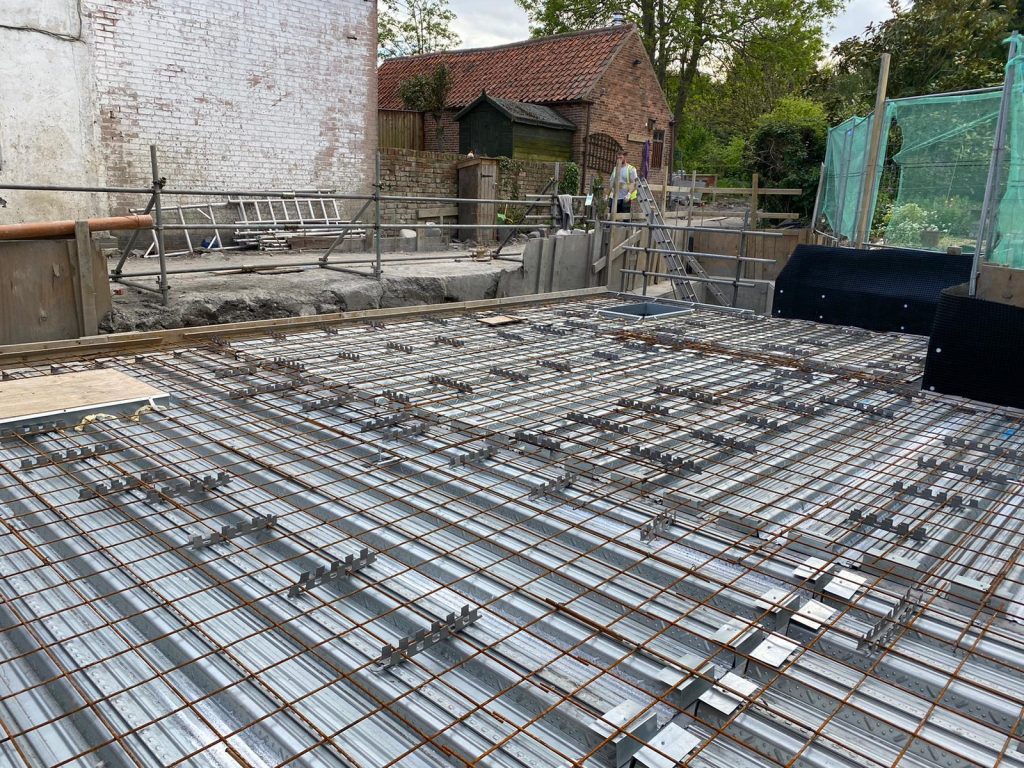
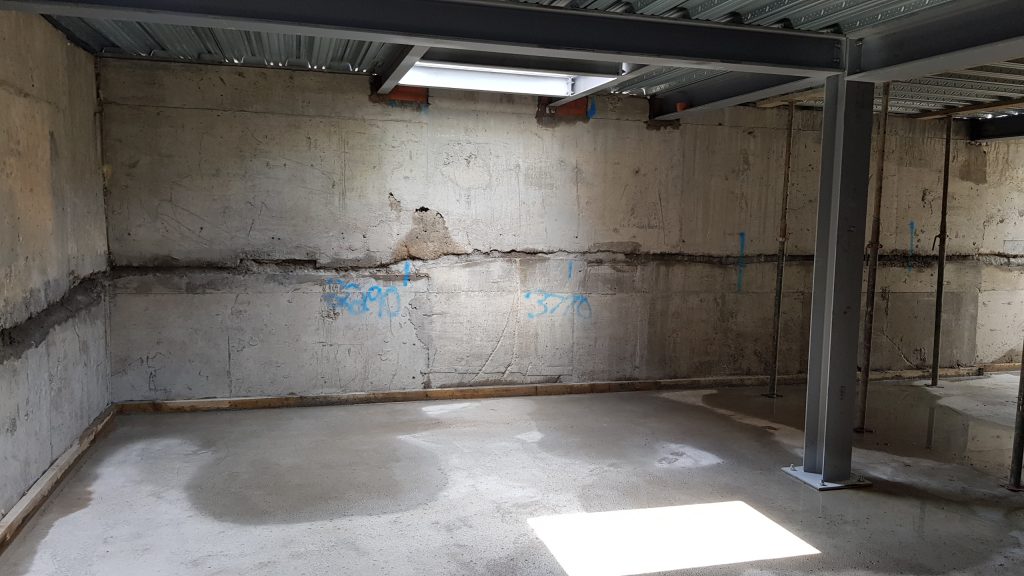
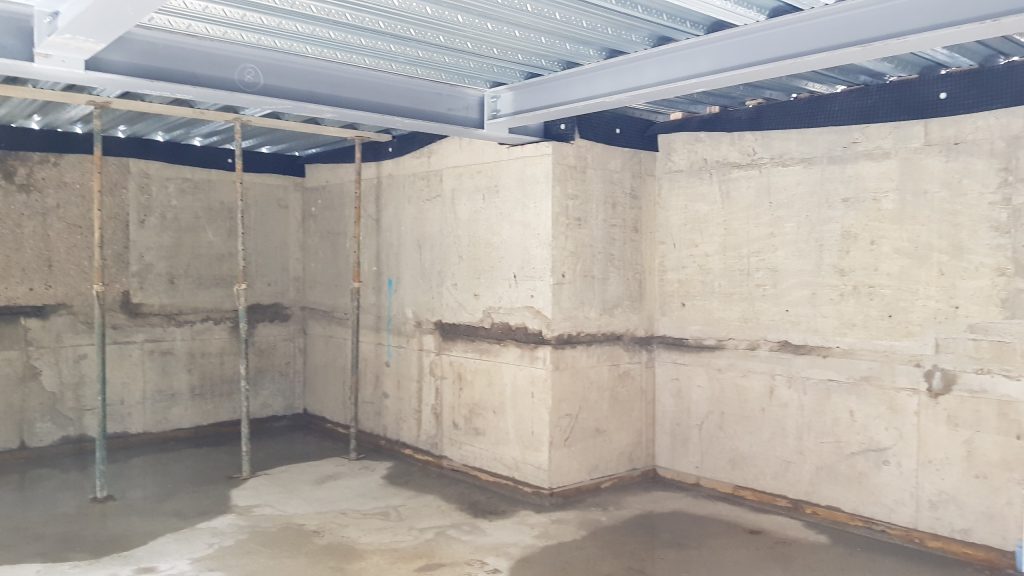
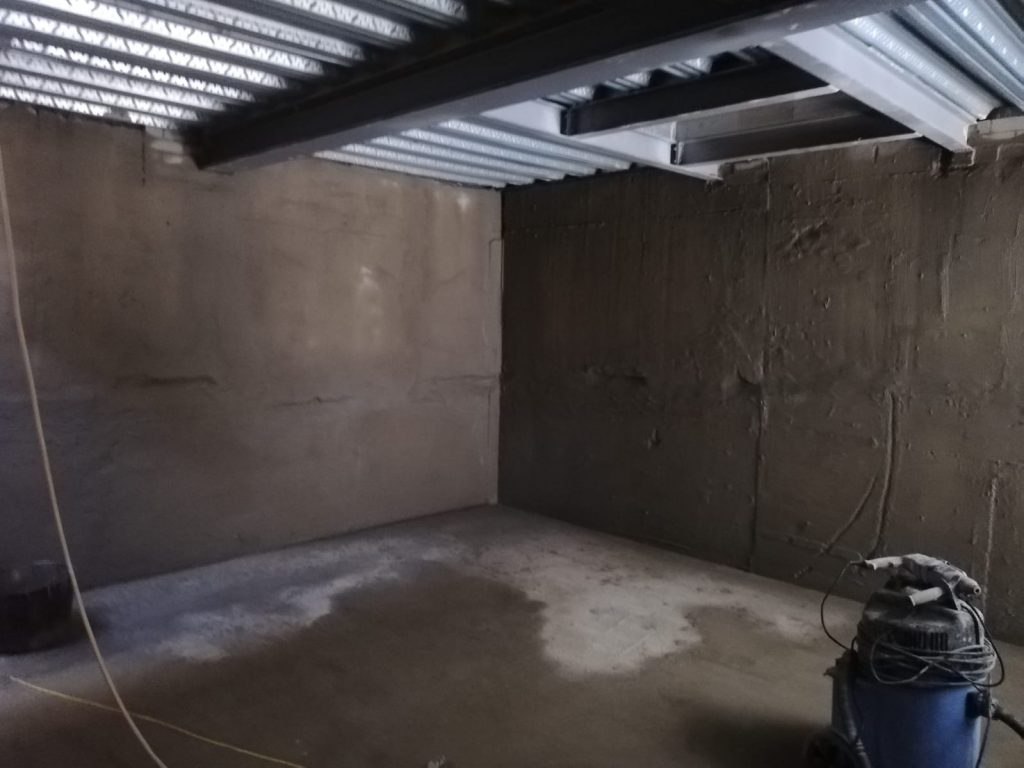
With the walls and floor fully cast in concrete, the ground floor was created. A series of steel beams were installed with central vertical supports to carry the floor above.
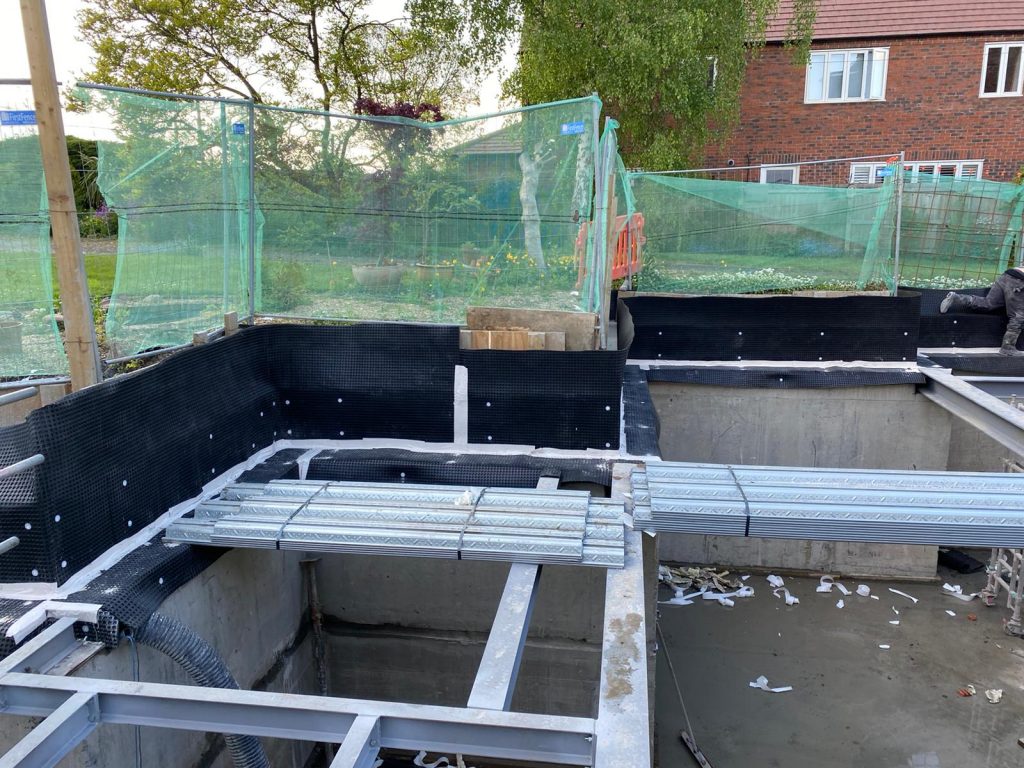
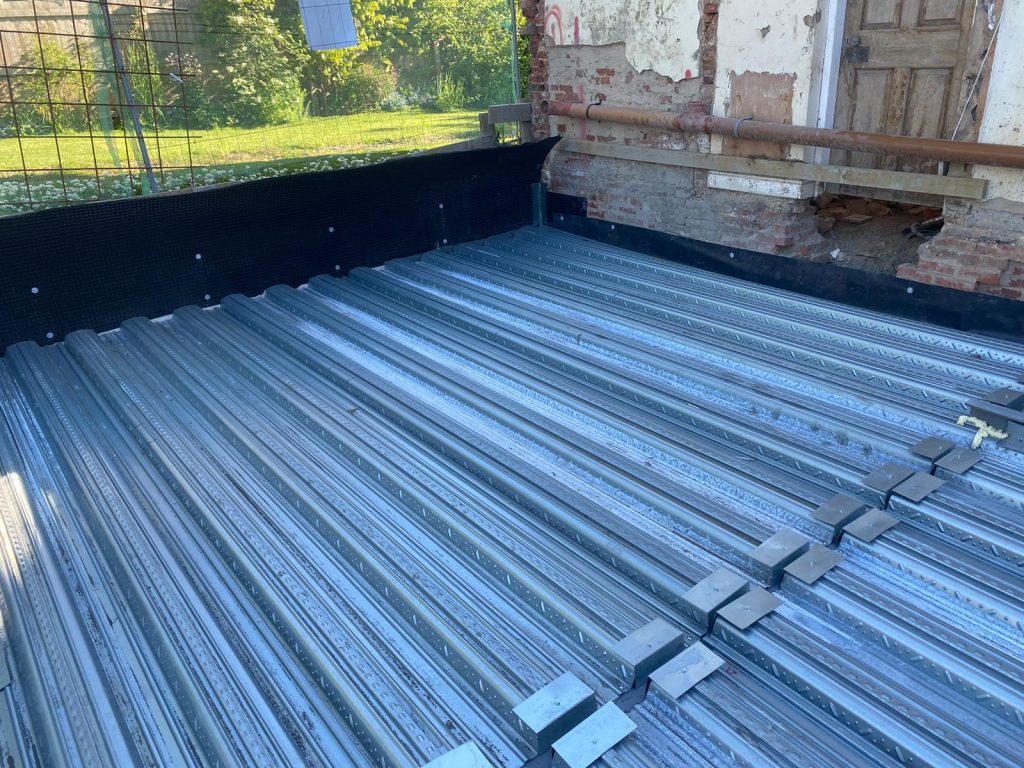
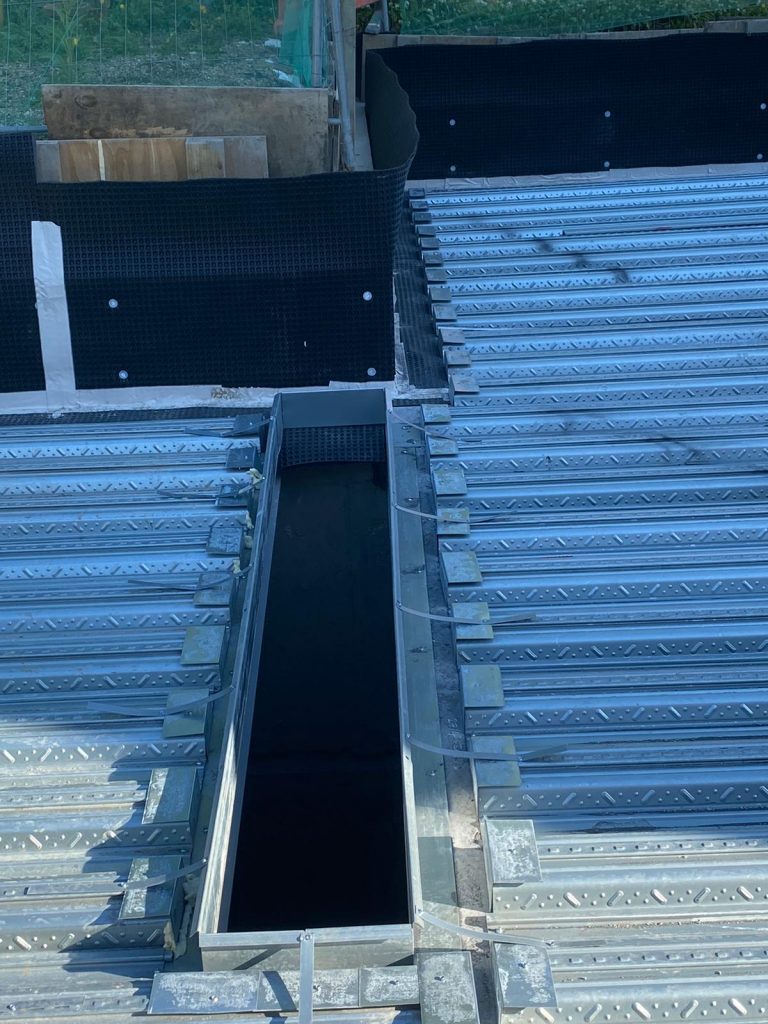
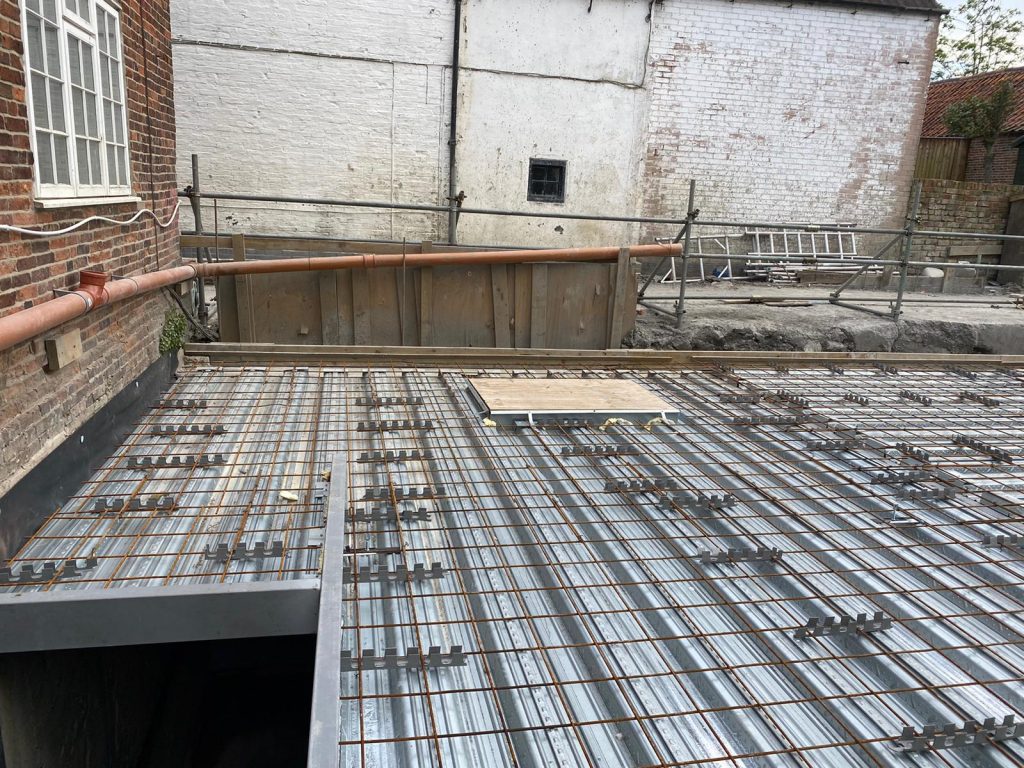
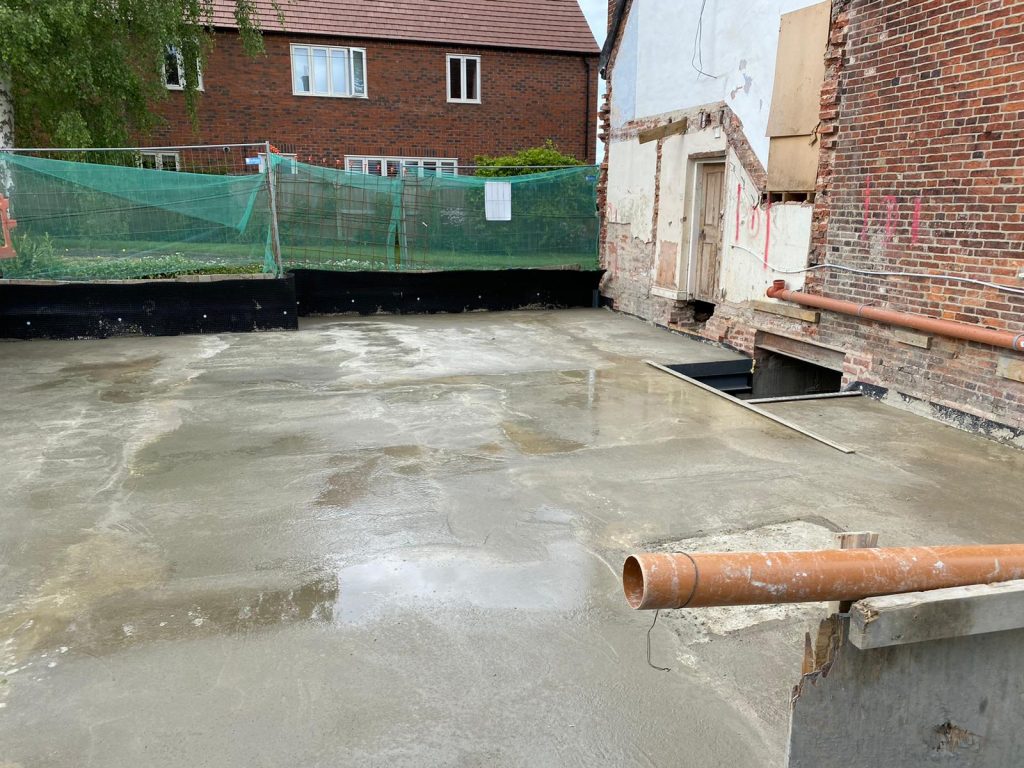
Large metal sheets, or “ribs” were attached to the steels and sealed around the perimeter. These sheets were temporarily supported from below. Steel reinforcing was laid on top and the deck was cast in concrete. Once cured, the concrete deck could have all temporary supports from below removed.
Waterproofing
Internal Waterproofing
System 1 – Type A – Barrier protection
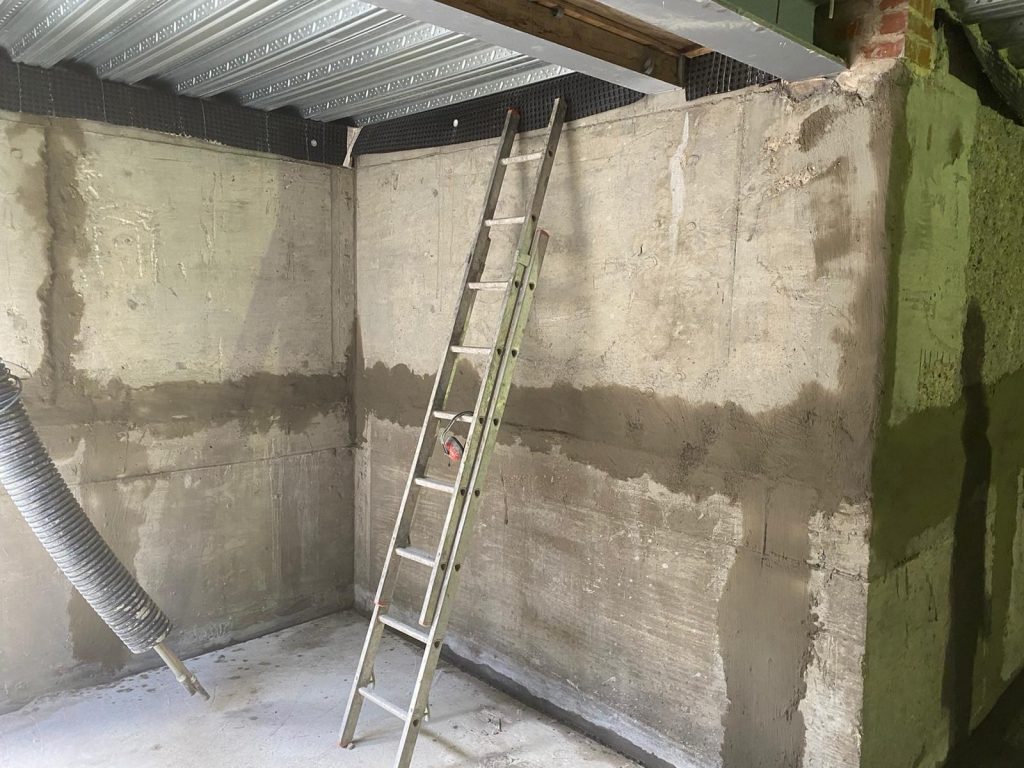
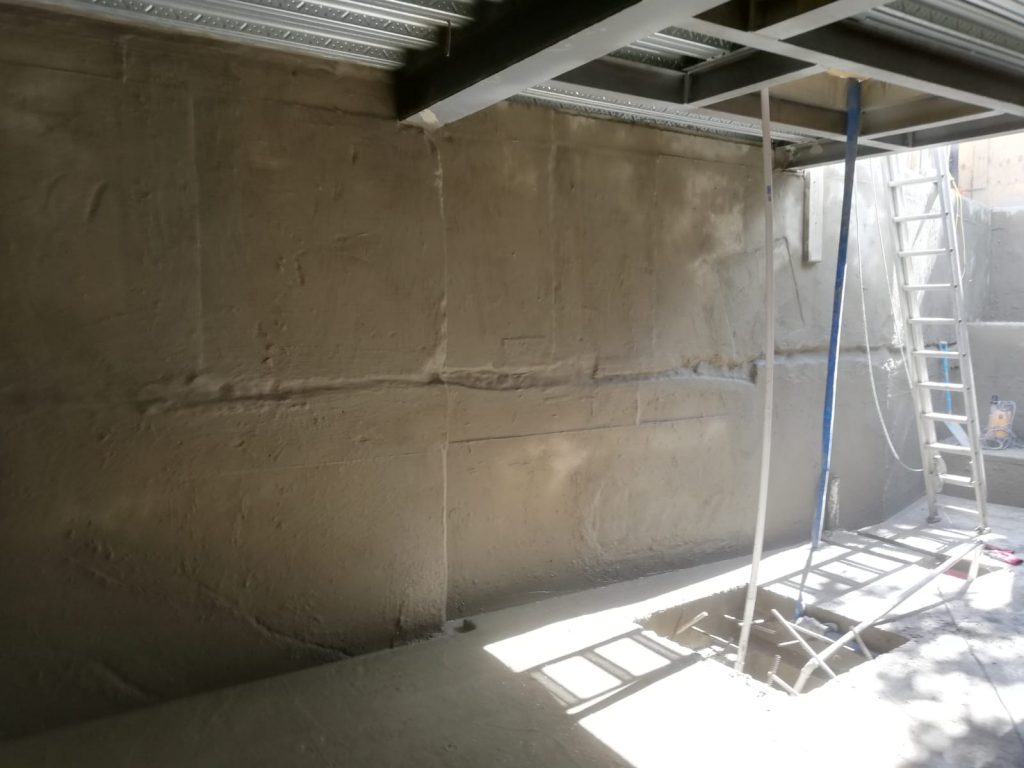
Due to the method of build, there were many joints in concrete pours that can become a pathway for water to track into the basement. The first step in waterproofing was to prevent this. Each pour was coated with a crystallising slurry prior to the adjacent section being concreted. Once cast, the joint between the two was extensively cleaned and a waterproof mortar used to create a flat surface.
With the joints waterproofed the whole basement could then be waterproofed. It was done in the same manner, all defects repaired and then two coats of the crystallising slurry applied throughout.
System 2 – Type B – Integral protection
The RC slab consists of two layers of concrete. The first layer of concrete (circa 400mm) is purely structural. The second layer provides a complete floor slab with Type B waterproof concrete which is poured in a single day with no joints.
Connections to the retaining walls are sealed with hydrophilic cement based waterproofing products (Type A) both prior to pouring and post pouring.
System 3 – Type C – Drained cavity protection
The final step in the internal waterproofing was to line all walls and floor with a cavity drainage membrane system. This system diverts any remaining water into a channel set at the wall floor junction around the whole perimeter. The channels are linked to a sump and pumping station, where water collects and is discharged automatically. The basement finishing layers are then build dry side of these membranes.
Deck Waterproofing
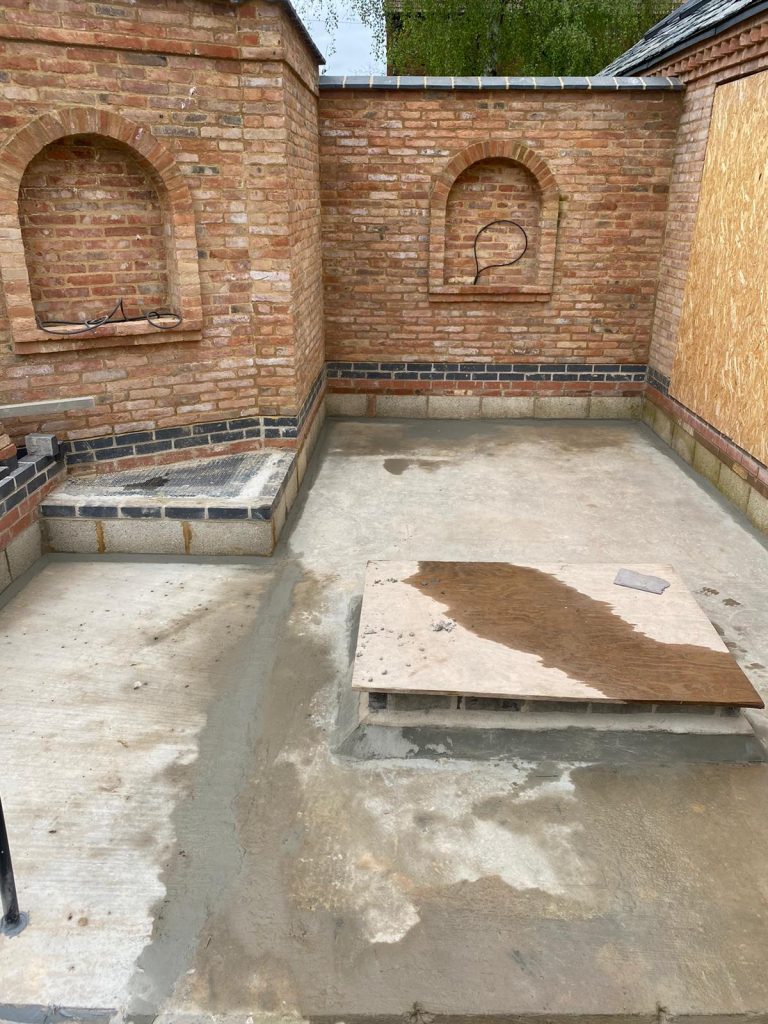
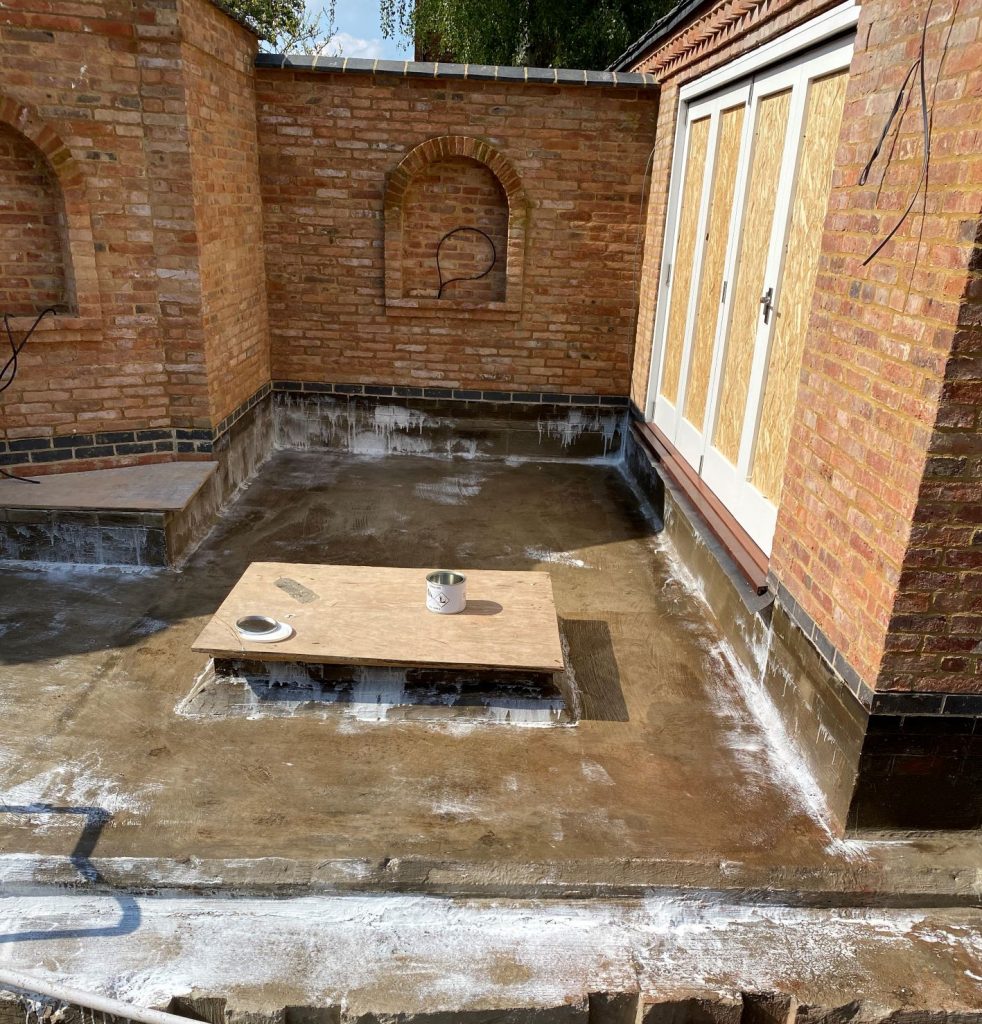
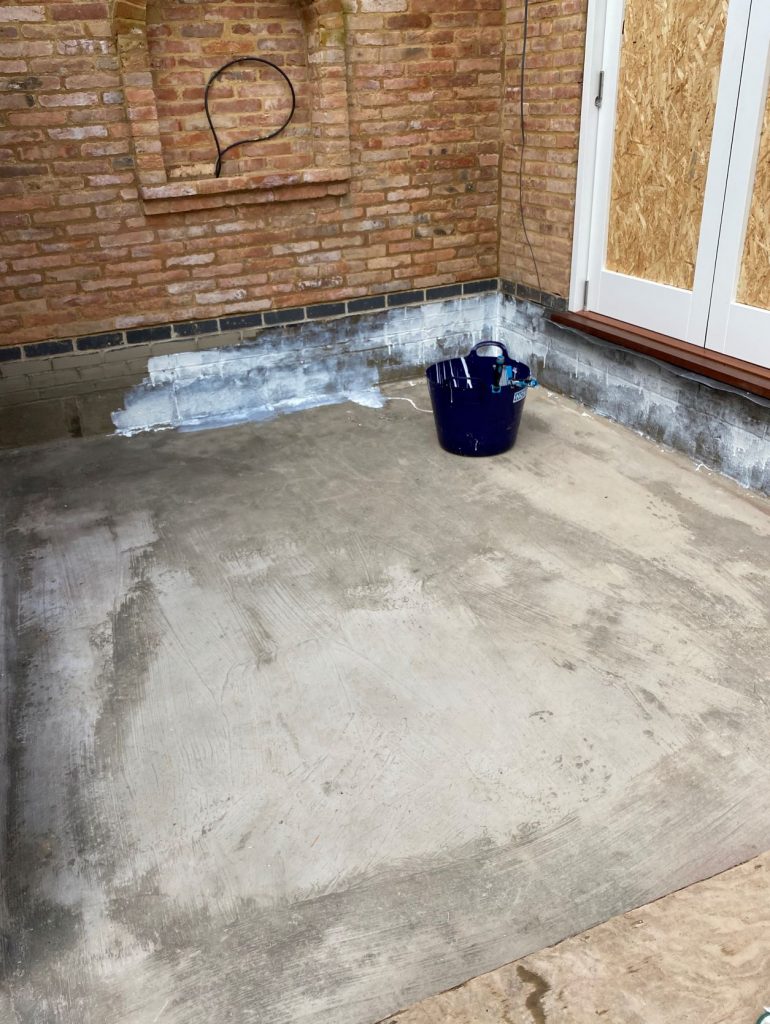
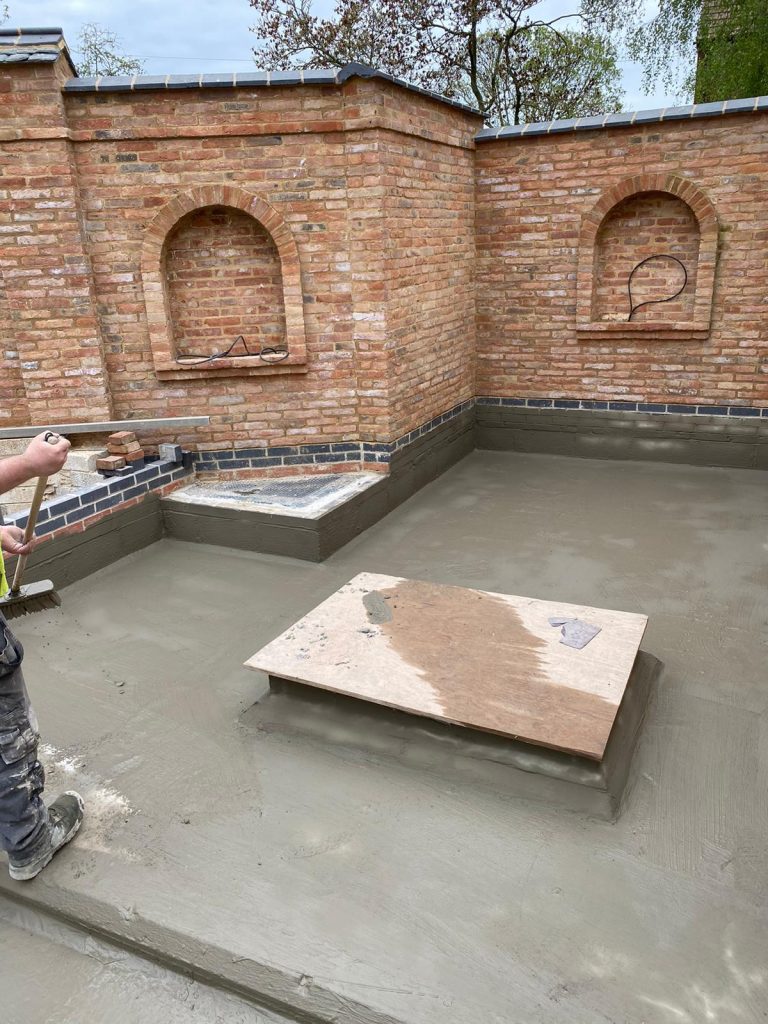
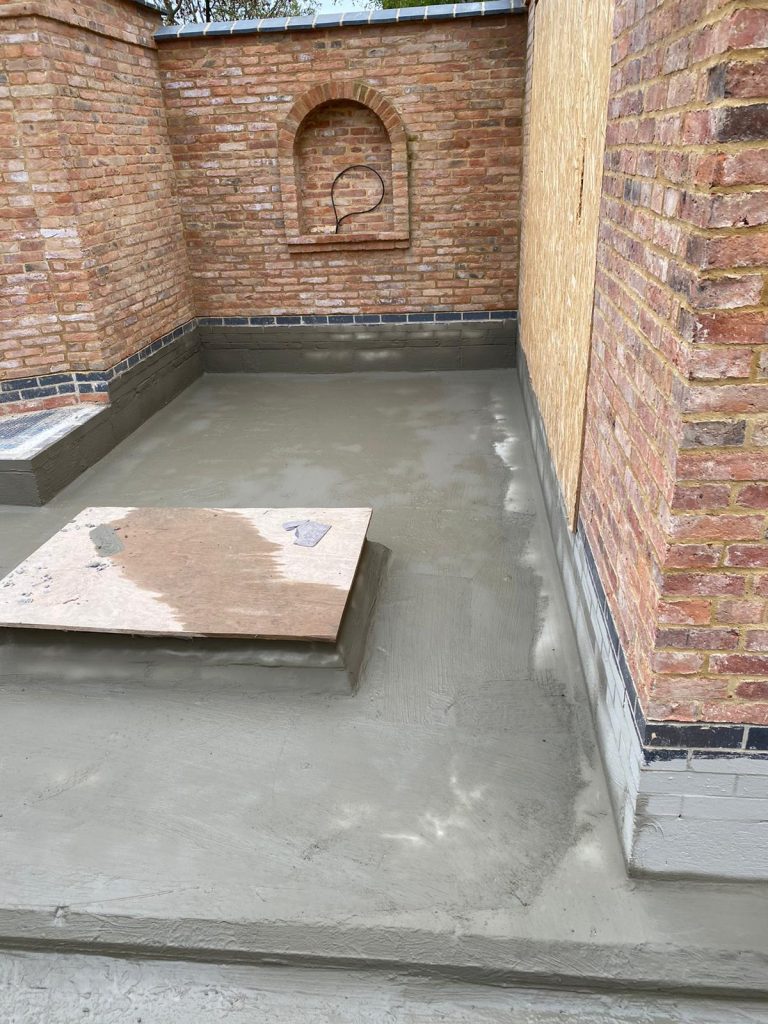
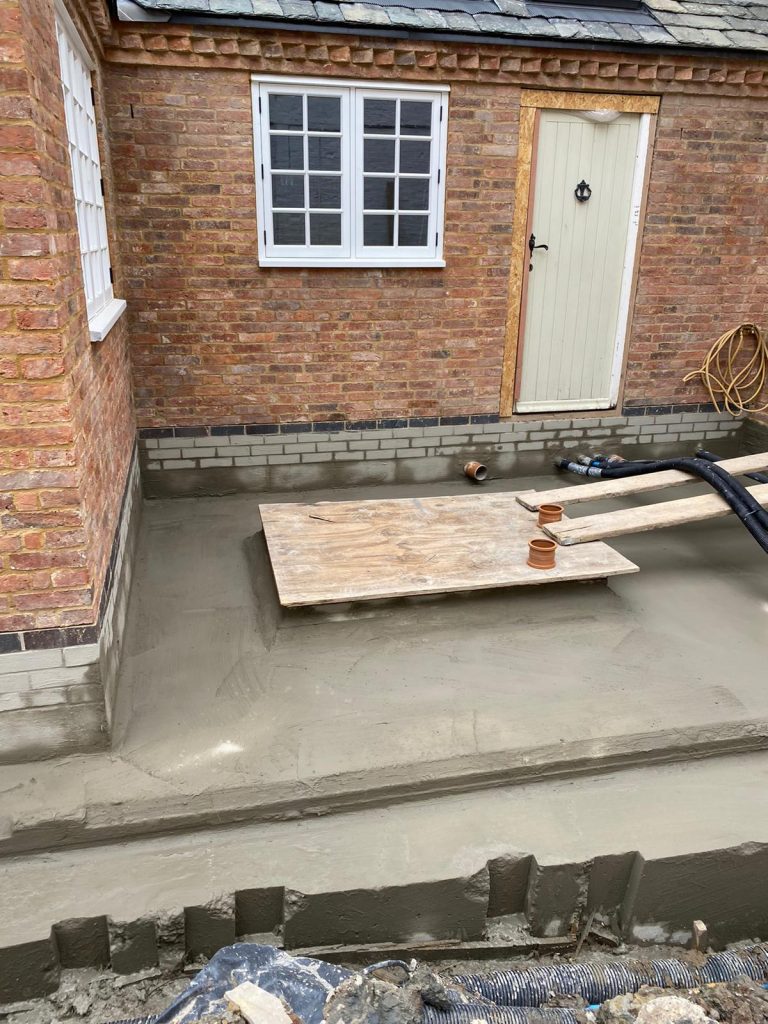
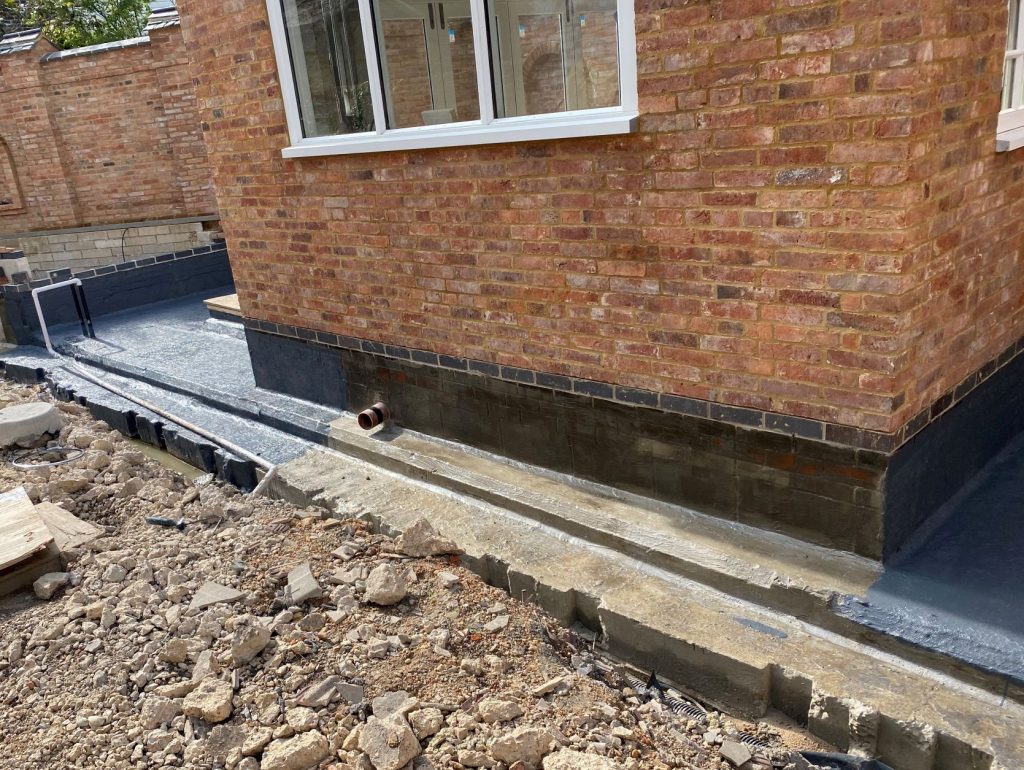
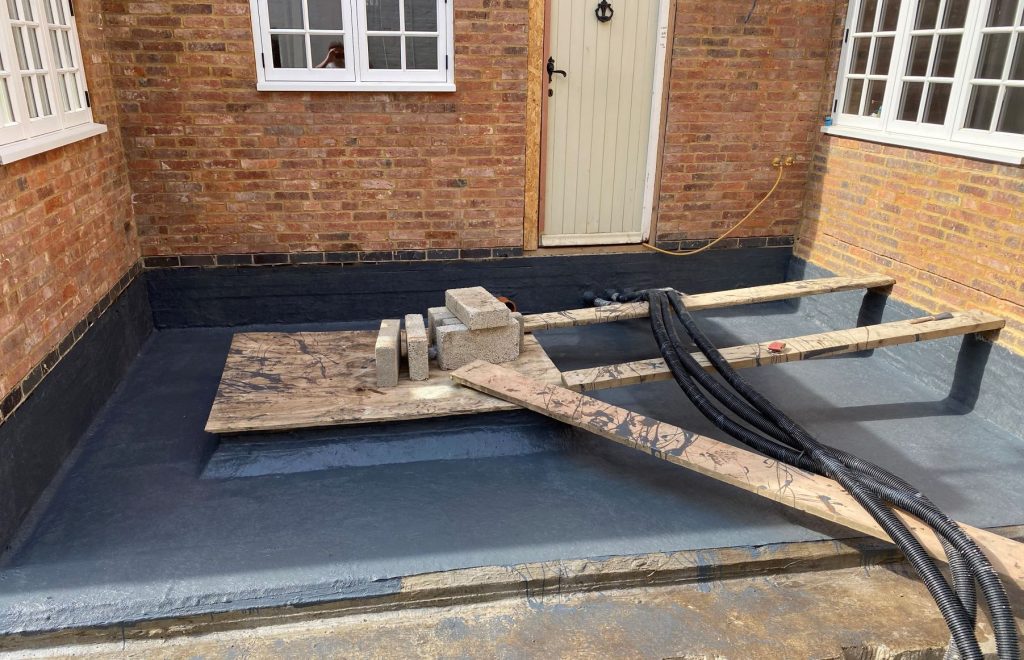
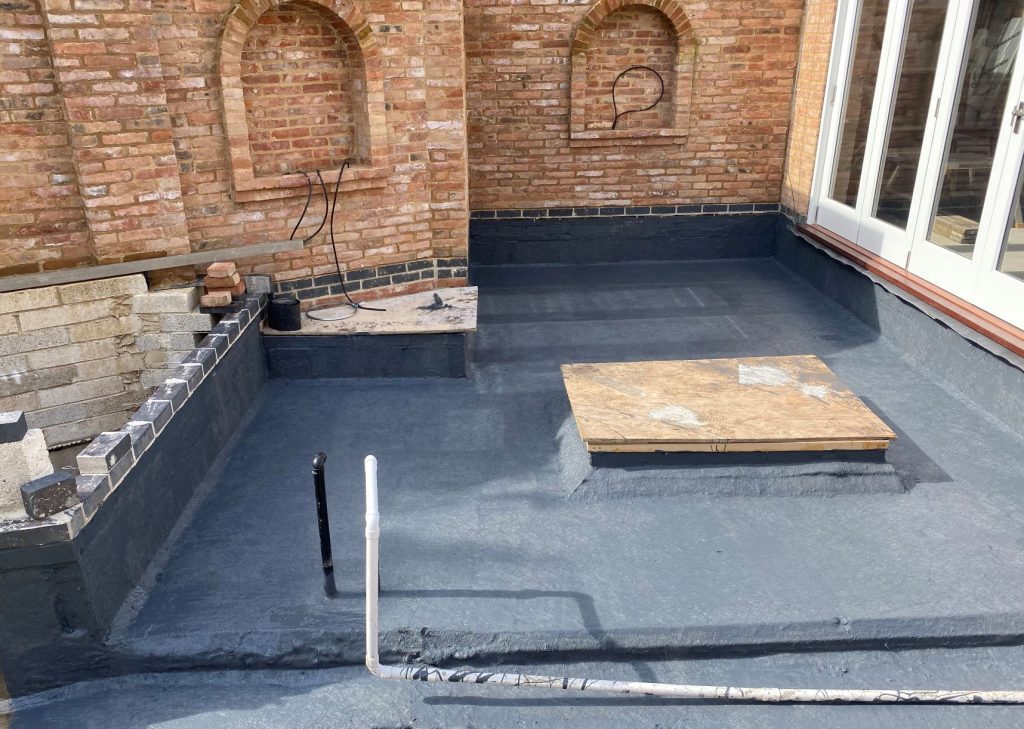
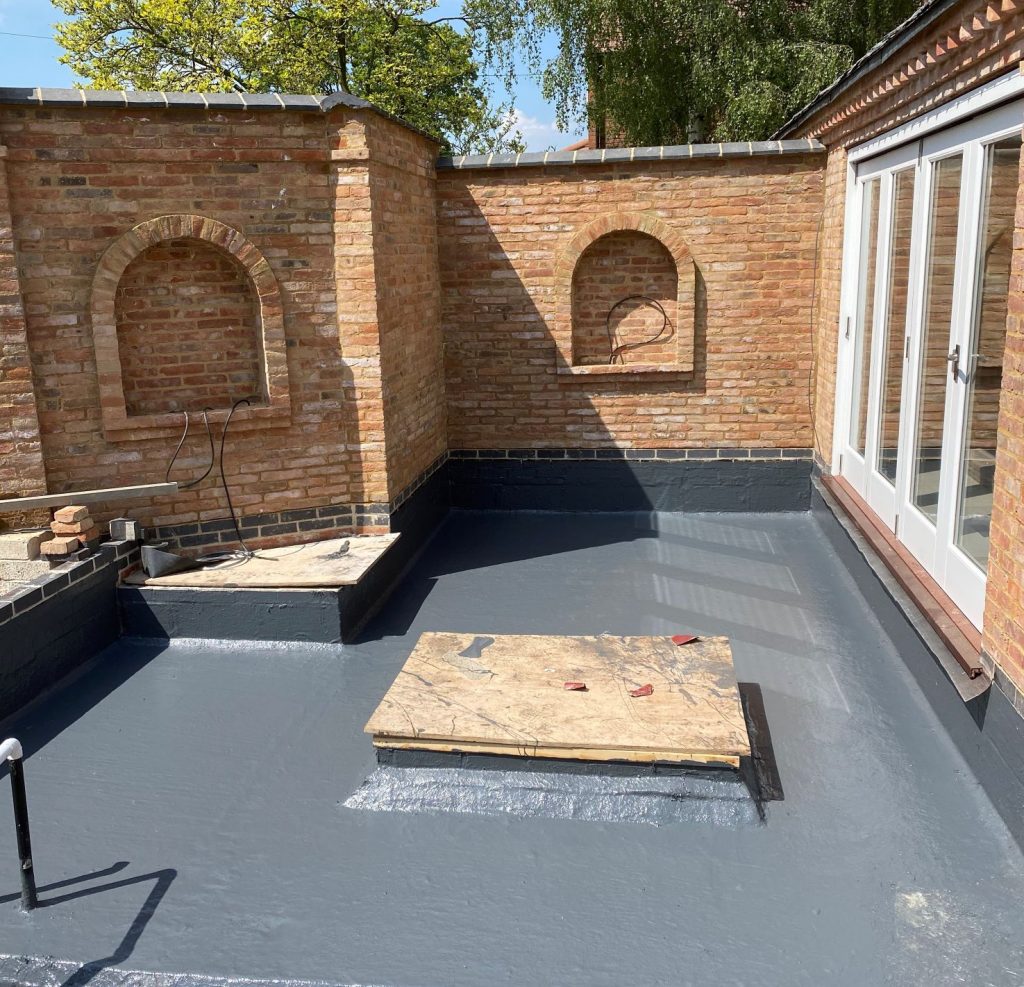
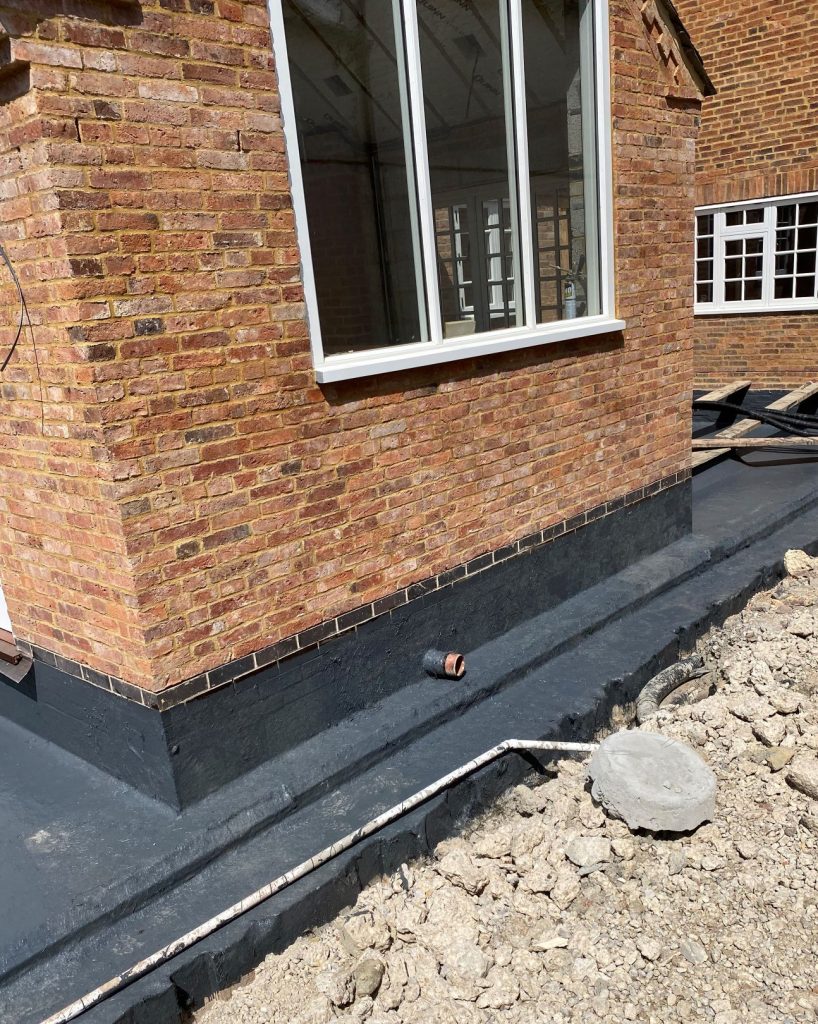
The deck was waterproofed using Beautiful Basements four stage deck waterproofing design.
The deck is cleaned thoroughly, primed and prepared with a crystallising slurry. Two layers of a permanently homogenous waterproofing material are then applied. For protection this is then covered with a geo-textile covered membrane and the deck finishing layers can be applied.
Due to the method of build, there were many joints in concrete pours that can become a pathway for water to track into the basement. The first step in waterproofing was to prevent this. Each pour was coated with aprior to the adjacent section being concreted. Once cast, the joint between the two was extensively cleaned and a waterproof mortar used to create a flat surface.
With the joints waterproofed the whole basement could then be waterproofed. It was done in the same manner, all defects repaired and then two coats of the crystallising slurry applied throughout.
Take a look at some of our similar previous retrofit basement projects. Or click below to contact us and get a quote

