External waterproofing

External waterproofing new build basements

Due to concerns highlighted by ground investigations, Beautiful Basements proposed a series of new build basements with external waterproofing. They were contracted to design, build, and waterproof the underground elements.

The project involved four new houses built into a hillside. Three of the new houses had lower ground floors with three sides underground, and the fourth had a garage built with three sides also underground. During the design phase, they detected a higher than usual level of carbon dioxide. This necessitated a design change, requiring the waterproofing membrane to double as the gas membrane.

Project Details

Categories:
Client: Hallam Read Ltd
Location: Oakthorpe, Leicestershire
Surface Area: 171 Square metres
Completed: 2023
Architect: Staniforth Architects
Link: Visit project

Stage 1 – Levelling of ground, set out, slab waterproofing & cast

Design preparation

Originally the lower ground floors were designed with a dual Type B and Type C waterproofing solution, which is relatively straightforward for this type of build and site conditions.

As the site investigation report and ground testing were finalised, the team discovered a higher than average level of carbon dioxide present in the ground. The discovery of the ground gas required a design change that would include gas protection as part of the waterproofing.

Beautiful Basements redesigned the build method and waterproofing to incorporate the gas membrane while still delivering the project on time and within budget.

Excavation & constructing the slab

With the re-design complete and all permissions granted, the build program began. The crew stripped the site and prepared it with hard standing and access routes for heavy plant. They commenced excavation in the three lower ground floor areas, digging into the bank at a safe angle of repose. To create a level area for the under slab membrane, they made up the steps in the ground level with concrete before any work on the three plots could start. They also had to install all underground services such as pipework for the bathrooms and kitchen.

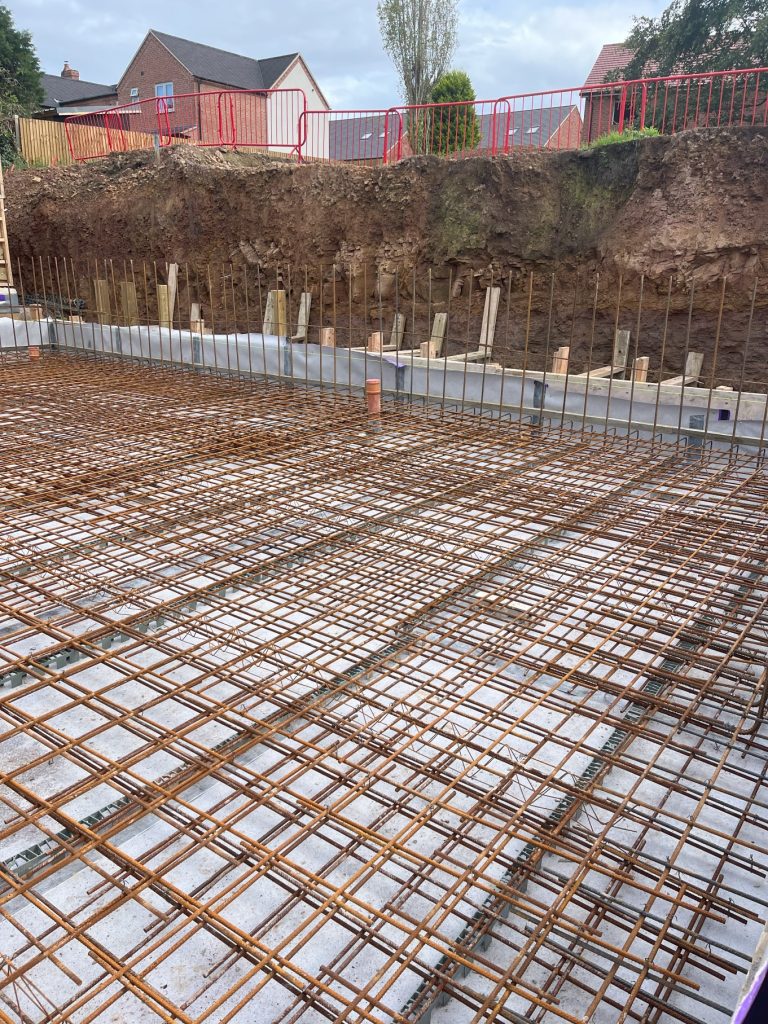
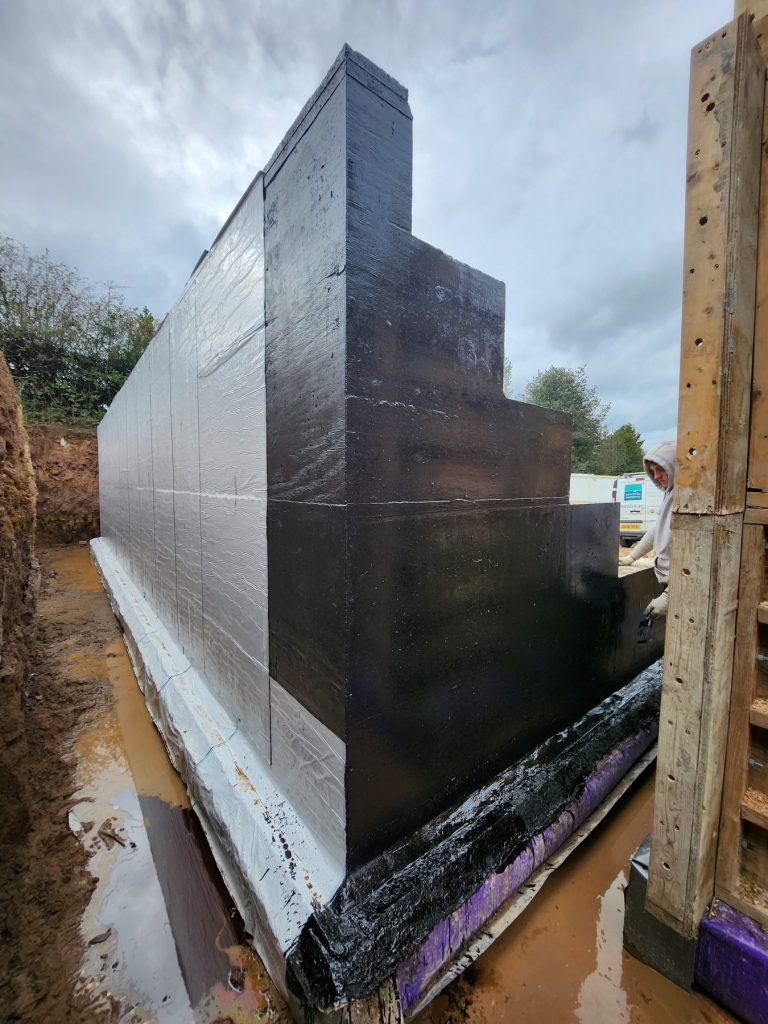
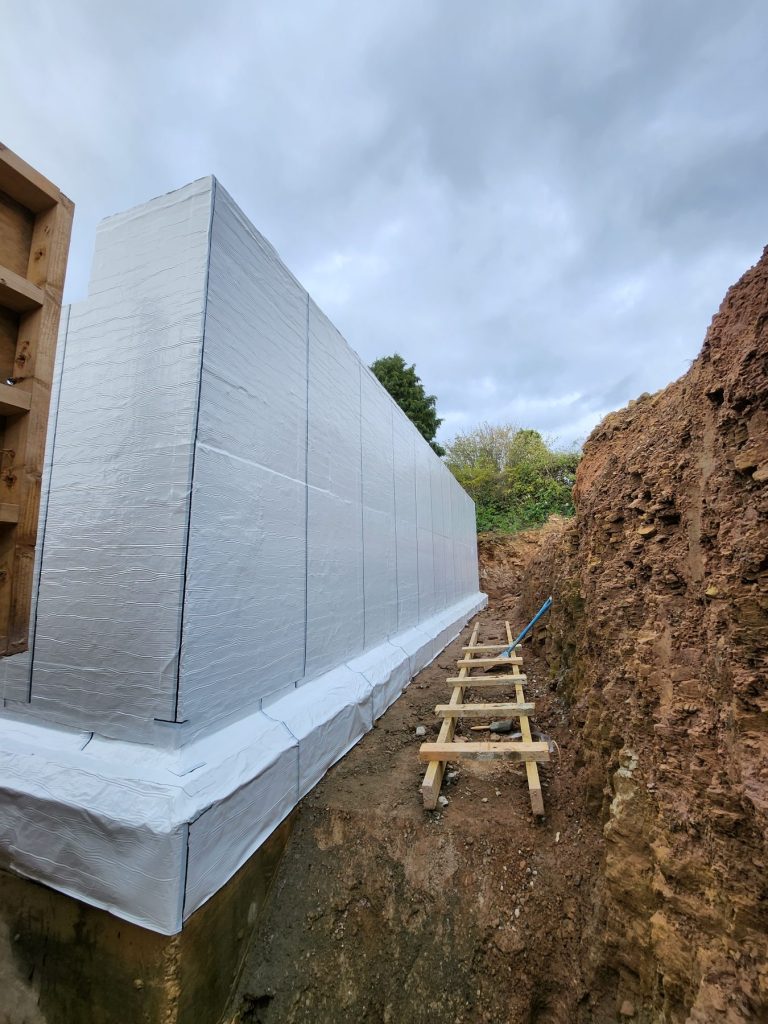
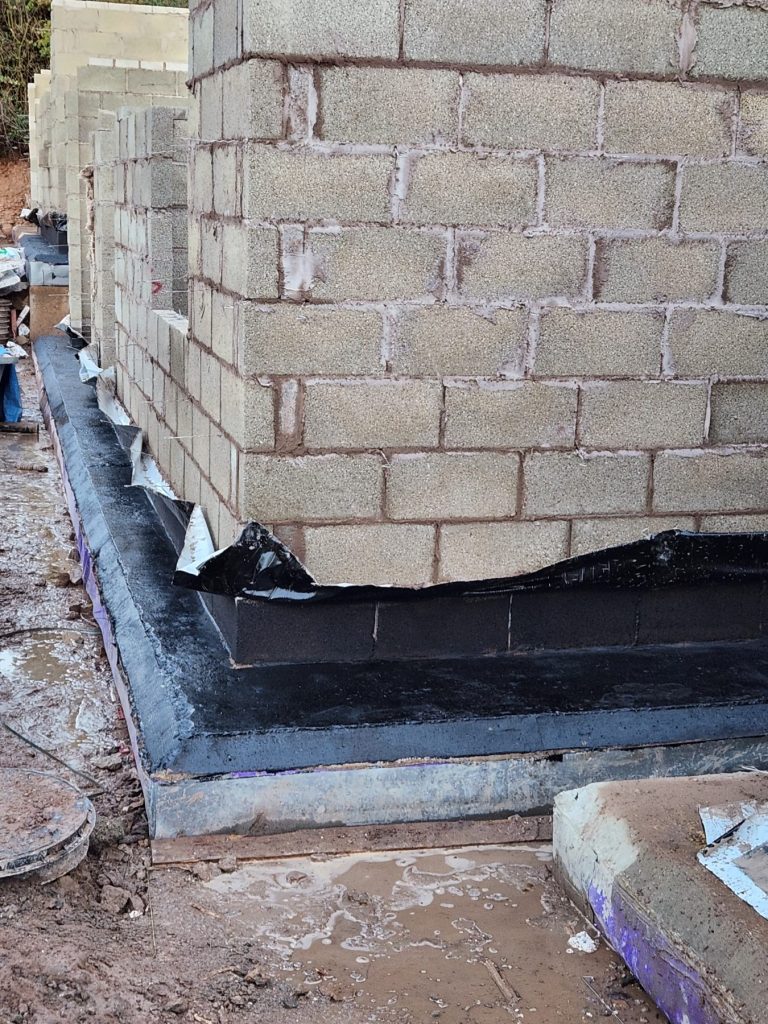
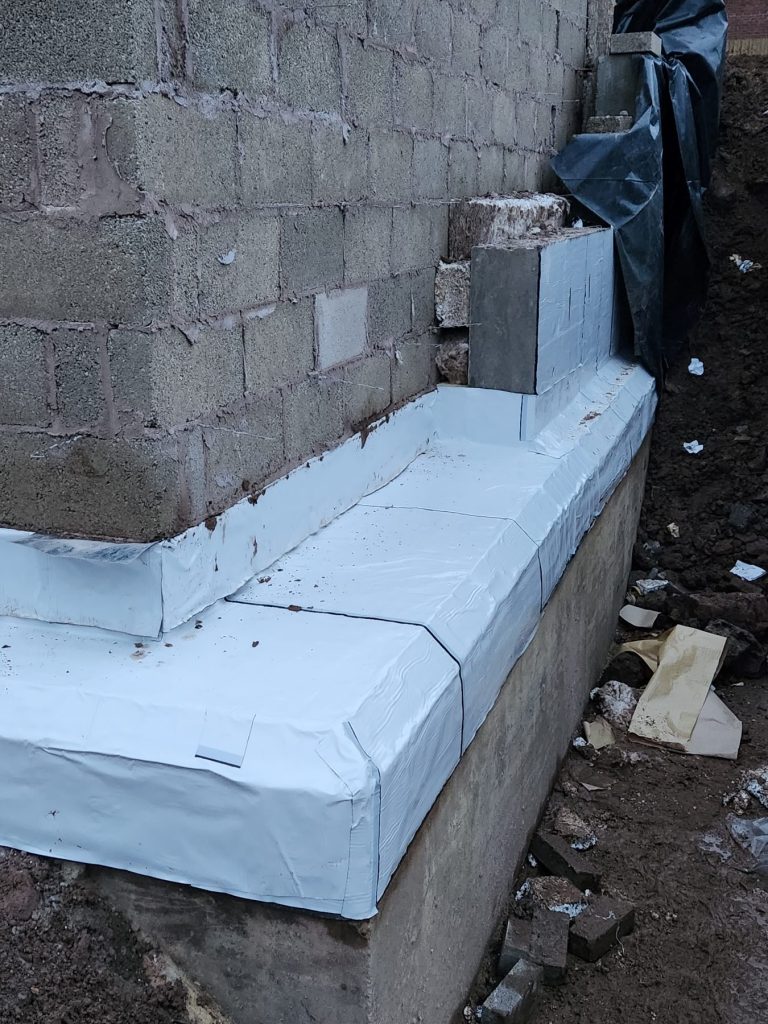
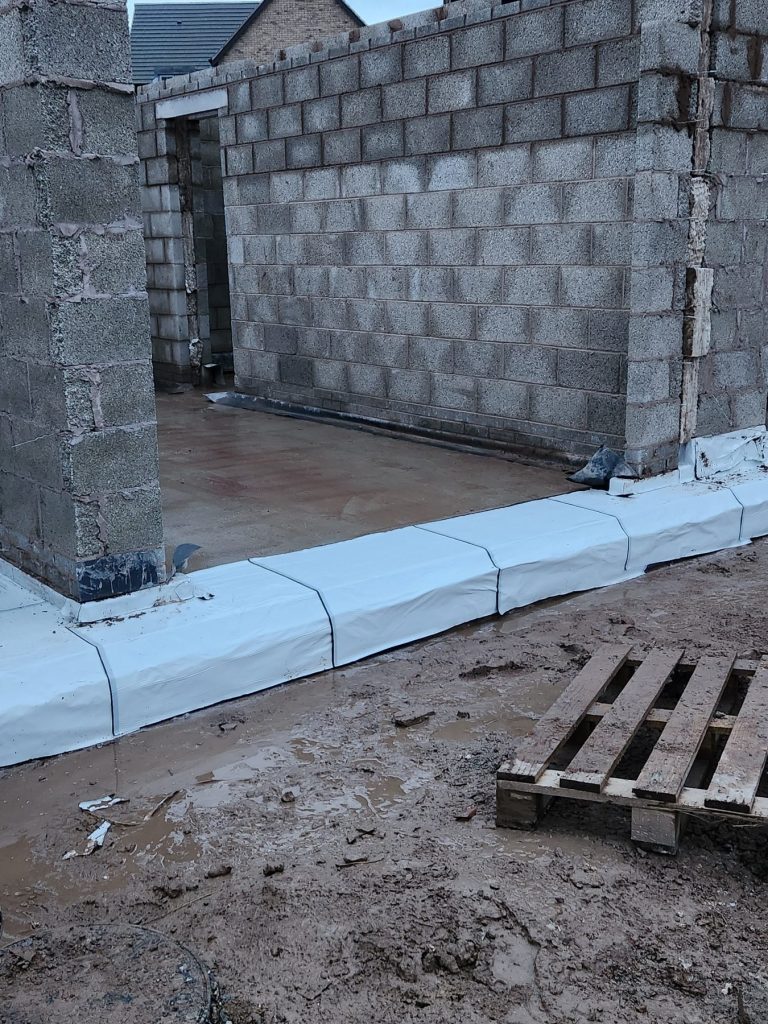
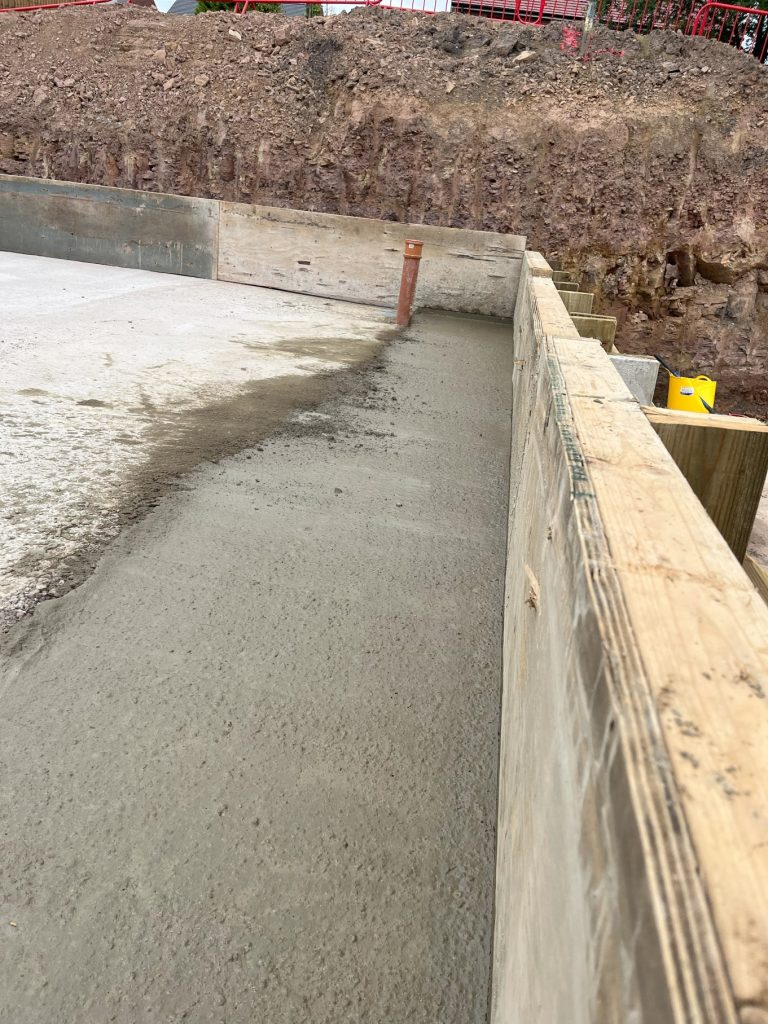
Once they prepared the lower ground floor slabs, the team constructed the shuttering and laid down the under slab layer of the primary waterproofing . This created a fully sealed barrier under the slab and up the sides of the shuttering. It will later all link to the wall membranes. The crew sealed all penetrations through the slab with specialized tapes to ensure no water could seep through.

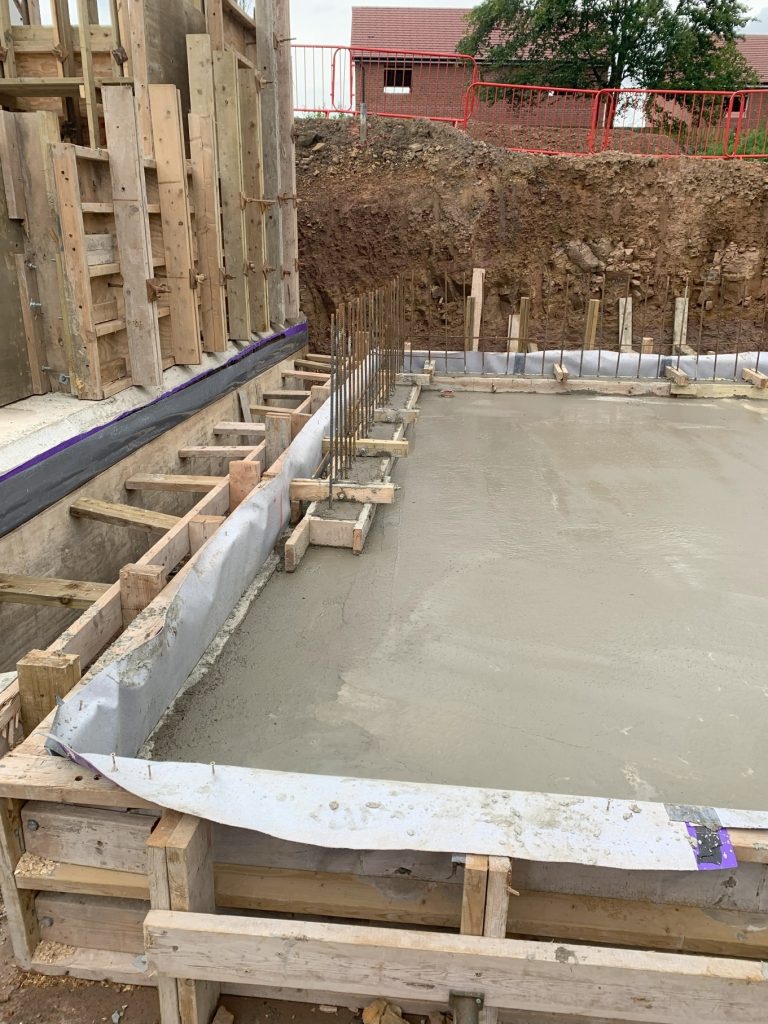
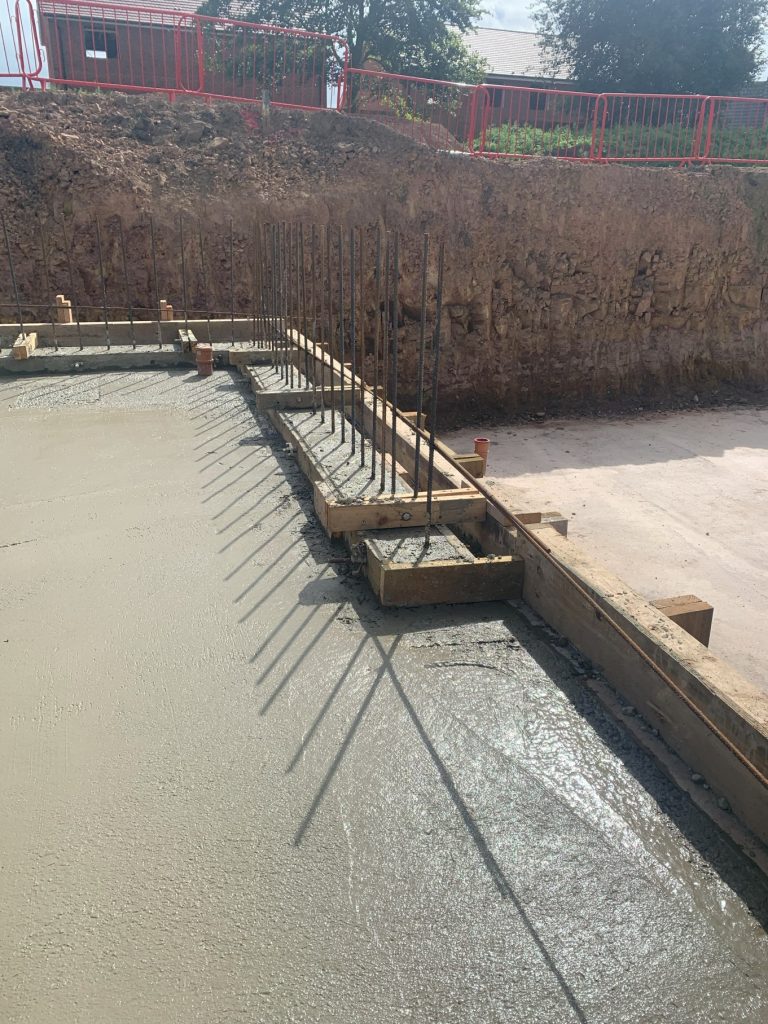
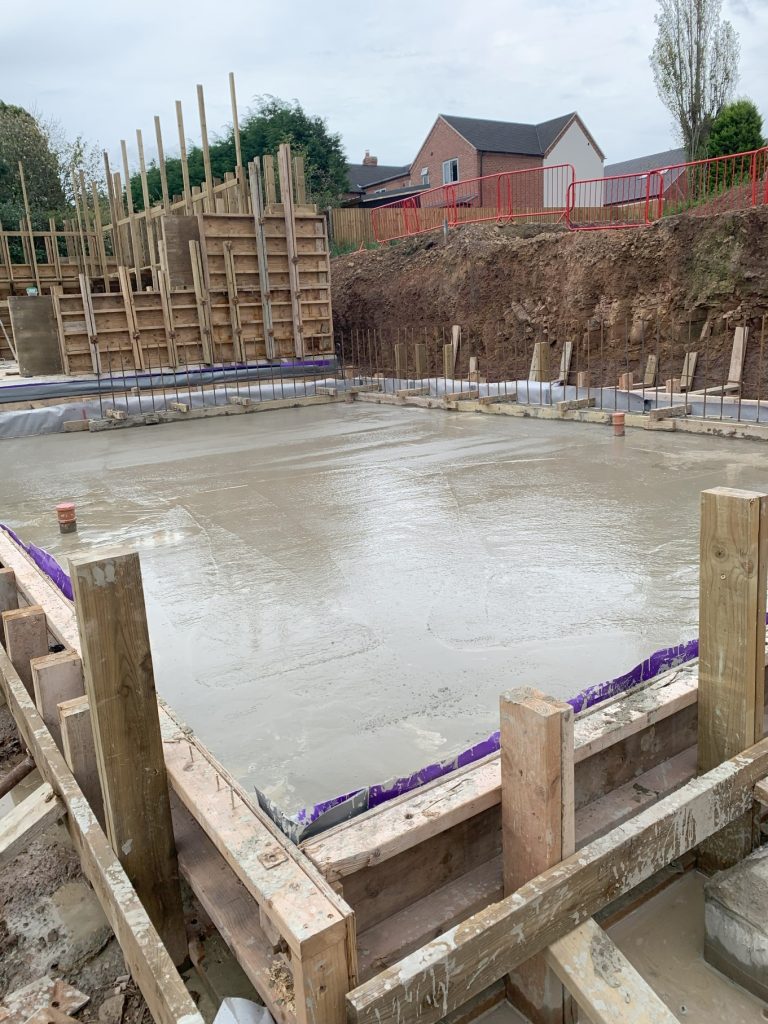
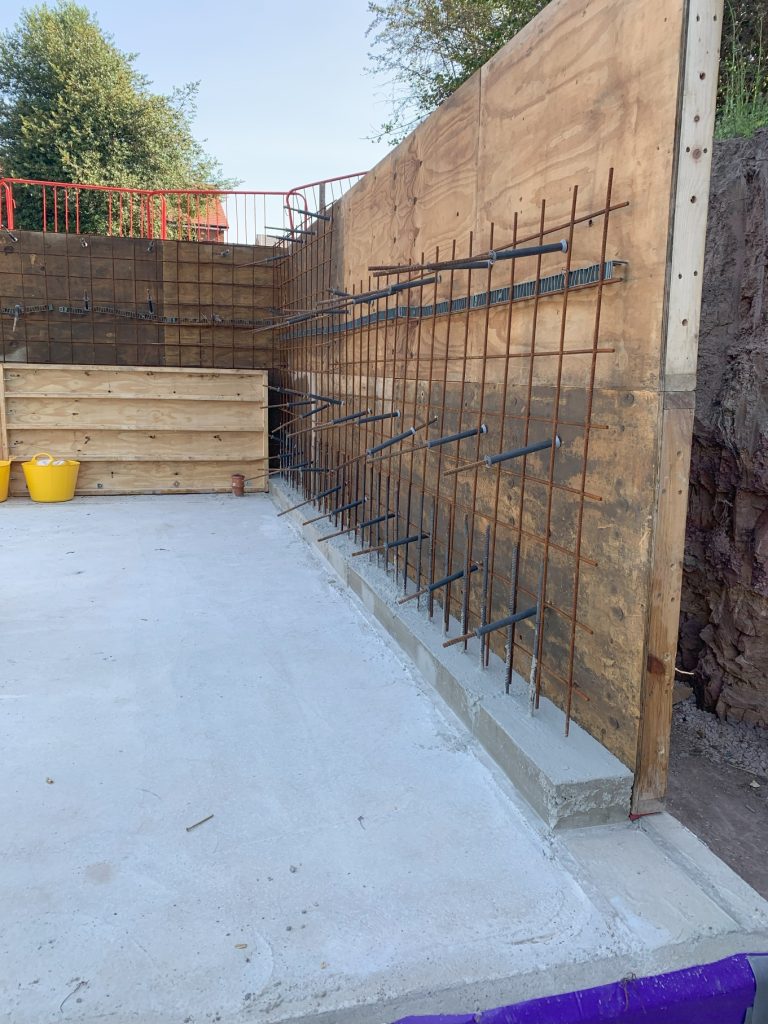
With the membranes in place, they installed the reinforcing for the slabs and wall starters, along with the kicker that would later form part of the secondary waterproofing system. Finally, for stage one, they cast the slab with a waterproofing additive. They followed the same process for each plot of the three houses.
Stage 2 – Constructing the walls

Creating the walls

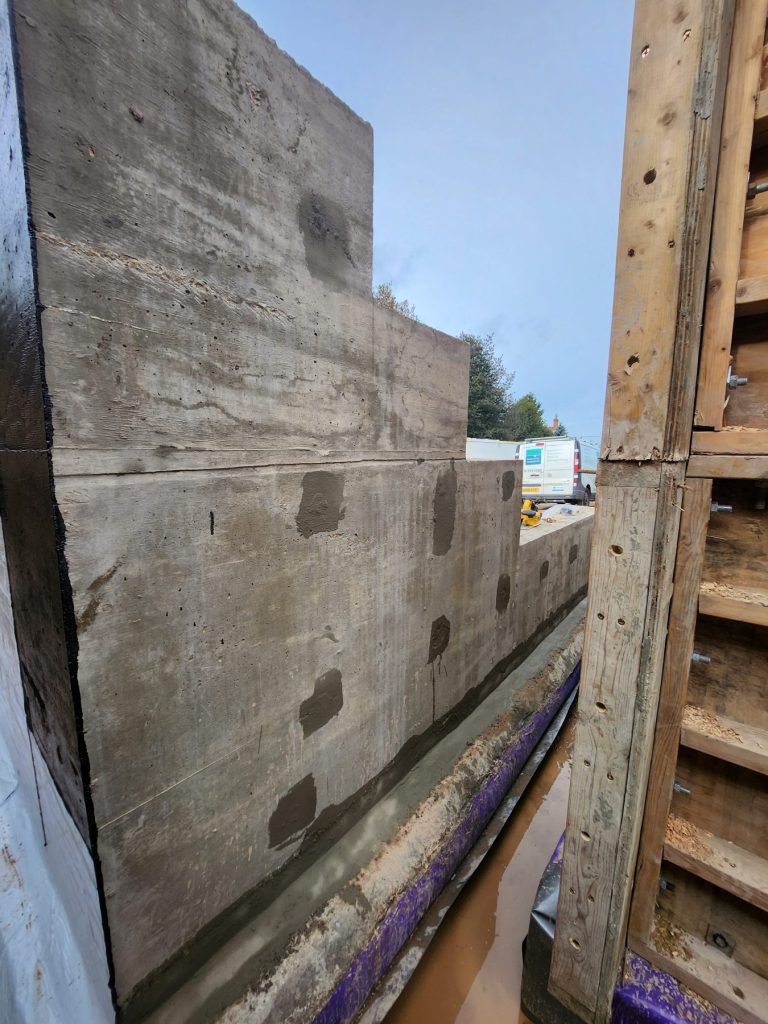
The workers stripped away all the shuttering for the slab, allowing the construction of the walls to begin. They painted a cementitious waterproofing slurry onto the construction joint between the kicker and the walls.

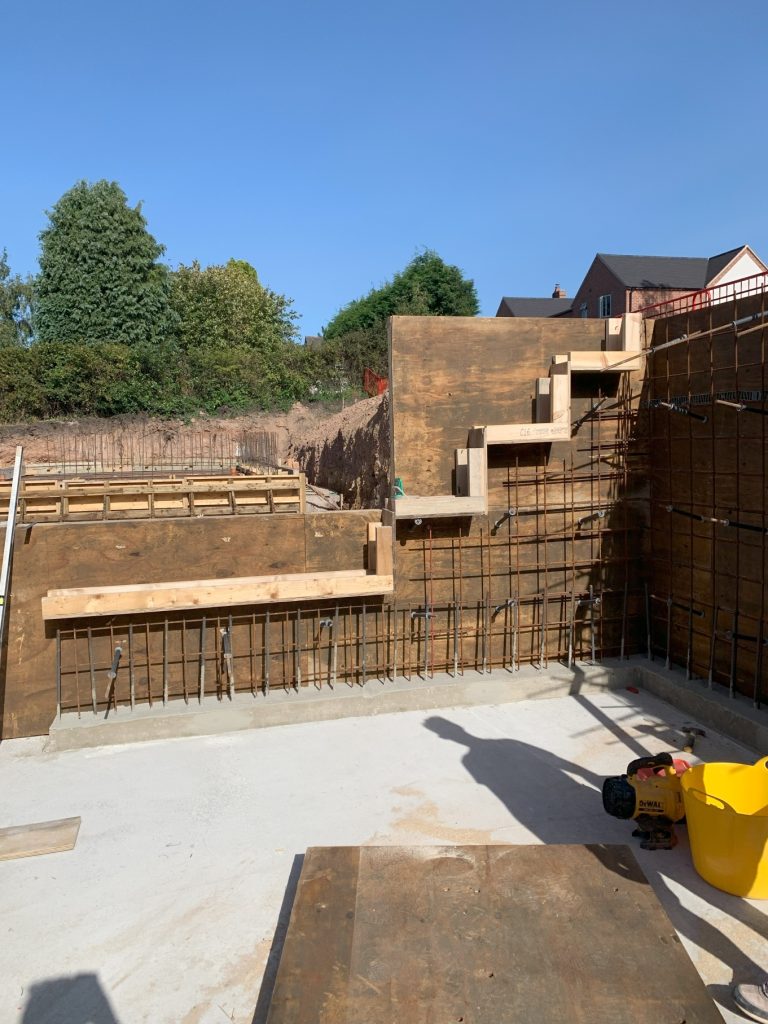
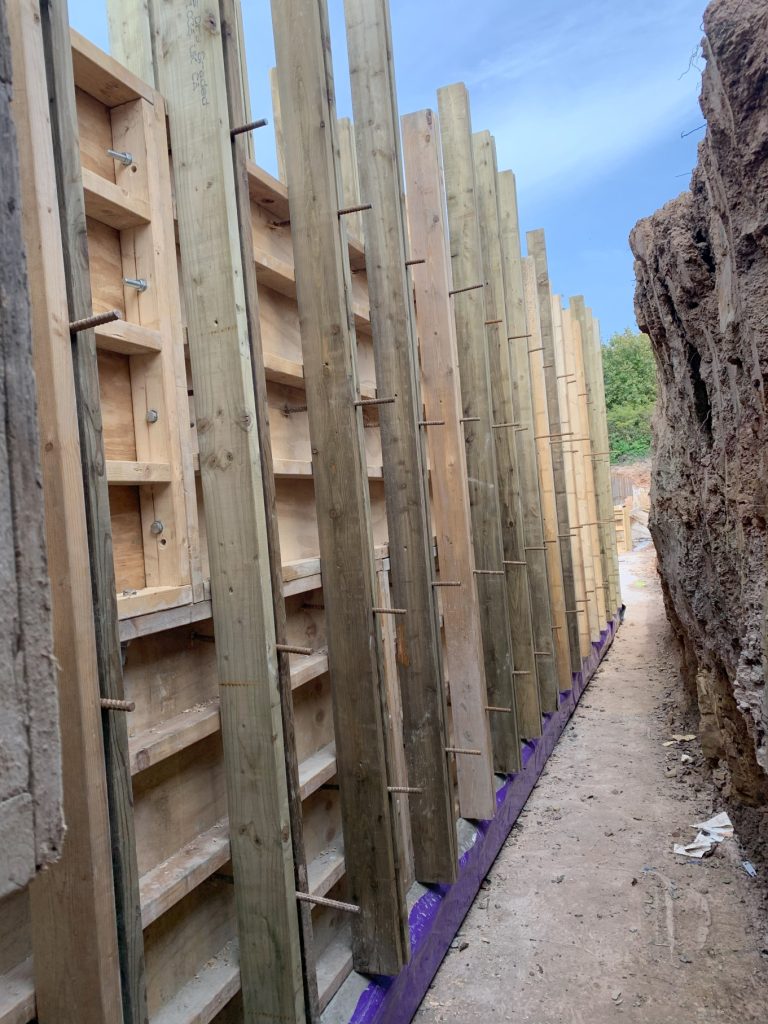
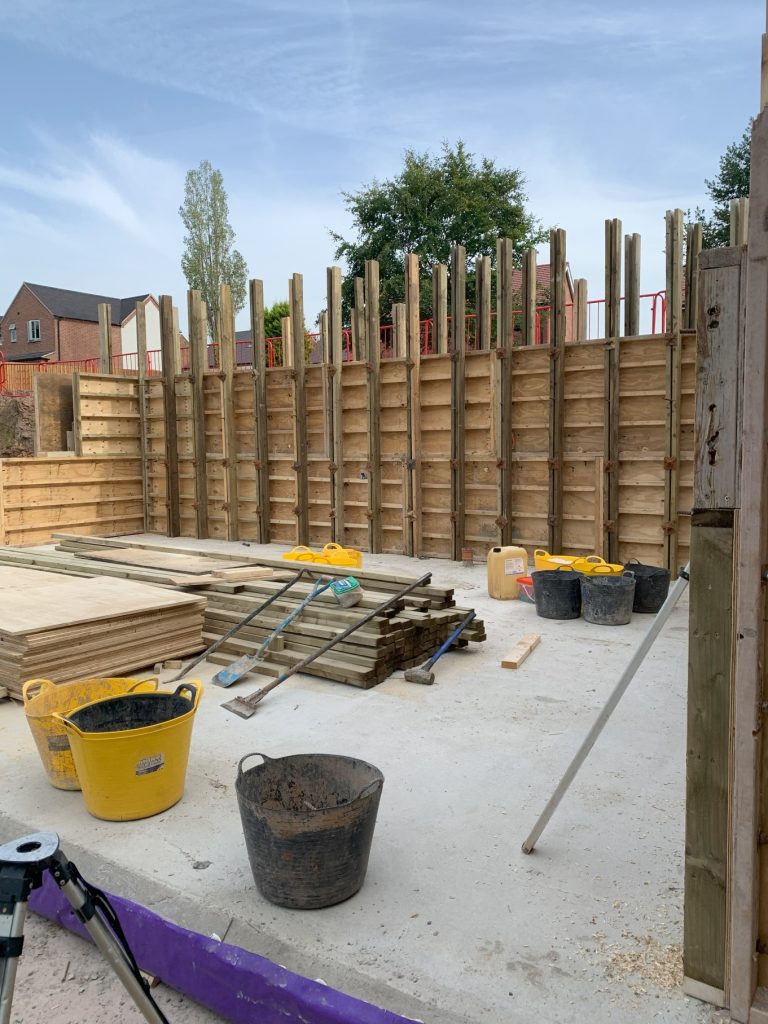
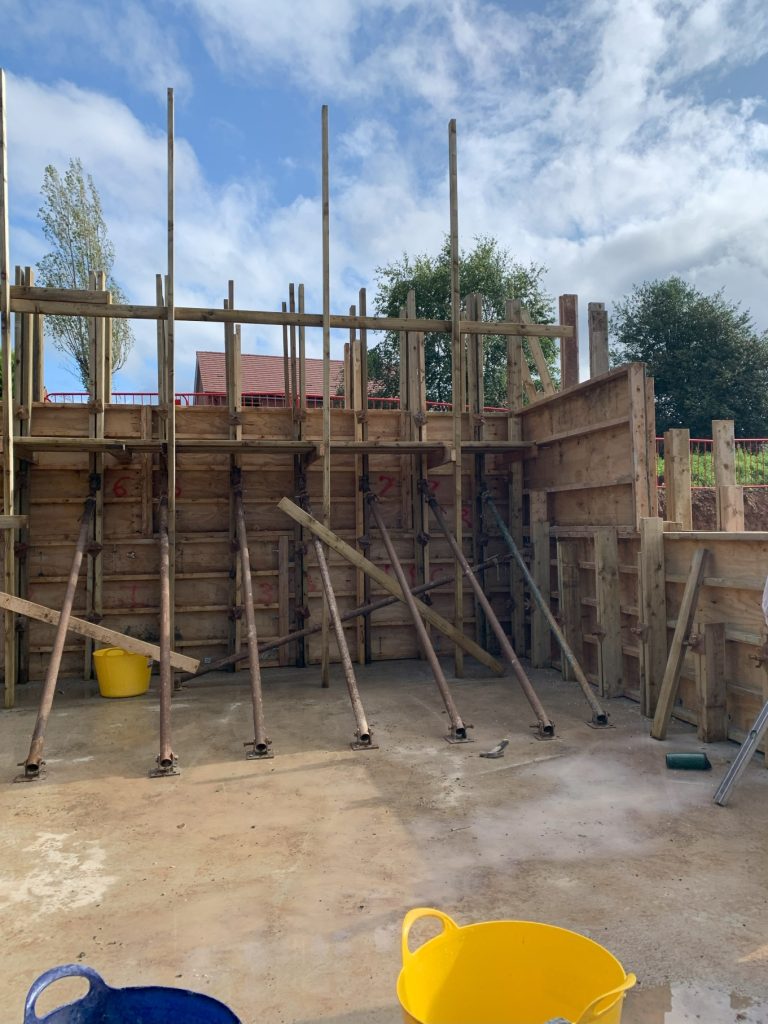
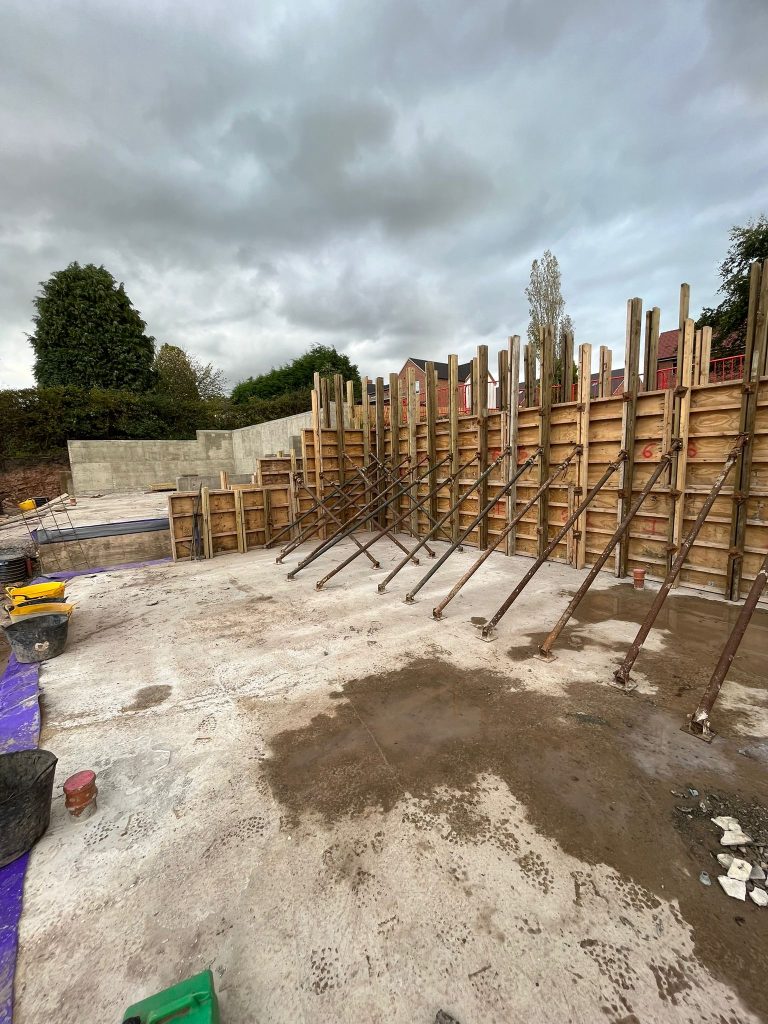
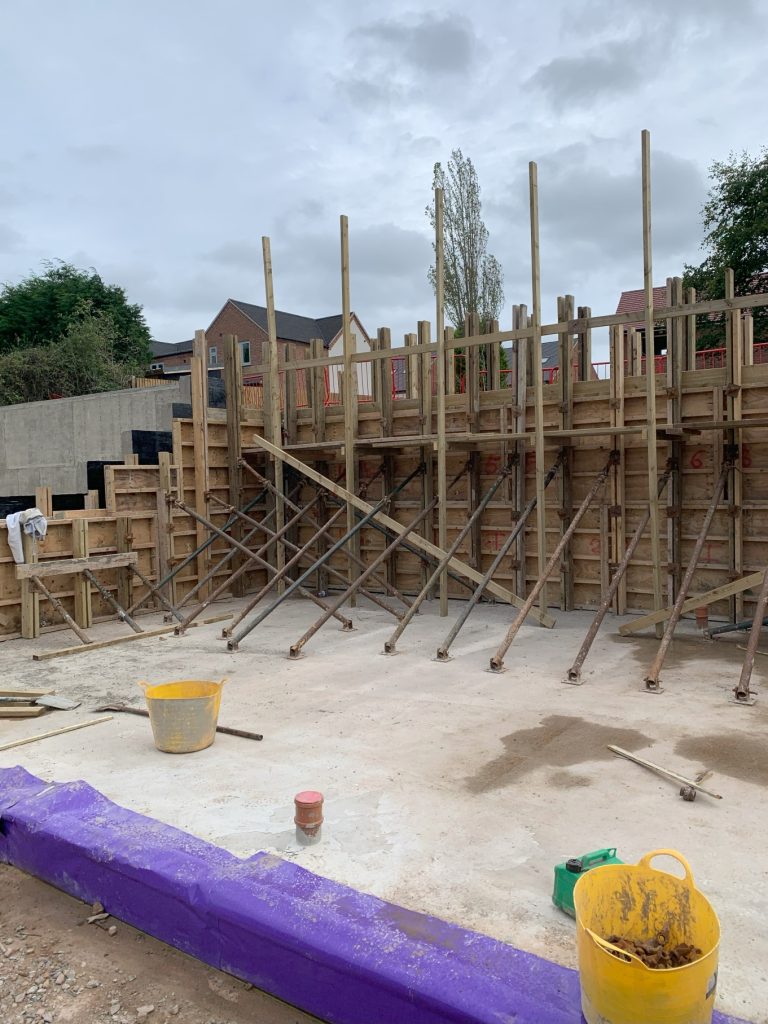
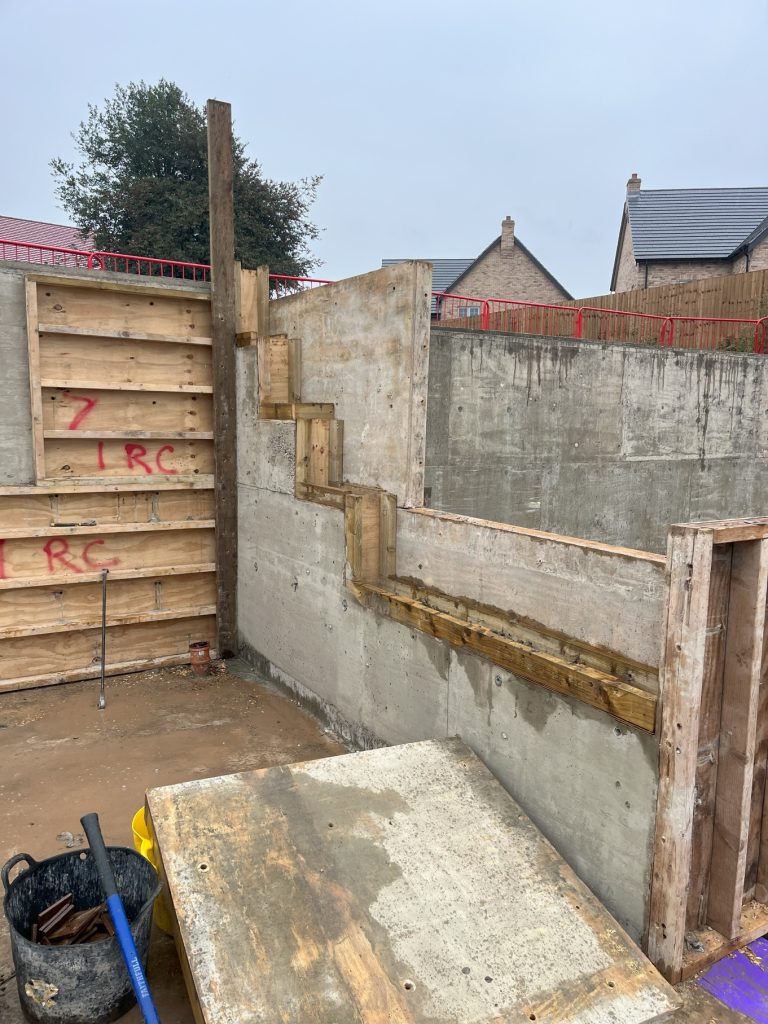
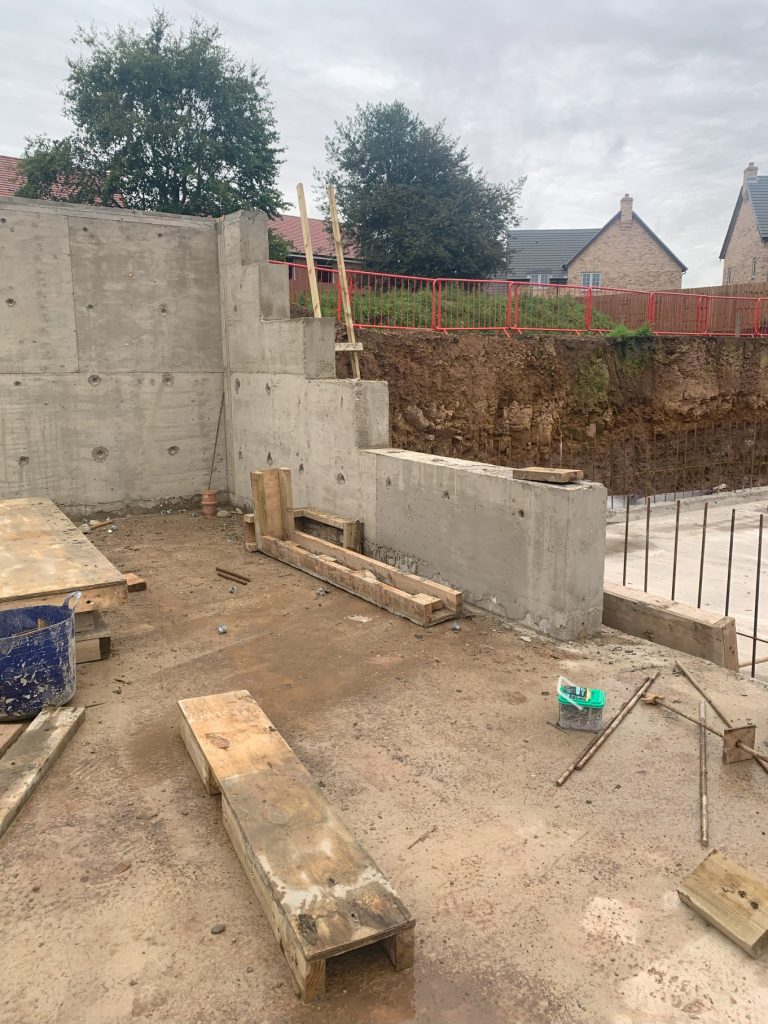
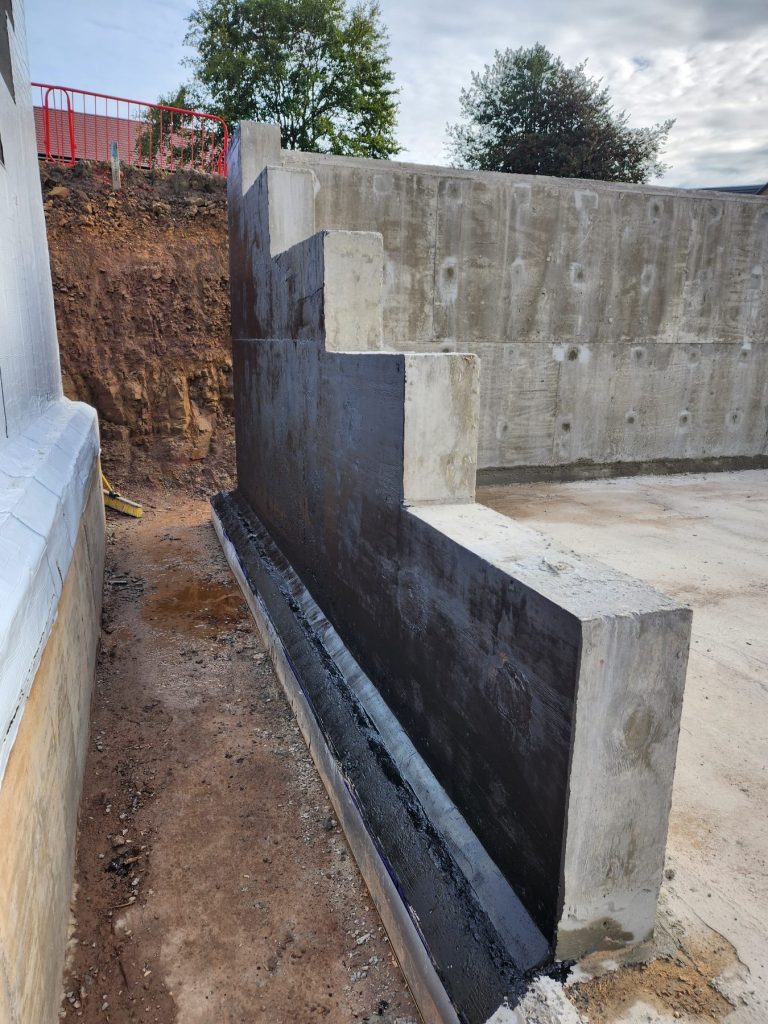
The crew erected the rear layer of shuttering and installed all steel according to the structural engineers’ designs. With the site sloping from the rear to the front, they needed to change the levels for the retaining walls to start the facing brickwork just below ground. They created the shuttering for these level changes with the external shuttering layer.

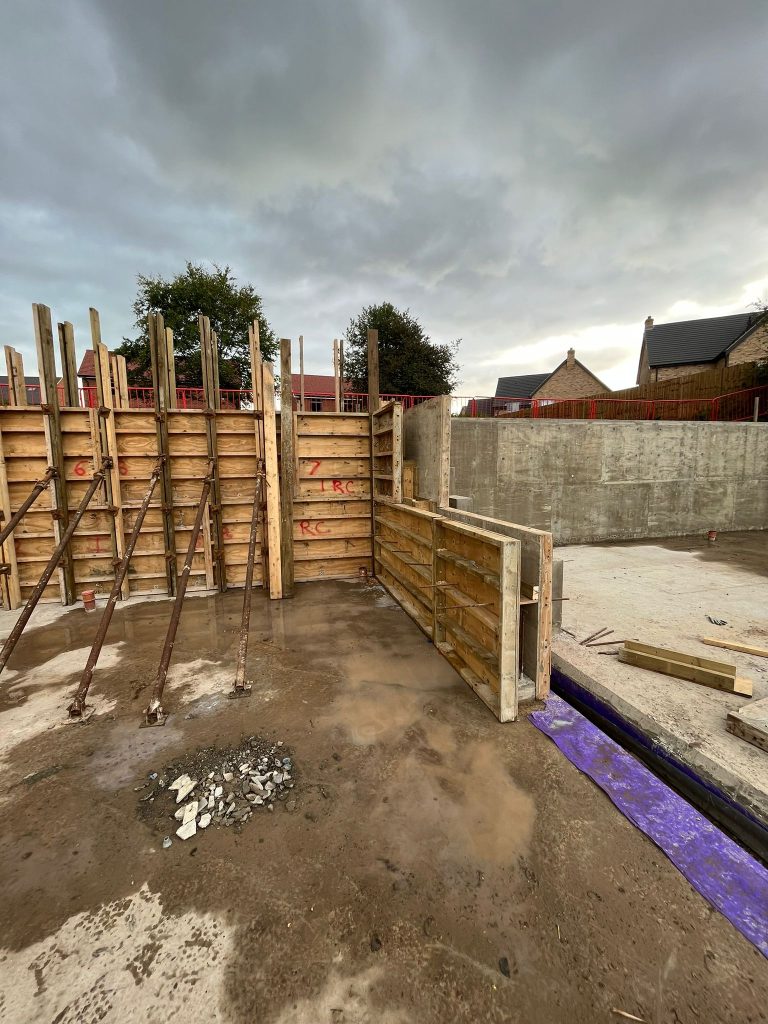
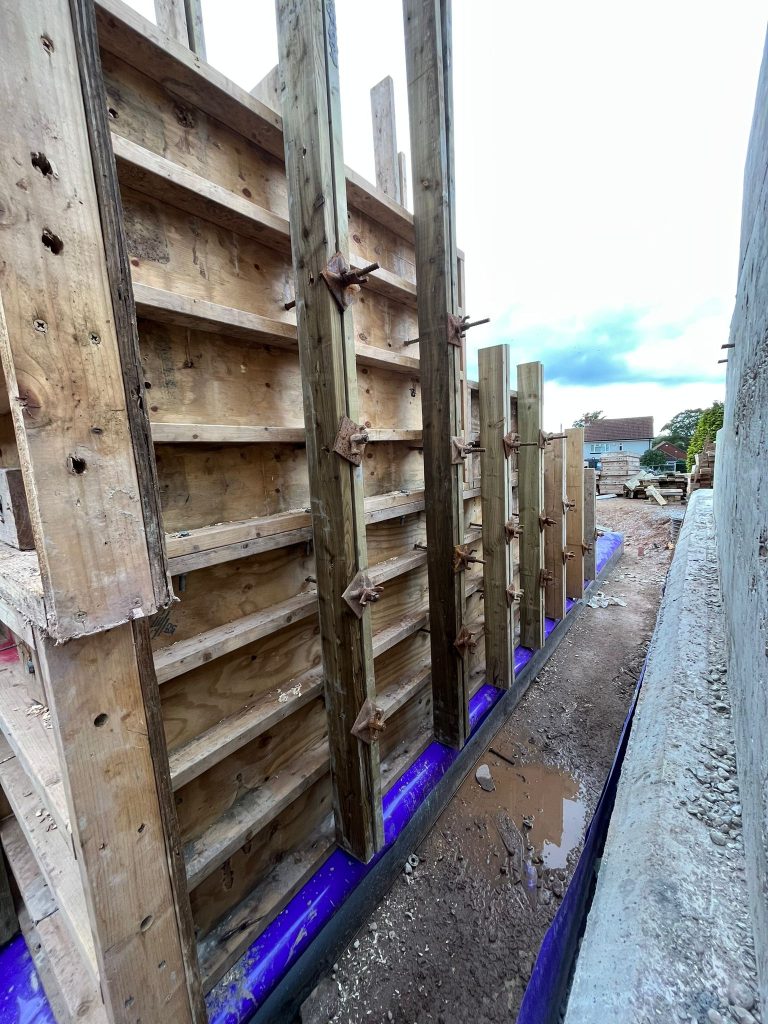
The team completed the shuttering with the internal skin, propped and secured it, and finally cast all the walls with waterproof concrete . They vibrated and compacted the concrete to achieve a watertight structure.

Beautiful Basements’ team stripped all the shuttering from the walls to prepare for the waterproofing installation. The team repeated this process for each plot with a lower ground floor

Stage 3 – Water & gas proofing

Waterproofing

Along with the gas protection, the waterproofing regime on this project had to satisfy the requirements of the regulations enforced by the 3rd party warranty provider. Beautiful Basements designed a dual-protection system to achieve this.

Primary waterproofing system

Slab Type A – Barrier protection

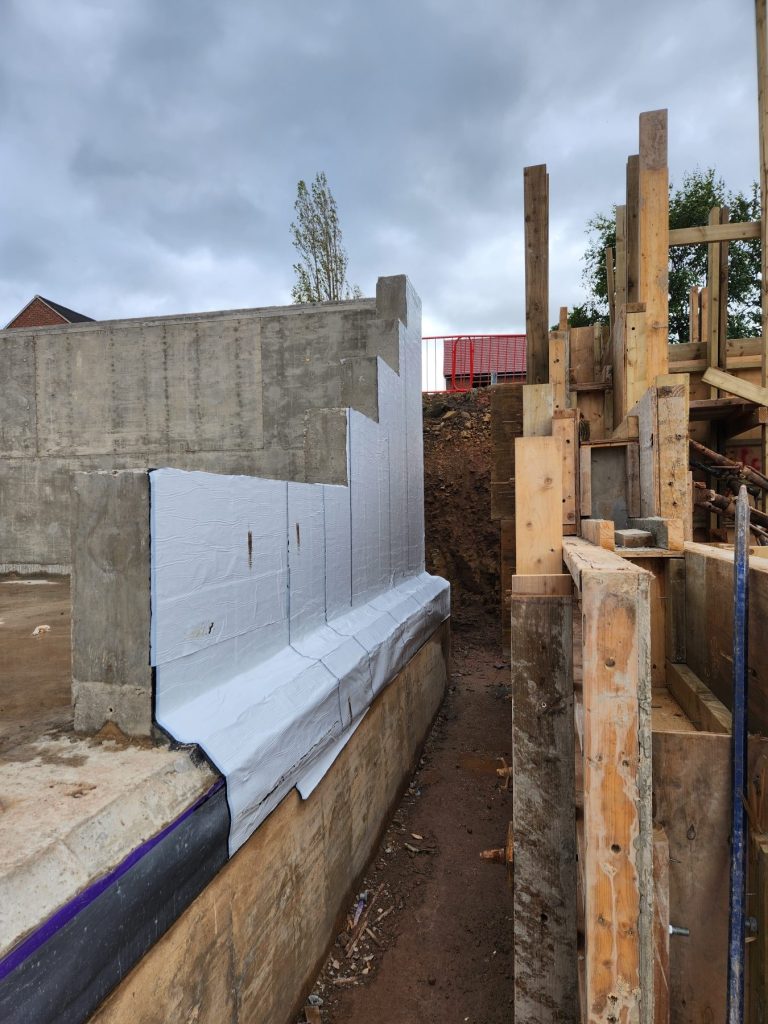
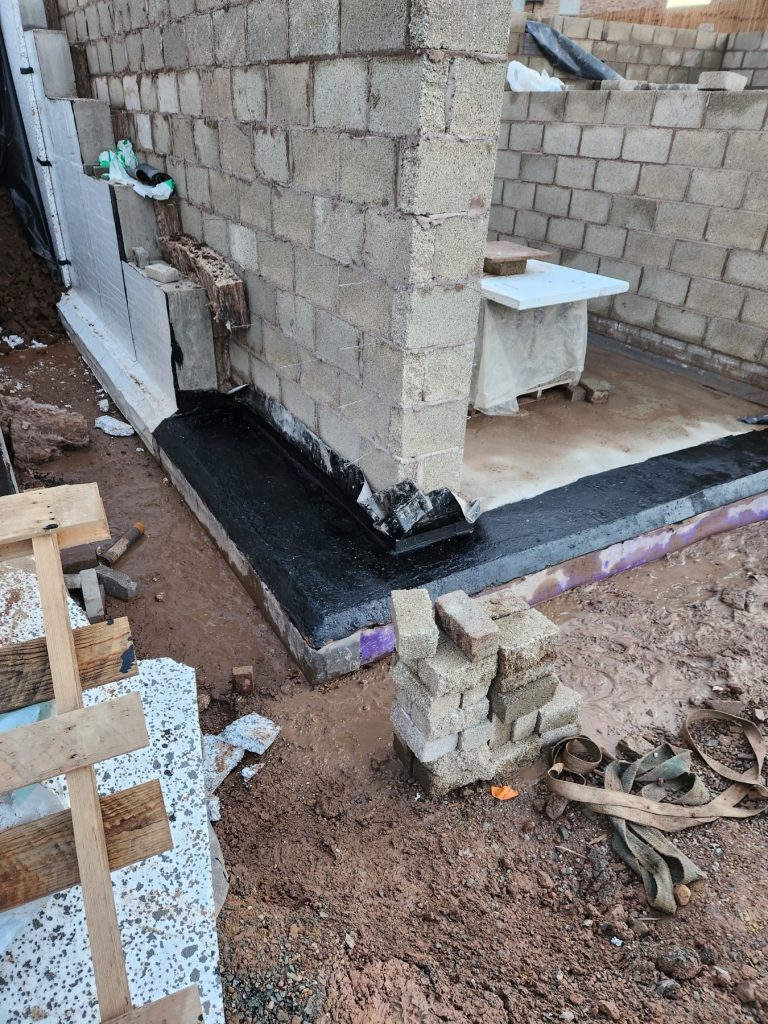
Before the basements were constructed, workers laid blinding concrete so they could then line it with the slab covering the external waterproofing membrane. They took great care around penetrations such as drainage pipes. Workers laid the steel very carefully to avoid tears and defects and cast the concrete inside the membrane.
Walls Type A – Barrier protection

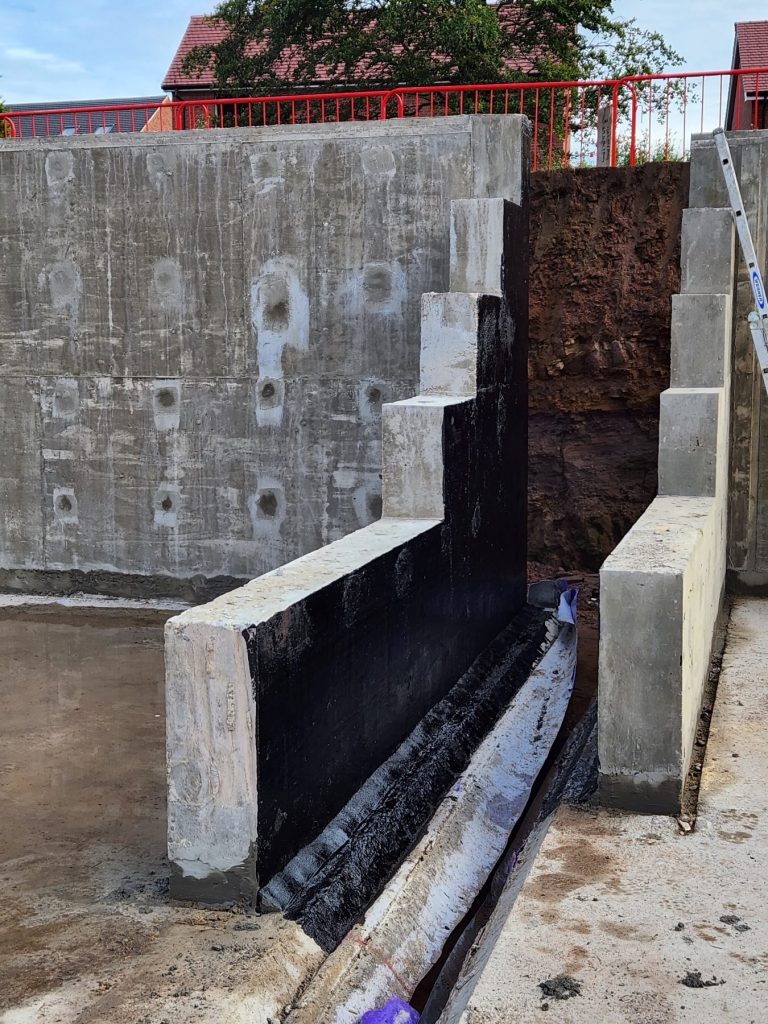
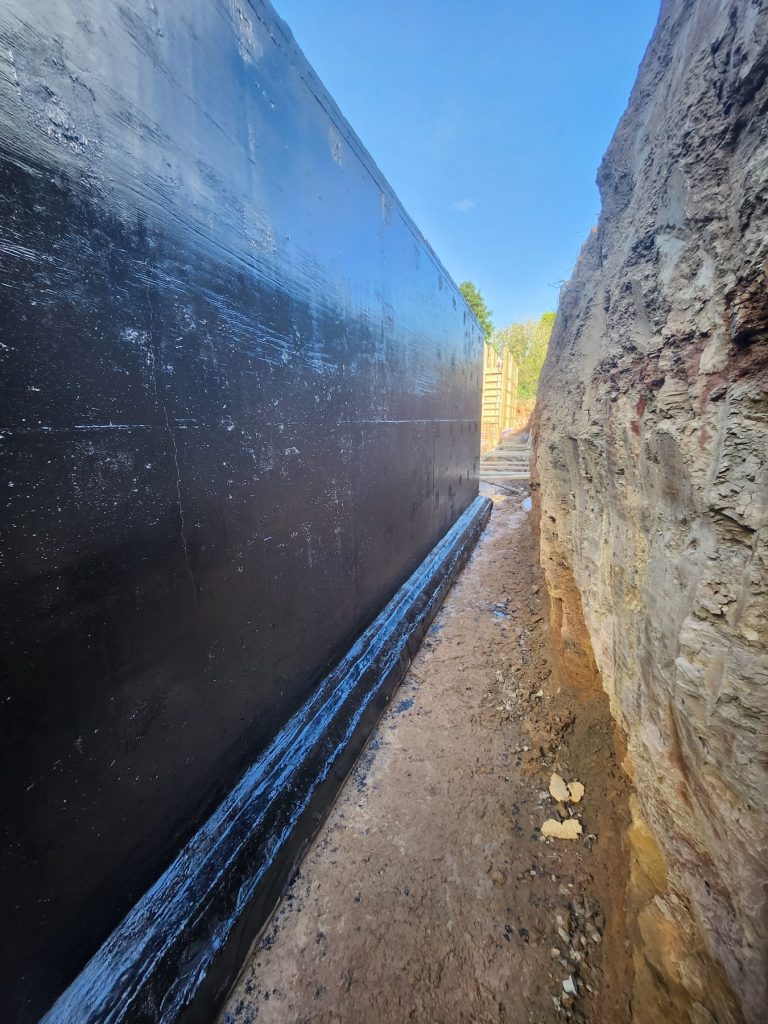
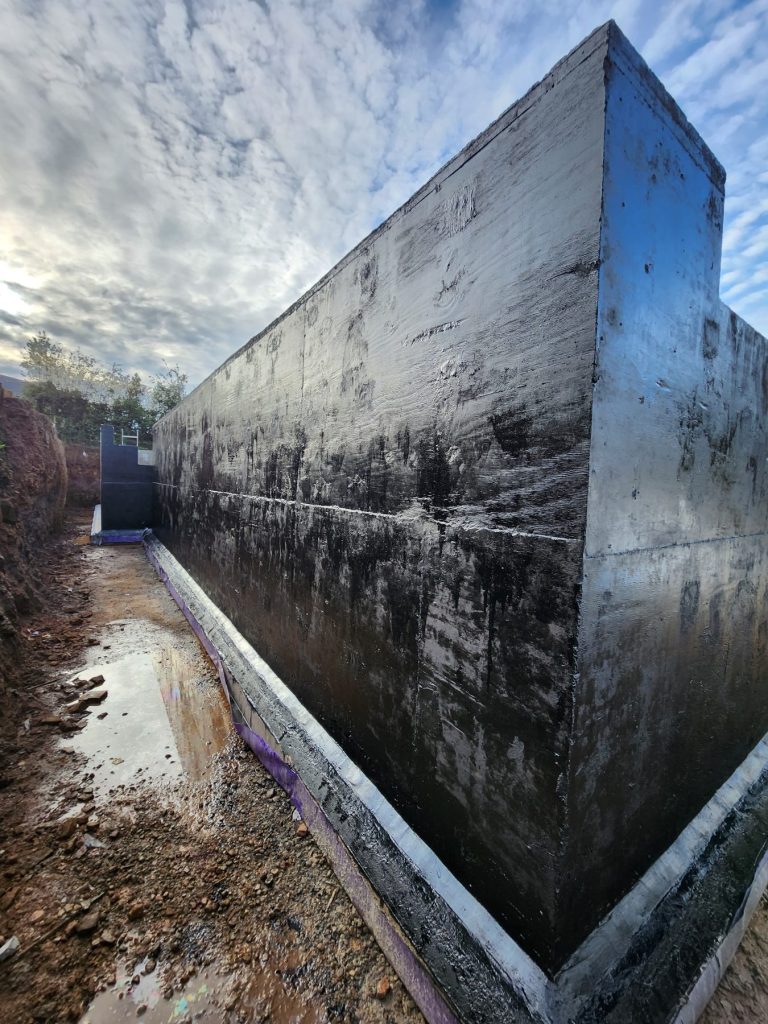
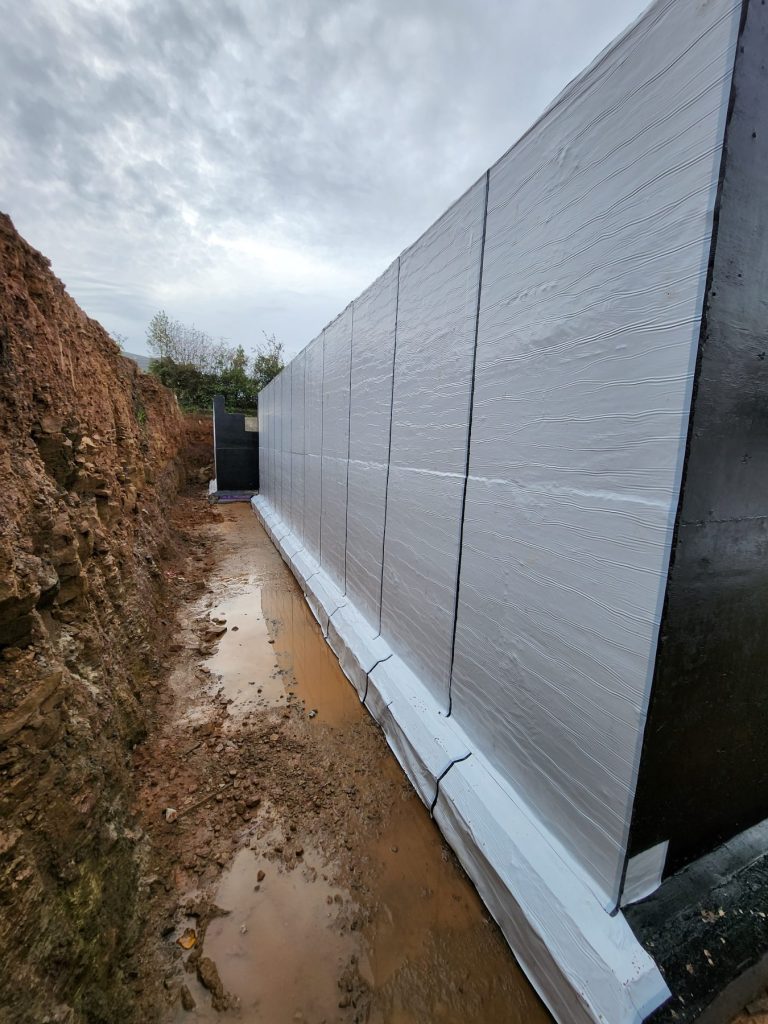
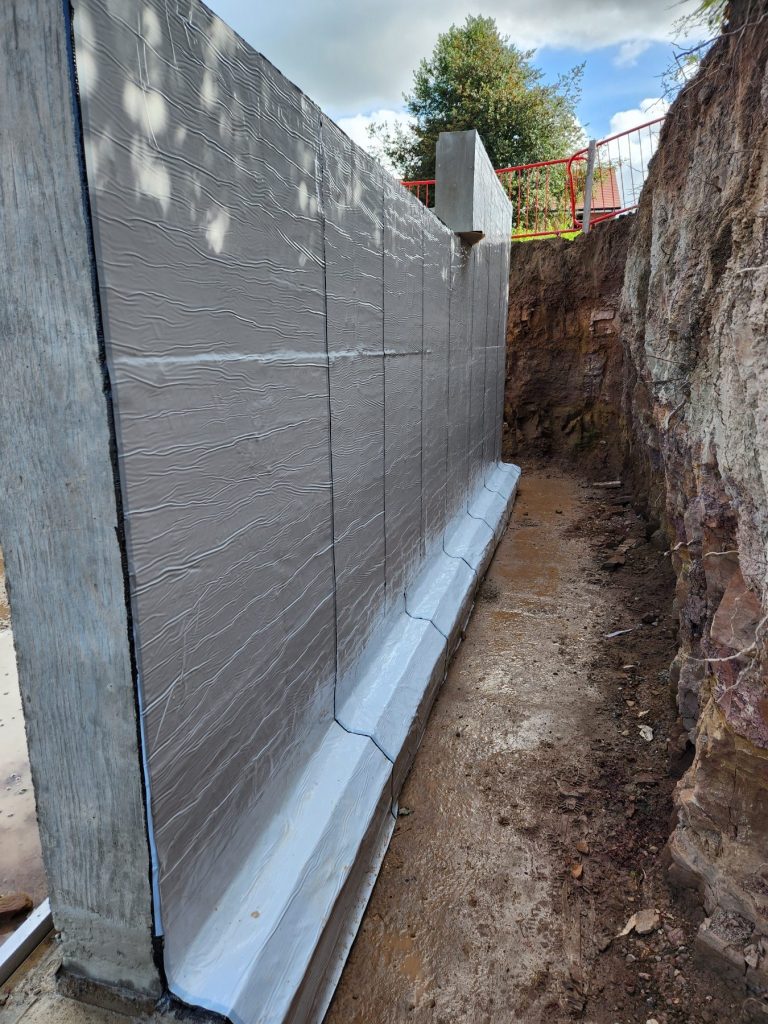
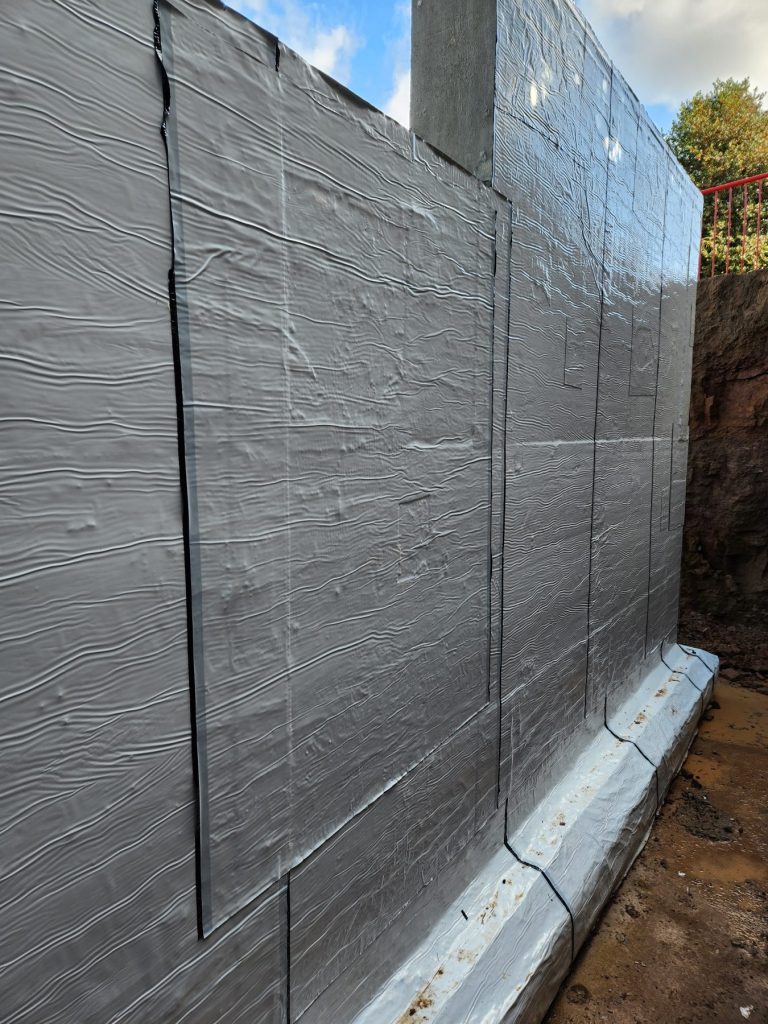
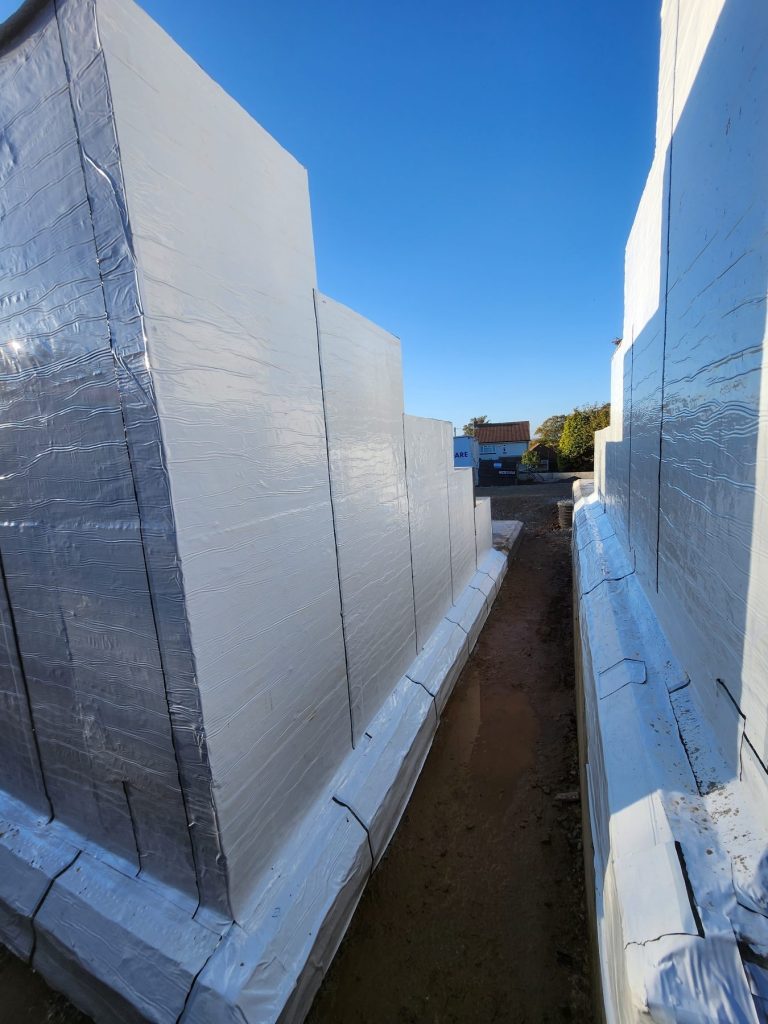
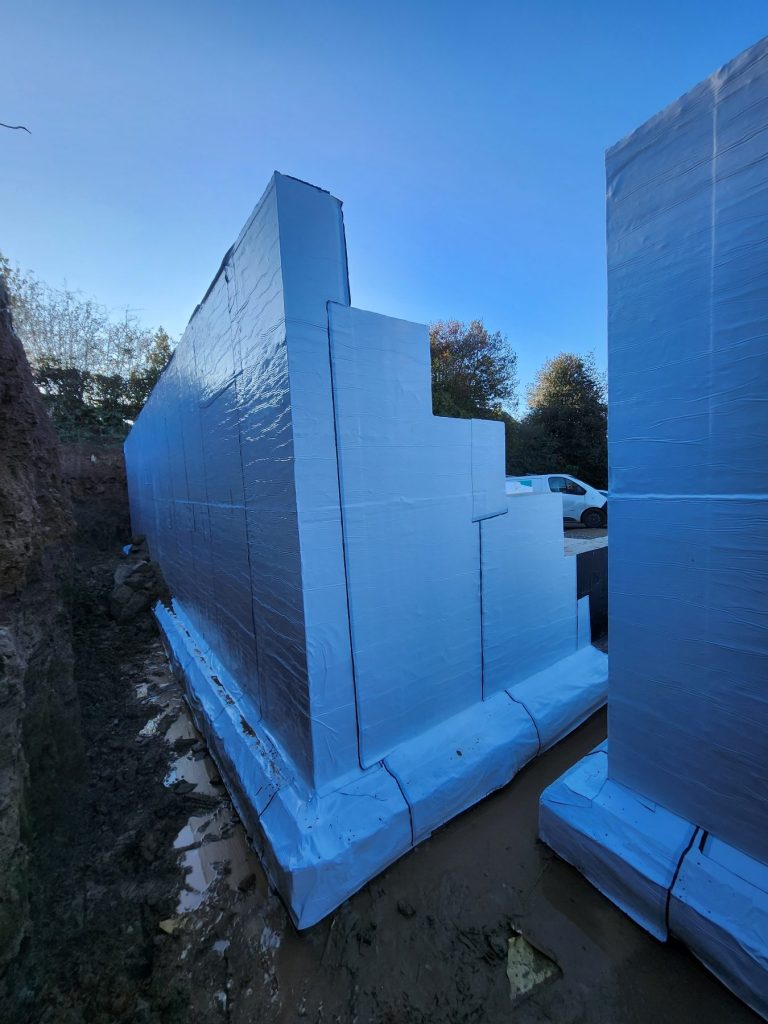
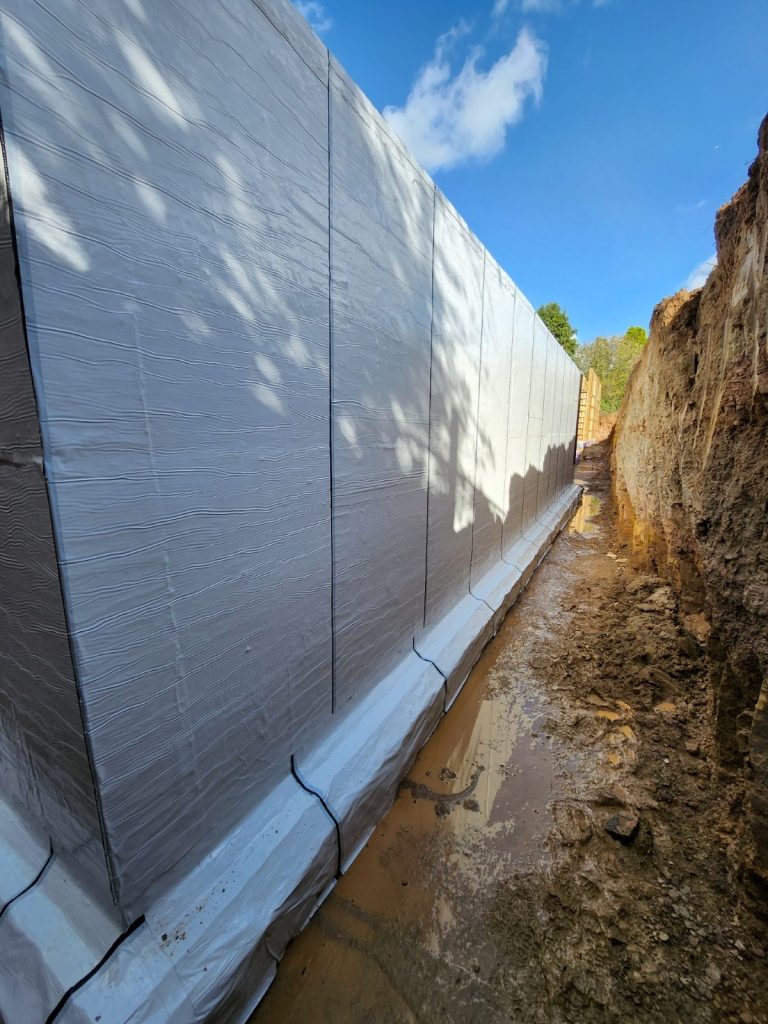
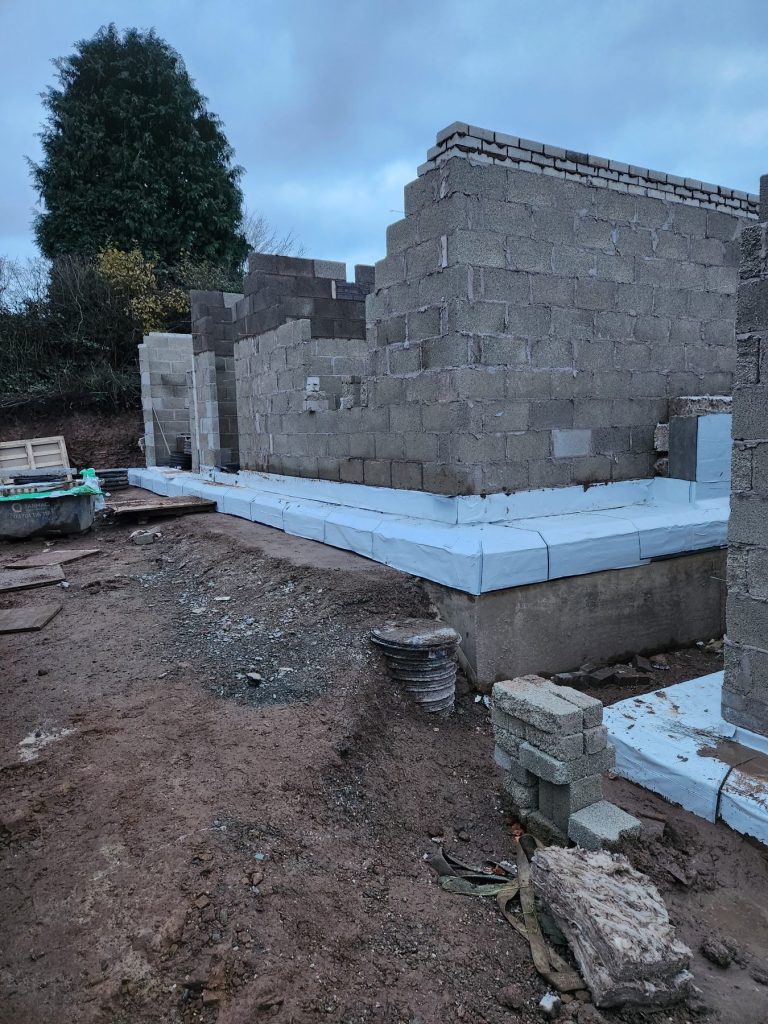
Workers cast the walls in concrete first. Once complete, they primed all external surfaces of the basement with a bitumen-based primer. They then covered the walls from top to bottom with an external waterproofing membrane, overlapping it with the slab membrane at the bottom. They lapped and pressed each sheet into place fully.

Secondary waterproofing system

Slab & Walls Type B – Integral protection

Workers cast the slab and walls in reinforced concrete with a waterproofing additive. As part of the slab construction, they cast the bottom of the walls with an integral kicker, moving the natural point of weakness above a horizontal surface.